Oil pump
- Check there are no signs of wear on the oil pump
shaft or body.
- Check there are no signs of scoring or wear on
the oil pump cover.
- If you detect non-conforming measurements or
scoring, replace the faulty parts or the unit.
- Fit the pump cover in the position that permits the
crankcase fixing screws to be aligned.
- Make sure the gasket is positioned properly and
refit the pump on the engine crankcase. The pump
can only be fitted in one position. - Tighten the
screws to the prescribed torque.
- Fit the sprocket wheel with a new O-ring.
- Fit the chain.
- Fit the central screw and the belleville washer.
Tighten to the prescribed torque.
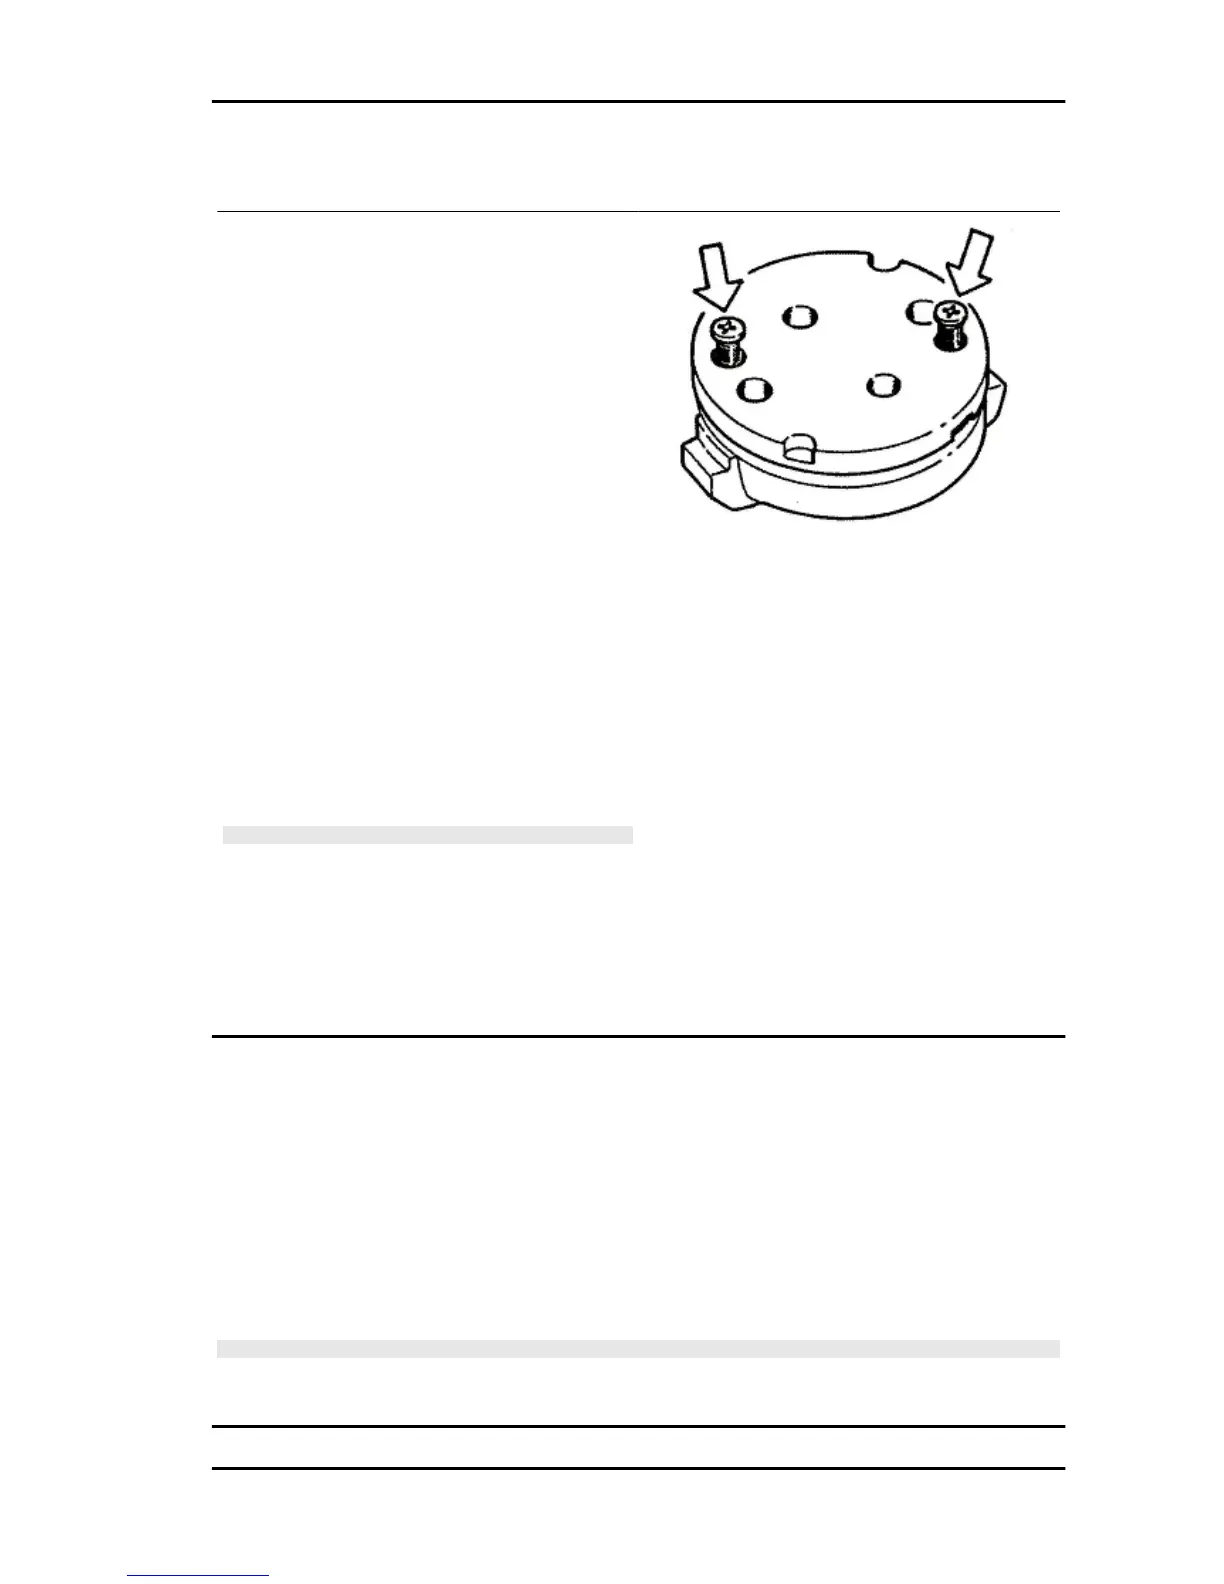
- Fit the oil pump cover by tightening the two
screws to the prescribed torque.
N.B.
FIT THE BELLEVILLE WASHER SO THAT ITS OUTER RIM
TOUCHES THE PULLEY. MAKE SURE THAT THE PUMP
TURNS FREELY.
Locking torques (N*m)
Screws fixing oil pump to crankcase 5 - 6 Oil
pump control crown screw 10 ÷ 14 Oil pump cov-
er screws 0.7 ÷ 0.9
Removal
- Remove the cover of the pump control pulley using the two retainers, as shown in the figure.
- Block the rotation of the oil pump control pulley inserting a screwdriver through one of its two holes.
- Remove the central screw with Belleville washer, as shown in the diagram.
- Remove the chain.
- Remove the control sprocket with relative O-ring.
- Remove the oil pump by unscrewing the two screws in the figure.
- Remove the oil pump seal.
N.B.
IT IS ADVISABLE TO MARK THE CHAIN IN ORDER TO ENSURE THAT THE INITIAL DIRECTION
OF ROTATION IS MAINTAINED.
Carnaby 125 - 200 Engine
ENG - 165
 Loading...