Fusing
280
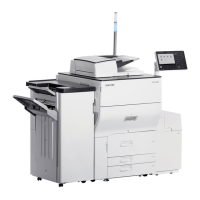
2. Remove the pressure roller [A].
Fusing Sleeve Belt Assembly
Before Replacing the Fusing Sleeve Belt Assembly
Before replacing the fusing sleeve belt assembly, reset the PM counter.
1. Turn the power ON.
2. Reset the PM counter. (Refer to Replacement Procedure of the PM/Yield Parts)
3. Turn the power OFF.
Replacing the Fusing Sleeve Belt Assembly
1. Remove the fusing lower cover. (Fusing Lower Cover)
2. Remove the fusing entrance guide plate. (Fusing Entrance Guide Plate)
3. Remove the fusing upper cover. (Fusing Upper Cover)
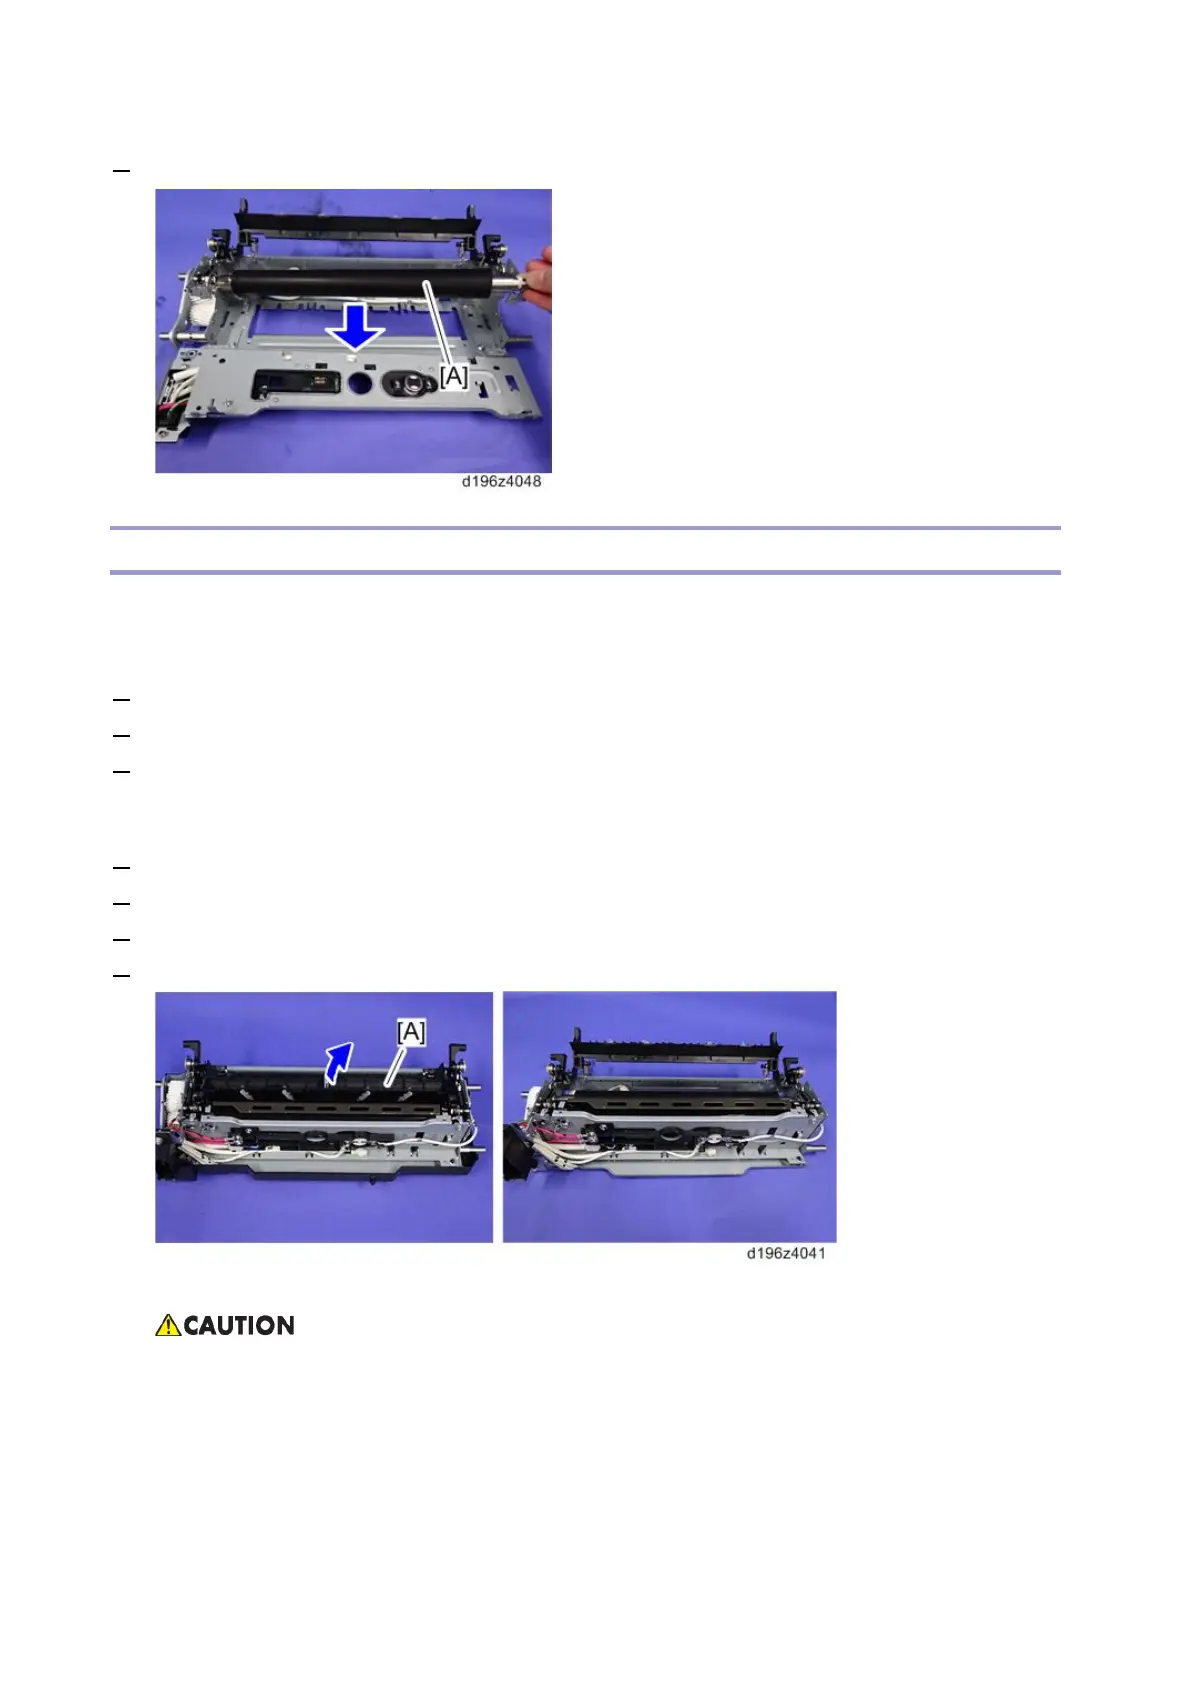
4. Raise the fusing exit guide plate [A].
Place a cloth or sheet of paper under the fusing unit when removing the fusing lower cover. Otherwise, the
screw(s) and gear(s) exposed after removing the cover will scratch or transfer grease to the work surface.
 Loading...