4. Read the entire license agreement carefully. If you accept its terms, click [I accept the
agreement.], and then click [Next >].
5. Select the program you want to use, and then click [Next >]. (SG 3110DN/SG
3110DNw)
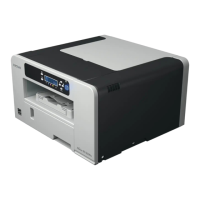
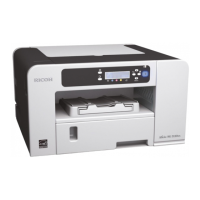
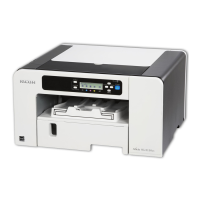
6. Select the model of printer you want to use. (SG 3110DN/SG 3110DNw/SG 7100DN)
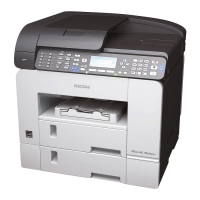
Click [Connect to a printer port or LAN], and then click [Next >]. (SG 2100N)
• To search for printers automatically, select [Search for printers automatically], and then follow
the wizard's instructions.
• To search for a printer by its IP address, select [Search for printers by specified IP Address],
and then follow the wizard's instructions.
• If you do not search for a printer, select [Do not search]. In this example procedure, [Do not
search] is selected.
7. Click [+] to display the printer settings.
8. Click [Port:], and then click [Add].
9. Click [SmartDeviceMonitor], and then click [OK].
TCP/IP
• To configure port settings using TCP/IP, click [TCP/IP], and then click [Search].
A list of printers using TCP/IP appears.
• Select the printer you want to use, and then click [OK].
If the printer you want to use does not appear, click [Specify address], and then enter the
machine's IP address or host name.
IPP
• To configure port settings using IPP, click [IPP].
In the [Printer URL] box, enter "http://machine's IP address/printer" as the machine's
address. You can enter "http://machine's IP address/ipp" as the machine's address.
• Enter a name for identifying the machine in the [IPP Port Name] box. Use a name
different from the one of any existing ports.
If a name is not specified here, the address entered in the [Printer URL] box becomes the
IPP port name.
• To specify settings such as those for the proxy server and IPP user name, click [Detailed
Settings]. After specifying the necessary settings, click [OK].
For details about the settings, see SmartDeviceMonitor for Client Help.
10. If necessary, configure the default printer.
11. If necessary, configure the setting for sharing the printer.
12. Click [Continue].
The printer driver installation starts.
2. Preparing for Printing
82
 Loading...