I
UMI' H
OIL COOLER
Removal
1.
Remove the seat and disconnect the battery
negative (black) lead first.
2.
Remove the belly panel and right hand lower fairing
(if fitted).
3.
Position a suitable container beneath the oil cooler
to catch any oil spillages.
4.
Drain the engine oil as described elsewhere in this
section.
WARNING: The oil may be hot to the
touch. Contact with hot engine oil may
cause skin to be scalded or burnt.
WARNING:
Prolonged or repeated
contact with engine oil can lead to skin
dryness, irritation and dermatitis. In addition used
engine
oil contains potentially harmful
contaminants which can cause cancer. Wear
suitable clothing and avoid skin contact.
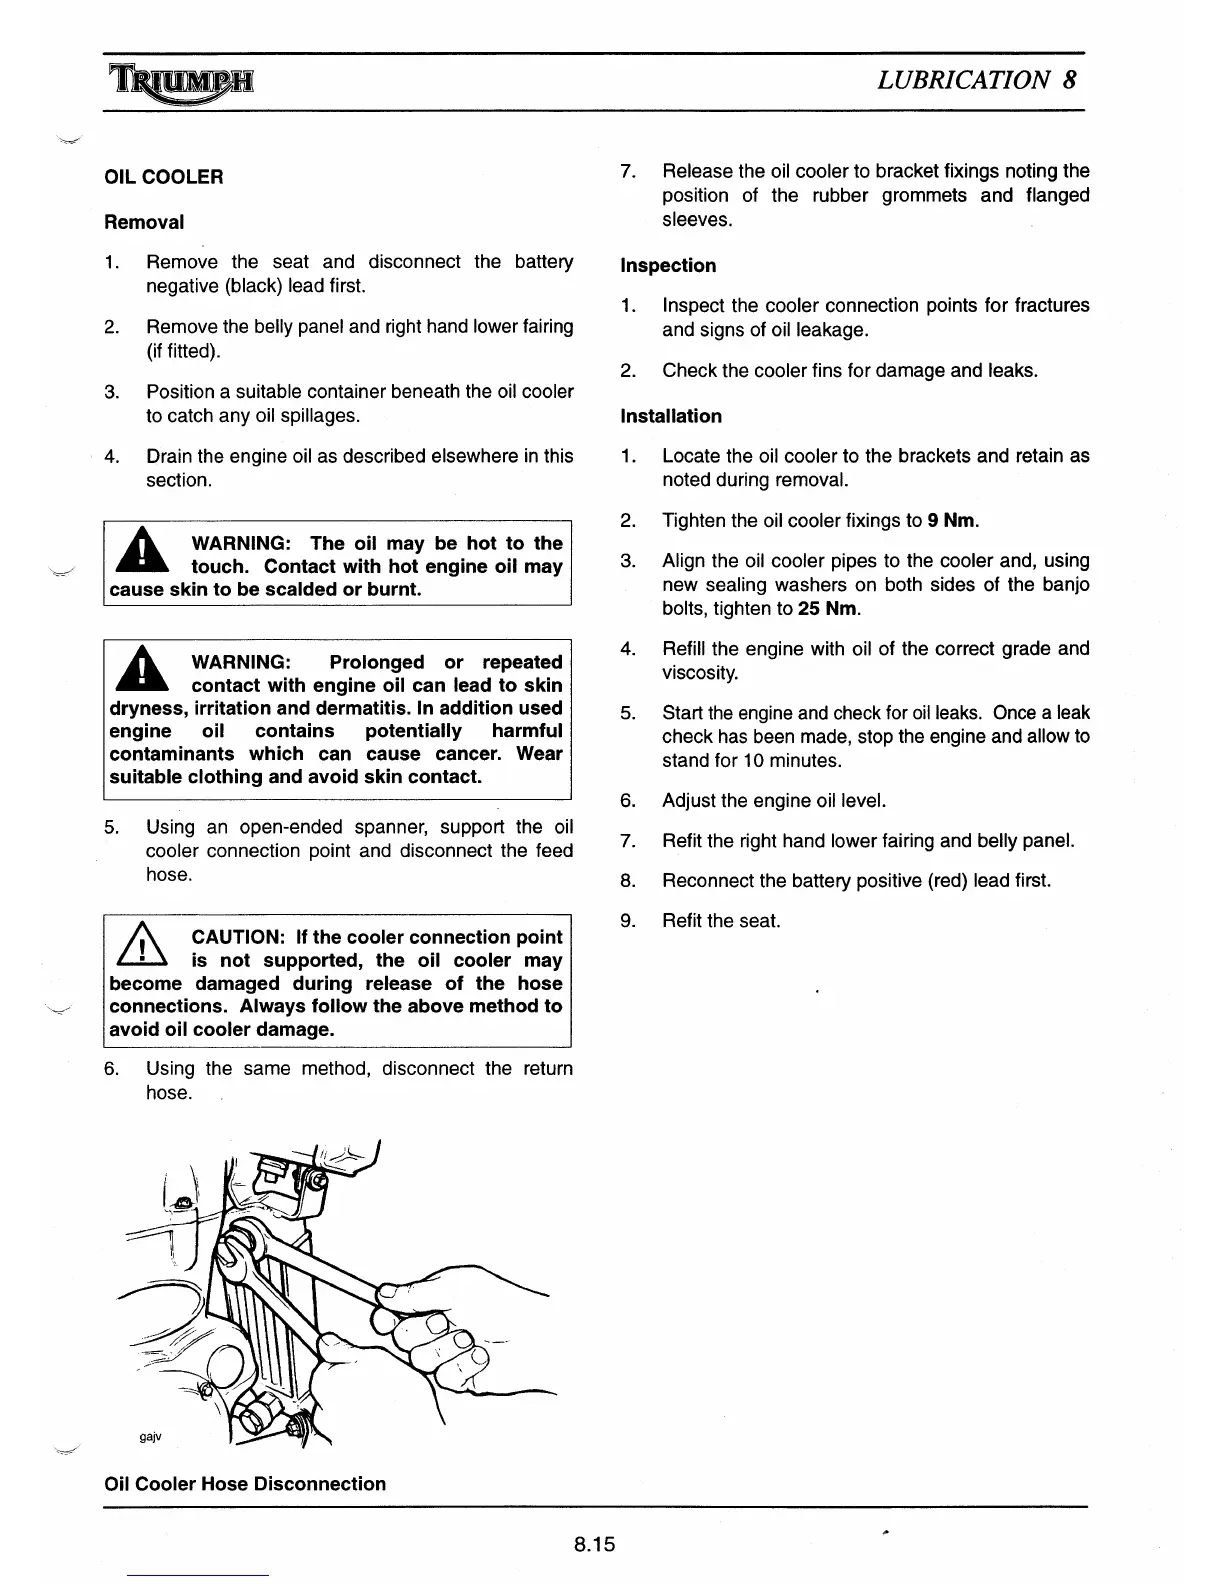
5.
Using an open-ended spanner, support the oil
cooler connection point and disconnect the feed
hose.
CAUTION: If the cooler connection point
is not supported, the oil cooler may
become damaged during release of the hose
connections. Always follow the above method to
avoid oil cooler damage.
6.
Using the same method, disconnect the return
hose.
Oil Cooler Hose Disconnection
LUBRICATION 8
7. Release the oil cooler to bracket fixings noting the
position of the rubber grommets and flanged
sleeves.
Inspection
1.
Inspect the cooler connection points for fractures
and signs of oil leakage.
2.
Check the cooler fins for damage and leaks.
Installation
1.
Locate the oil cooler to the brackets and retain as
noted during removal.
2. Tighten the oil cooler fixings to
9 Nm.
3.
Align the oil cooler pipes to the cooler and, using
new sealing washers on both sides of the banjo
bolts, tighten to
25 Nm.
4.
Refill the engine with oil of the correct grade and
viscosity.
5.
Start the engine and check for oil leaks. Once a leak
check has been made, stop the engine and allow to
stand for 10 minutes.
6.
Adjust the engine oil level.
7.
Refit the right hand lower fairing and belly panel.
8.
Reconnect the battery positive (red) lead first.
9.
Refit the seat.
8.15
 Loading...