12 FRONT SUSPENSION/STEERING
1i
9uJ
HEADSTOCK BEARING CHECK / ADJUSTMENT
Check
1.
Raise and support the front of the motorcycle.
WARNING: Ensure the motorcycle is
stabilised and adequately supported, to
prevent it falling and causing damage or injury.
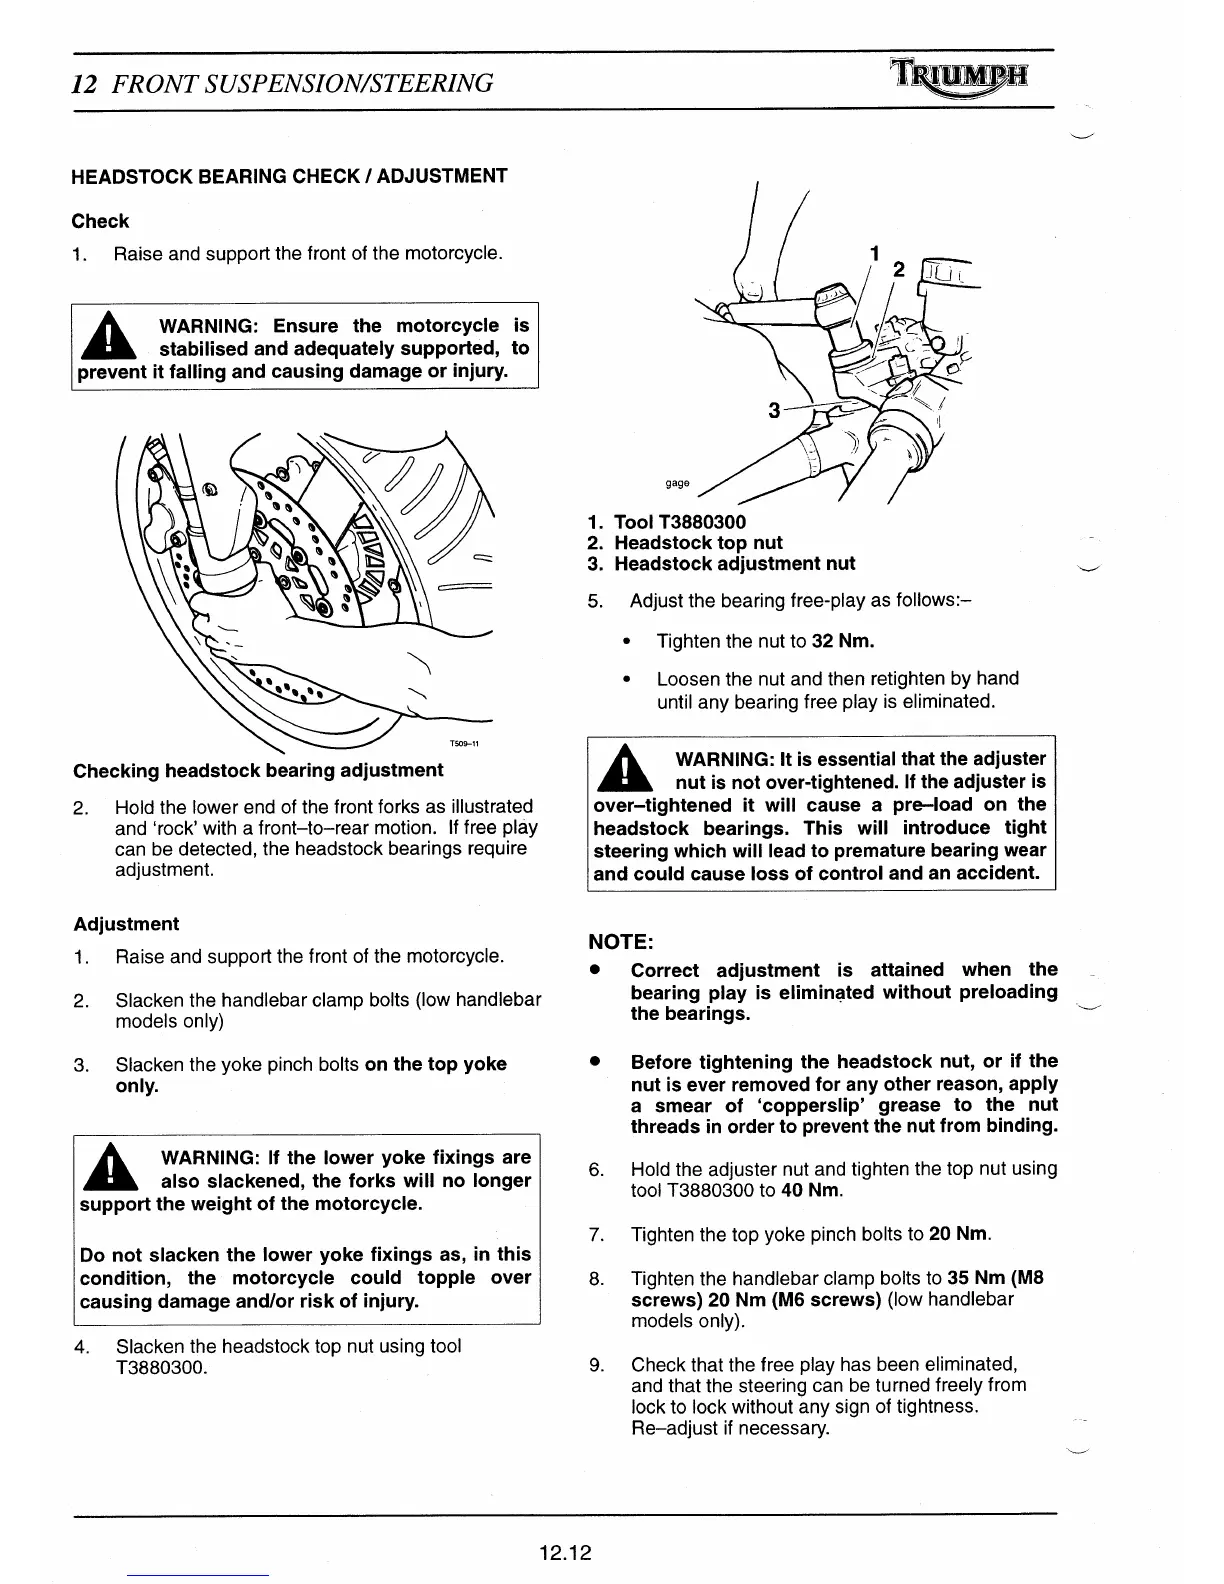
Checking headstock bearing adjustment
2.
Hold the lower end of the front forks as illustrated
and `rock' with a front—to—rear motion. If free play
can be detected, the headstock bearings require
adjustment.
Adjustment
1.
Raise and support the front of the motorcycle.
2.
Slacken the handlebar clamp bolts (low handlebar
models only)
3.
Slacken the yoke pinch bolts on the top yoke
only.
A
WARNING: If the lower yoke fixings are
also slackened, the forks will no longer
support the weight of the motorcycle.
Do not slacken the lower yoke fixings as, in this
condition, the motorcycle could topple over
causing damage and/or risk of injury.
4.
Slacken the headstock top nut using tool
T3880300.
gage
1.
Tool T3880300
2.
Headstock top nut
3.
Headstock adjustment nut
5.
Adjust the bearing free-play as follows:—
•
Tighten the nut to 32 Nm.
•
Loosen the nut and then retighten by hand
until any bearing free play is eliminated.
WARNING: It is essential that the adjuster
nut is not over-tightened. If the adjuster is
over—tightened it will cause a pre—load on the
headstock bearings. This will introduce tight
steering which will lead to premature bearing wear
and could cause loss of control and an accident.
NOTE:
•
Correct adjustment is attained when the
bearing play is eliminated without preloading
the bearings.
•
Before tightening the headstock nut, or if the
nut is ever removed for any other reason, apply
a smear of 'copperslip' grease to the nut
threads in order to prevent the nut from binding.
6.
Hold the adjuster nut and tighten the top nut using
tool T3880300 to 40 Nm.
7.
Tighten the top yoke pinch bolts to 20 Nm.
8.
Tighten the handlebar clamp bolts to 35 Nm (M8
screws) 20 Nm (M6 screws) (low handlebar
models only).
9.
Check that the free play has been eliminated,
and that the steering can be turned freely from
lock to lock without any sign of tightness.
Re—adjust if necessary.
12.12
 Loading...