1
Before Using the Machine
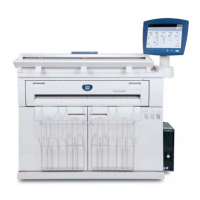
1.10 Calibrating the Scan Sensor Gap
58
Printing the calibration chart
If the calibration chart is not at hand, you can print it using these steps.
1.
Press [Print Calibration Chart] on the [Scan Sensor Gap Calibration] screen.
2.
Select paper tray, and press the <Start> button on the
control panel.
The sizes of paper loaded in the trays are
displayed. Make sure that you select A0 (841
mm) or larger size paper.
The calibration chart is printed out.
1.10.2 Performing Optional Adjustment
If you are not satisfied with the result of Auto Adjust, you can perform the calibration manually.
Up to three adjustment values derived from the calibration can be registered to the machine.
Step 1: Registering adjustment values
1.
Press [Option Adjust] on the [Scan Sensor Gap Calibration] screen.
2.
Select [Adjustment Value1], [Adjustment Value2], or
[Adjustment Value3].
If you choose not to register these adjustment
values, select [Off].
3.
Press [Edit].
 Loading...