BRKT
Bracket unit
7-33
60C5D11
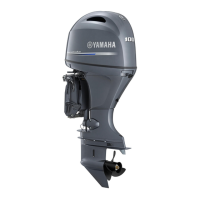
NOTE:
To remove the free piston, blow compressed
air through the hole
a
while holding down
the cloth.
8. Remove the trim piston assemblies.
Checking the reservoir
1. Check the reservoir for cracks. Replace if
necessary.
Checking the tilt cylinder and trim
cylinder
1. Check the power trim and tilt unit for
cracks or corrosion. Replace if neces-
sary.
2. Check the inner walls of the cylinder
body for scratches. Replace if necessary.
3. Check the outer surface of the tilt piston
and free piston for scratches. Replace if
necessary.
4. Check the trim and tilt rams for bends or
excessive corrosion. Polish with #400–
600 grit sandpaper if there is light rust or
replace if necessary.
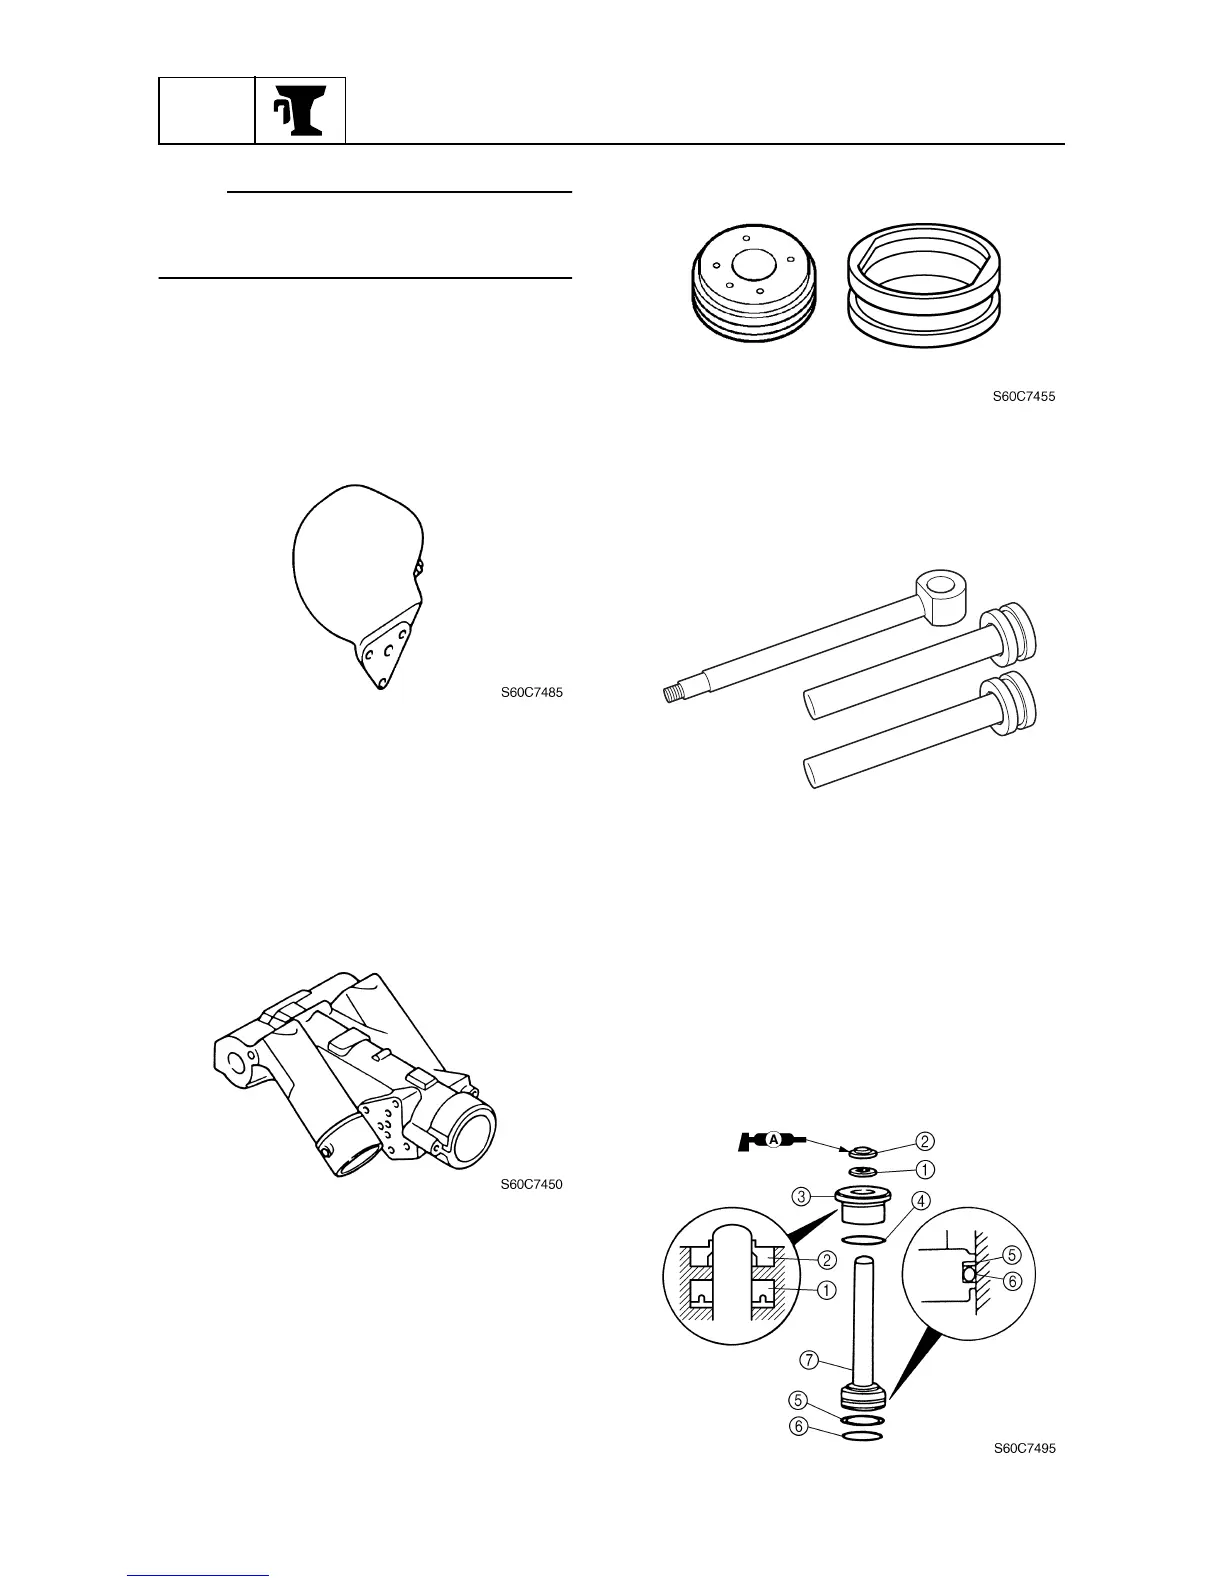
Assembling the trim rams
1. Install the new seal
1
and dust seal
2
into the trim cylinder end screw
3
.
2. Install the new O-ring
4
onto the end
screw.
3. Install the backup ring
5
and new O-ring
6
to the trim ram
7
.
4. Install the trim ram into the end screw.
S60C7460

 Loading...