10-61
Cisco Nexus 7000 Series Hardware Installation and Reference Guide
OL-23069-07
Chapter 10 Installing or Replacing Components
Replacing the Cable Management Frames on the Cisco Nexus 7004 Chassis
Step 2 Unscrew the three M3 screws that hold the other cable management frames to the chassis, and remove
that frame from the chassis.
Installing the Cable Management Frames on the Cisco Nexus 7004 Chassis
To install a new set of cable management frames to the chassis, follow these steps:
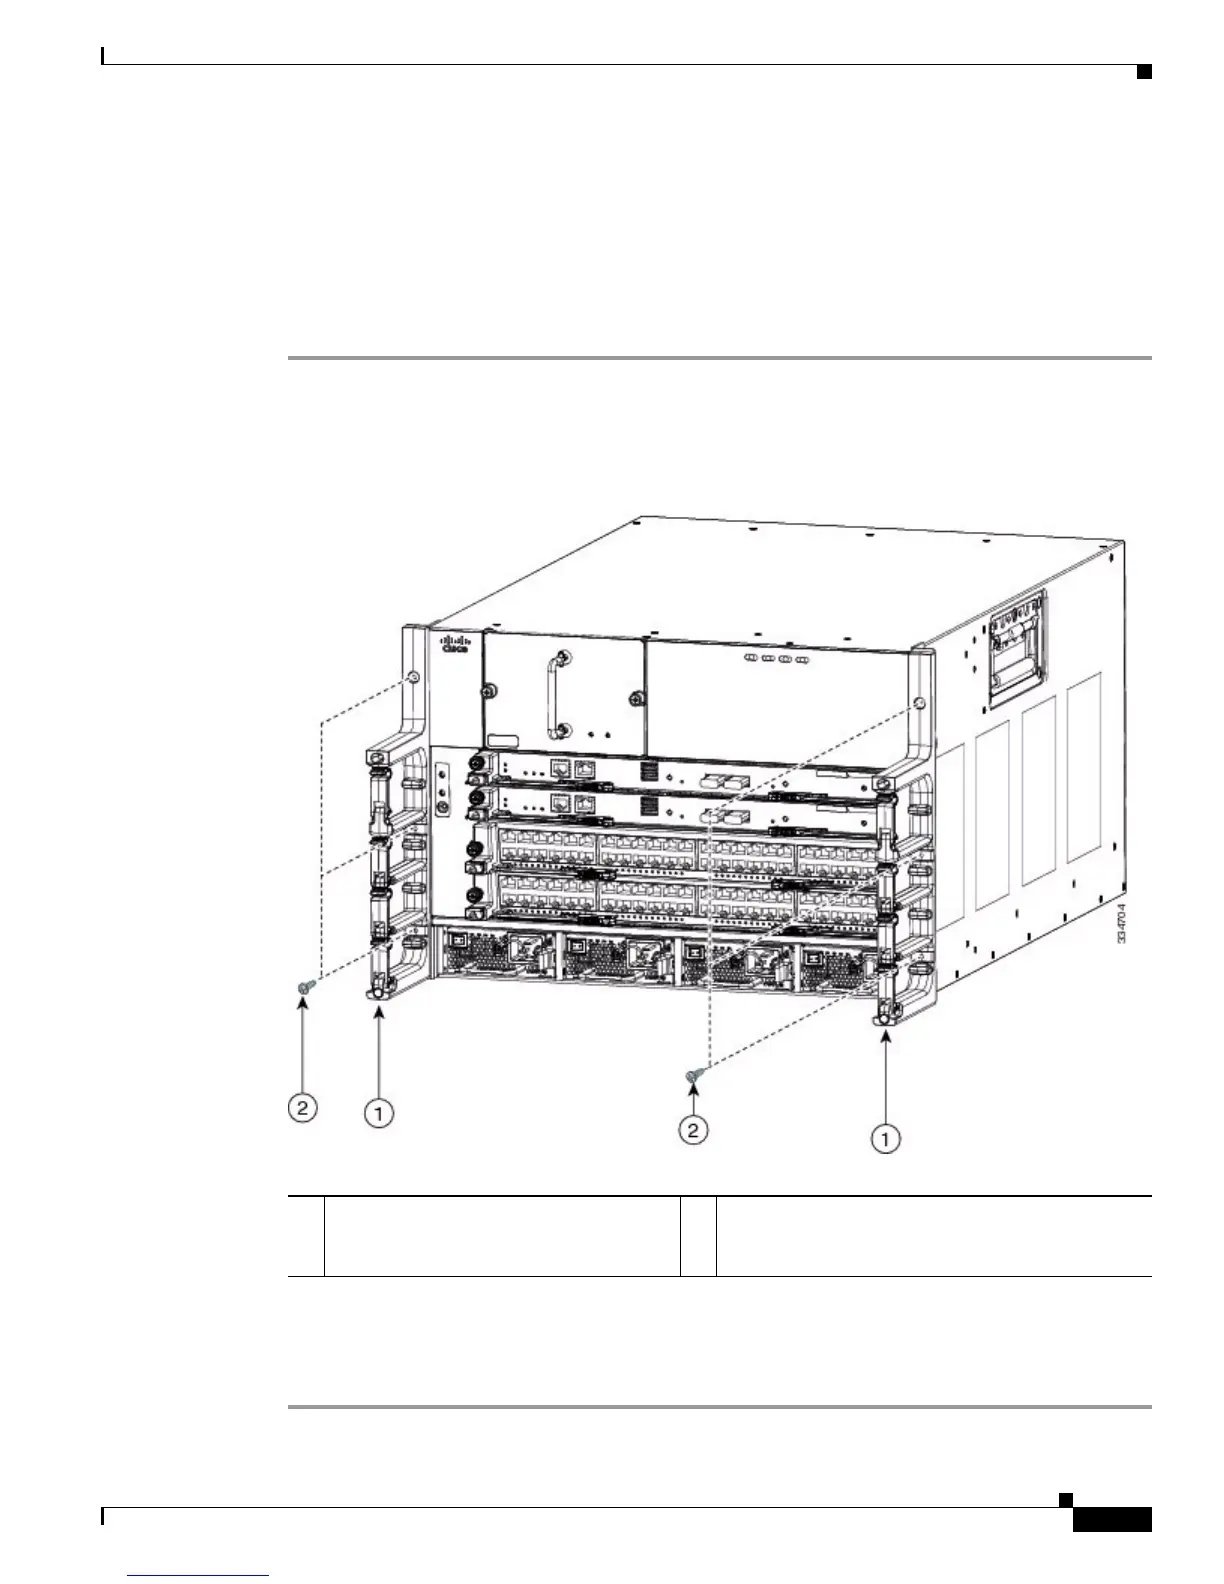
Step 1 Align the guide guide pin on one of the two cable management frames to a guide-pin hole of the same
size on the front-mounting bracket that is already attached to the chassis. The top of the frame should be
at the same level as the top of the chassis (see Figure 10-17).
Figure 10-17 Installing the Cable Management Frames on a Cisco Nexus 7004 Chassis
Step 2 Fasten the frame to the chassis with three M3 x 10 mm screws (see Callout 2 in Figure 10-22). Tighten
the screws to 5 to 7 in.lbs (0.56 to 0.79 N.m).
Step 3 Repeat Steps 1 and 2 to install the other cable management frame to the chassis.
1 Guide pins on the cable management
frame aligned to two holes in the
front-mount bracket.
2 Three M3 x 10 mm screws used to fasten the frame
to the chassis (total of six screws for two frames).

 Loading...


