Probes
Vivid S5/Vivid S6 User Manual 569
R2424458-100 Rev. 2
Placing the probe and bracket into the sterile
sheath
Refer to the Ultra-Pro II
TM
Needle Guide user manual.
Attaching the needle guide to the bracket
Refer to the Ultra-Pro II
TM
Needle Guide user manual.
Displaying the Guide zone
1. Select the desired probe with biopsy support.
2. Press
BIOPSY on the alphanumeric keyboard.
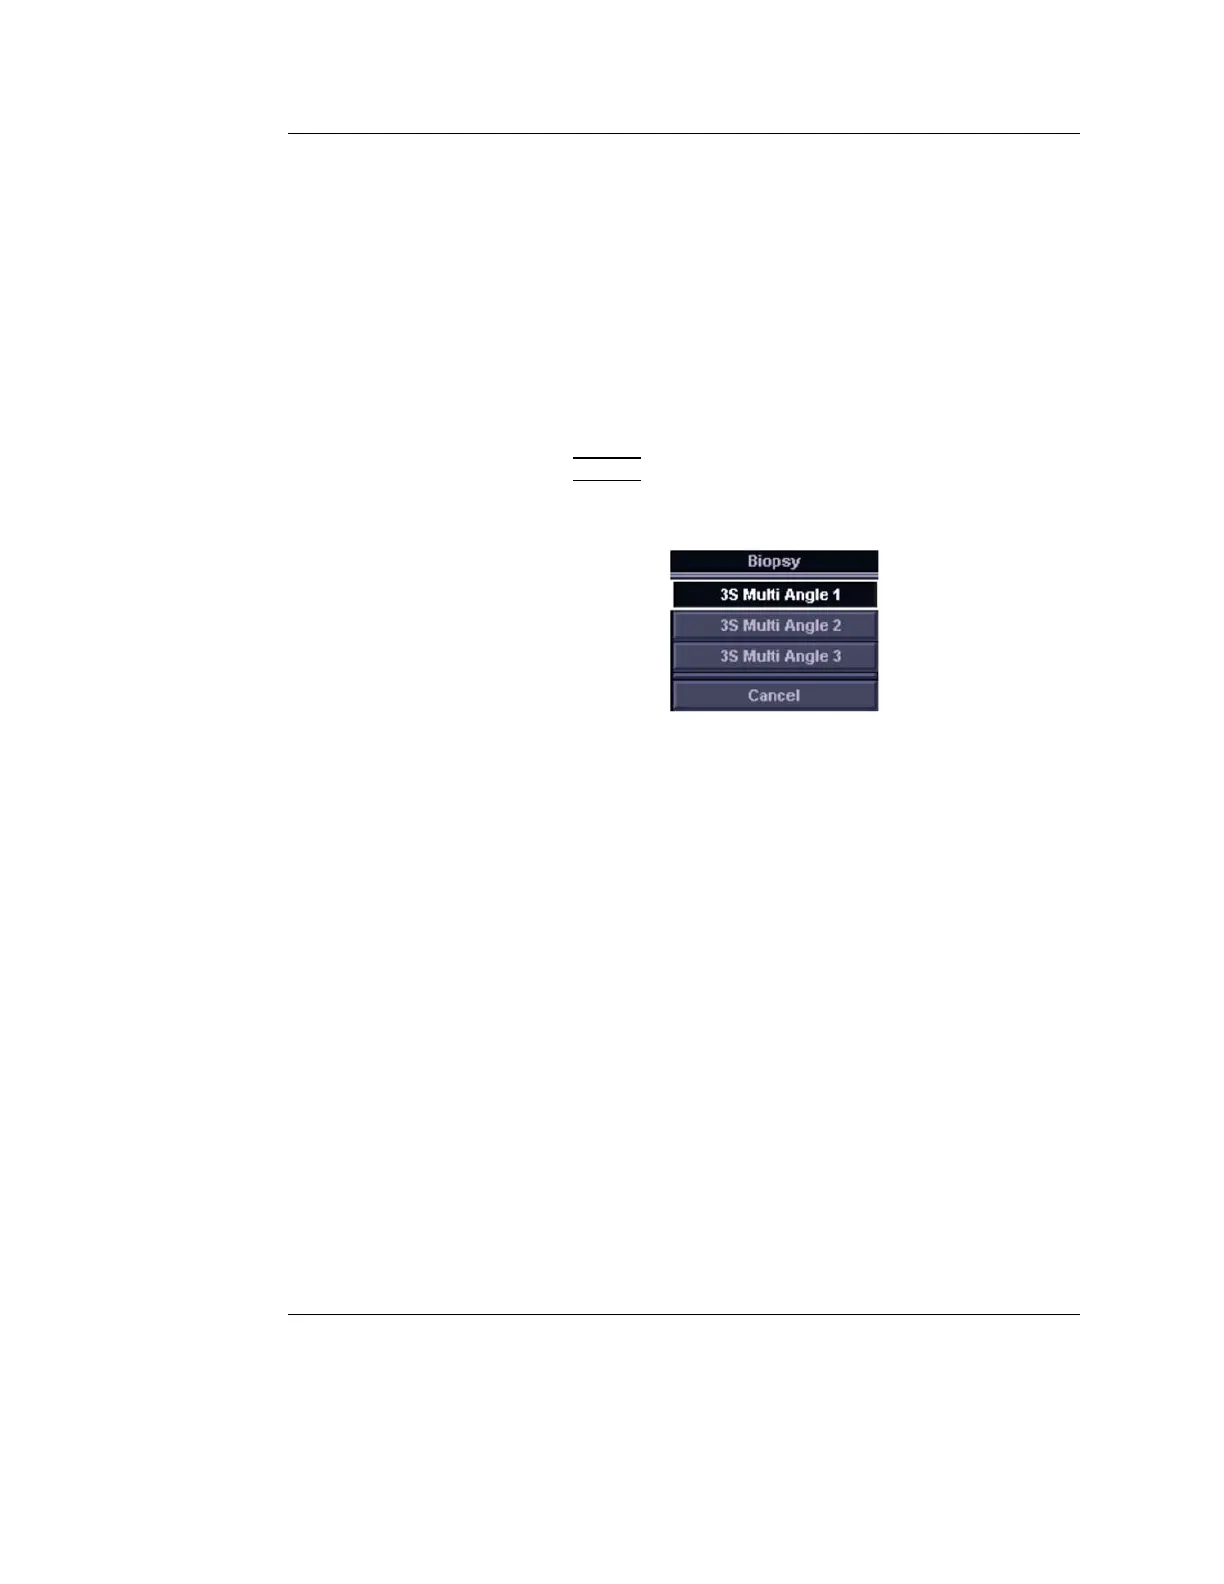
3. If the needle multi-angle is supported, select the correct
angle from the Biopsy menu.
Figure 11-8: The Biopsy menu
The biopsy guide zone is displayed on the screen.
The biopsy guidezone represents a path of the needle. The
dots which make up the guidezones is the depth readout
where:
• Yellow represent 1 cm increments.
• Red represents 5 cm increments.
The display should be carefully monitored during a biopsy for
any needle deviation from the center line or guidezone.

 Loading...


