Chapter 2 — Set Up the Printer
66 PD43 and PD43c Commercial Printer User Manual
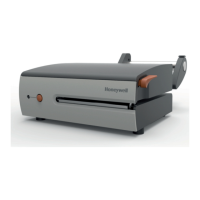
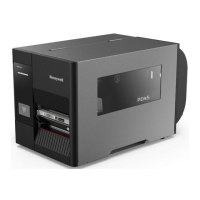
Set Up an Icon Printer with Ethernet
If your icon printer includes the Ethernet network option, follow this
procedure to obtain the printer IP address and configure settings
through the web page interface.
1 Connect the printer to your Ethernet network and turn the printer
on. Wait until all the icons turn off.
2 Press and hold the Feed button. The printer feeds one label. When
the printer starts feeding a second label, release the Feed button.
The printer prints two configuration labels.
3 Find the IP address on the second configuration label.
4 On your desktop PC, open a web browser and browse to the IP
address. The printer web page appears.
You can configure printer settings through the web page interface.
Set Up an Icon Printer with Wi-Fi
If your icon printer includes the Wi-Fi network option, follow this
procedure to enable Wi-Fi communications, obtain the printer IP
address and configure settings through the web page interface.
1 Make sure the printer is turned on and connected to your desktop
PC through a USB cable.
2 On your desktop PC, start PrintSet 5 and use the application to
determine the printer IP address.
For help, see the PrintSet online help.
3 Open a web browser and browse to the IP address. The printer web
page appears.
You can configure printer settings using the web page interface.
Note: Before you begin, use InterDriver to install the driver for the
printer on your desktop PC.
Note: Before you begin, use InterDriver to install the driver for the
printer on your desktop PC.
 Loading...


