1-40
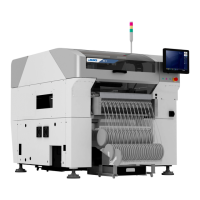
1-6-4. Adjusting the X Ball Screw
(1) Move the HEAD_UNIT to the right and tighten the fixing screws (SM6061602TN, 4 pcs.) of
the X ball screw nut firmly that has been secured temporarily in step 1-6-3 (3).
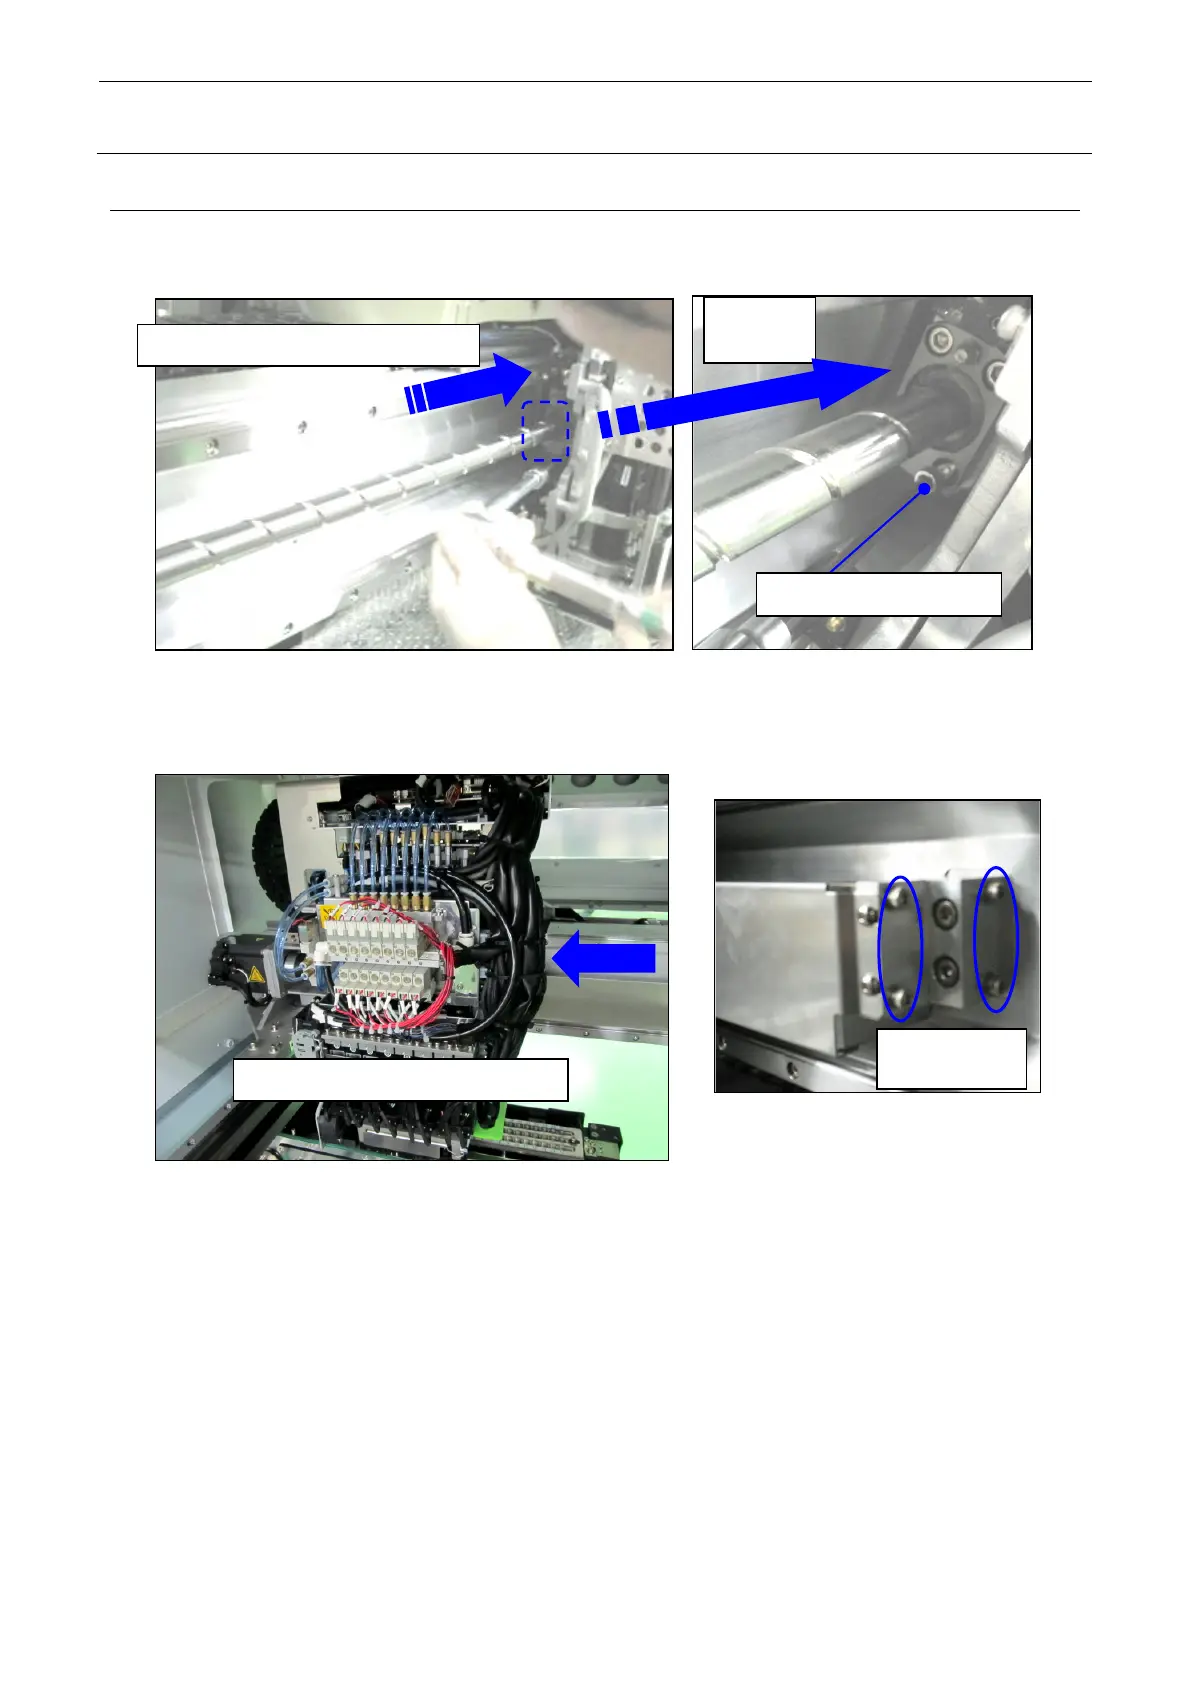
(2) Move the HEAD_UNIT to the left and tighten the fixing screws (4 pcs.) of the X ball screw
support firmly that has been secured temporarily in step 1-6-3 (6).
photo
Move the HEAD_UNIT to the right.
Move the HEAD_UNIT to the left.
 Loading...