HYDRAULIC SYSTEM
B2301, B2601, WSM
7-S8
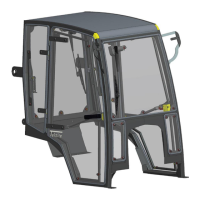
(3) 3-Points Hitch Relief Valve
3-Points Hitch Relief Valve Setting Pressure
1. Install the adaptor. Then connect the cable and the pressure
gauge to the adaptor (Size 1/4).
2. Start the engine and set the engine speed at 2800 min
-1
(rpm).
3. Set the front loader valve lever to the down ward position and
read the pressure gauge when the relief valve is actuated.
4. If the pressure is not factory specifications, adjust the relief
valve setting pressure with the adjusting shims (4).
Condition
• Engine rated speed
2800 min
-1
(rpm)
• Oil temperature
50 °C (122 °F)
(Reference)
• Thickness of shims (4)
0.10 mm (0.0039 in.)
0.20 mm (0.0079 in.)
0.40 mm (0.016 in.)
0.60 mm (0.024 in.)
9Y1211156HYS0008US0
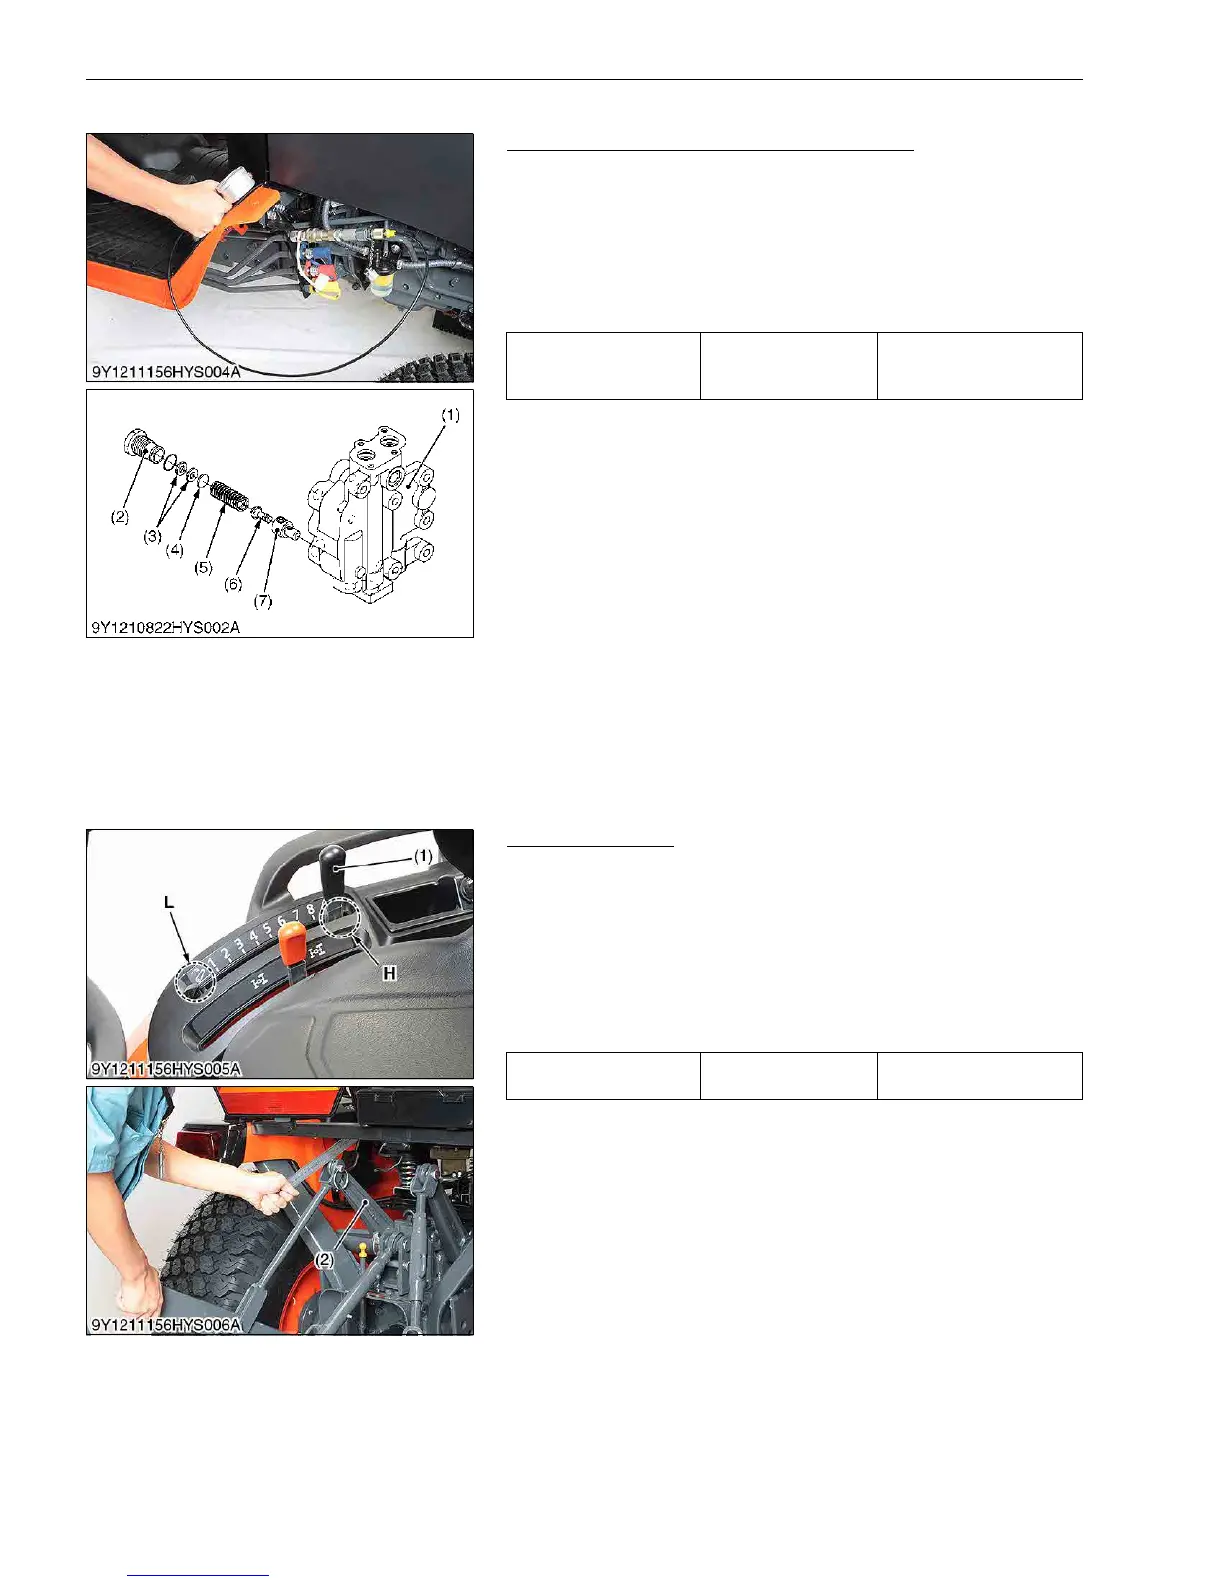
(4) Lift Arm
Lift Arm Free Play
1. Set the position control lever (1) to the lowest position.
2. Start the engine, and set at the idling speed.
3. Move the position control lever (1) to the uppermost position.
4. Move the lift arm (2) to the upper end by hand and measure the
free play.
5. If the measurement is not within the factory specifications,
adjust the free play by changing the position control feedback
rod setting length.
9Y1211156HYS0009US0
Relief valve setting
pressure
Factory specification
13.0 to 13.8 MPa
133 to 140 kgf/cm
2
1890 to 2000 psi
(1) Loader Valve Assembly
(2) Plug
(3) Plain Washer
(4) Shim
(5) Spring
(6) Poppet
(7) Valve Seat
Lift arm free play Factory specification
5 to 15 mm
0.20 to 0.59 in.
(1) Position Control Lever
(2) Lift Arm
L: Lowest Position
H: Uppermost Position
 Loading...