Troubleshooting procedures Troubleshooting
91
4522 207 12671 * 2021-06-17
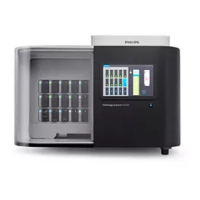
Pathology Scanner SG20 / SG60 / SG300
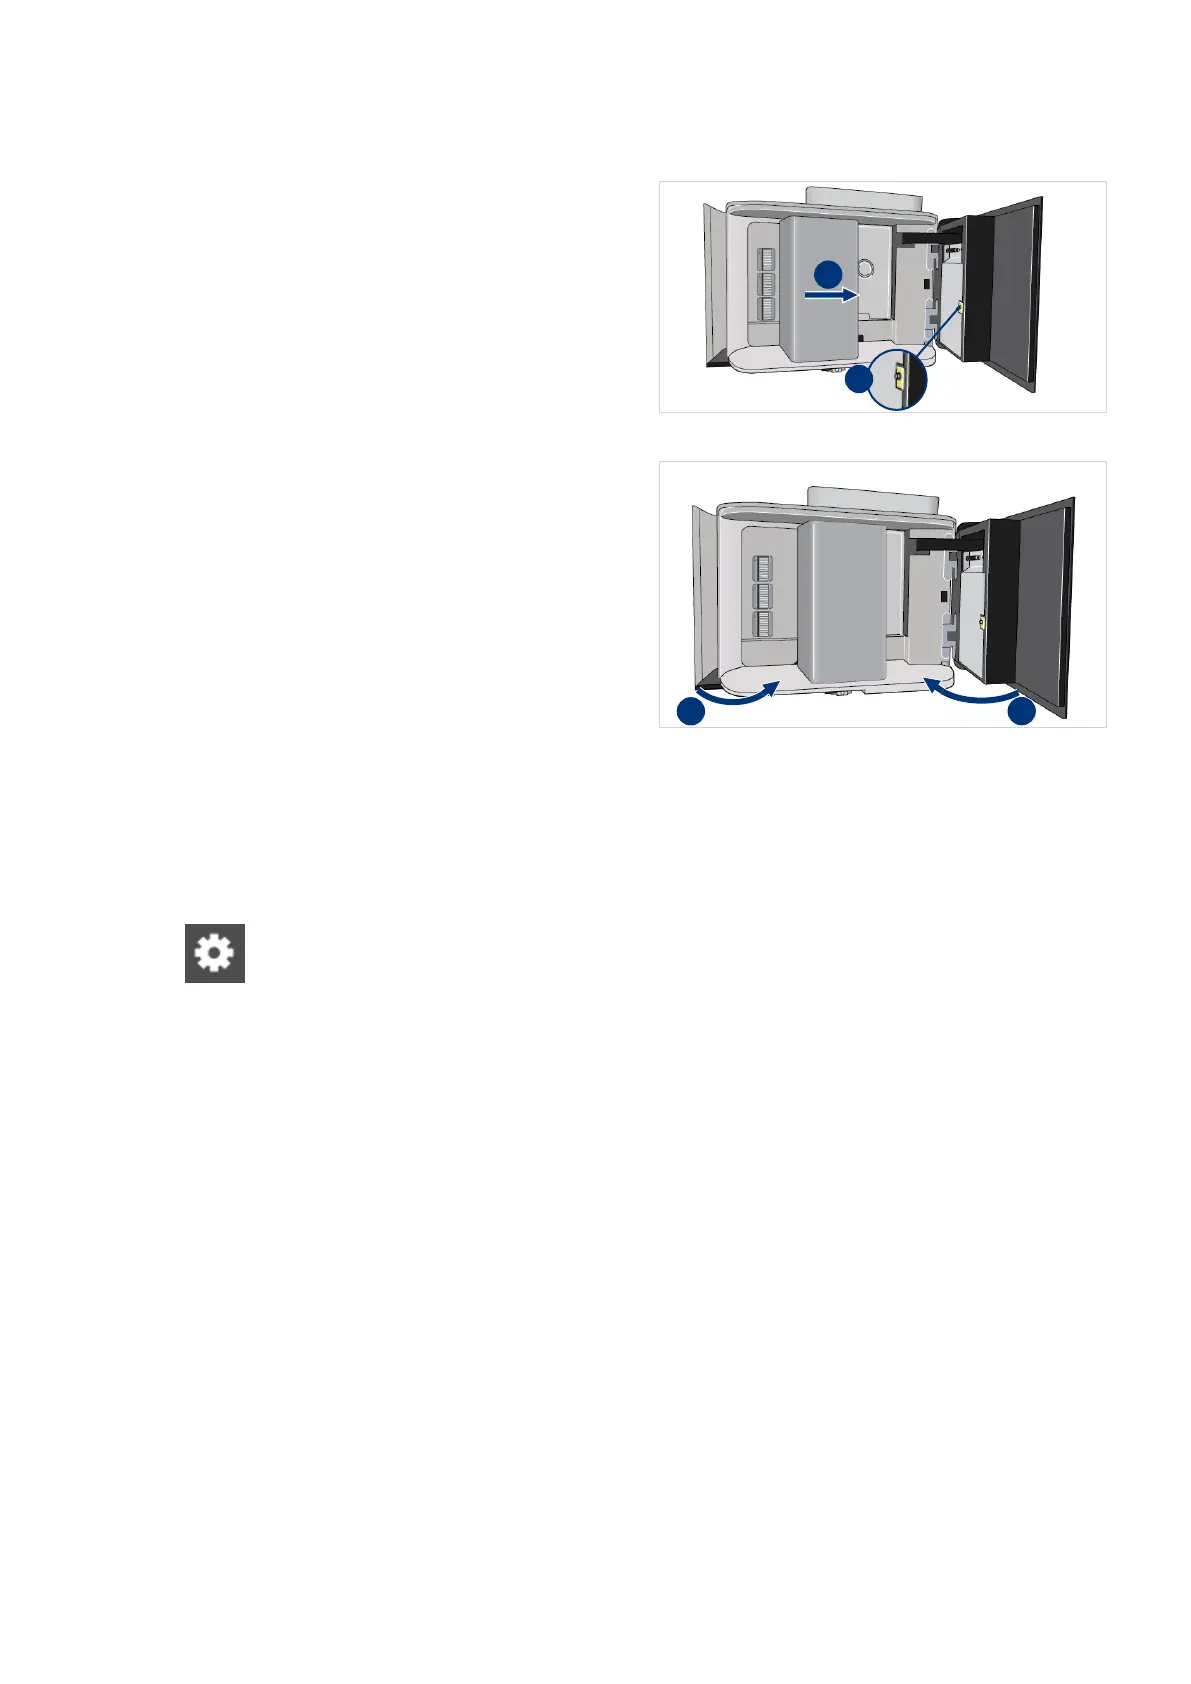
37. Carefully push the handler as far to
the right as possible (I).
38. Disconnect the cable from the ESD
bonding point (II).
39. Close the maintenance door (I).
40. Close the store door (II).
In a few seconds the scanner starts automatically or continues with the scanning process.
Manual re-calibration
If the calibration fails, a popup informs the user of the calibration result. The date of the last
calibration failed is shown on the Maintenance tab.
►
Open the Settings screen.
► Select Maintenance.
► Select Calibrate.
► Select Calibrate in the pop-up window to confirm the calibration request.
⇨ The scanner will perform all required calibrations, this can take several minutes.
► Wait until the calibration icon in the top bar disappears.
► On the user interface, select Unlock door and open the store door.
► Close the store door.
⇨ Closing the doors confirms that the scanning process can continue.
► If the retry of the calibration is not successful, clean the stage area, see chapter “Cleaning”
on page 49 and manual re-calibrate again.
► If the retry of the calibration is still not successful, wait for 30 minutes as environmental
conditions e.g. temperature can influence the calibration results. Manual re-calibrate again.
⇨
If the retry of the calibration is not successful, contact Philips.
 Loading...