Ethernet Configuration
27
4
G To specify the IP Address. Press the {T} or {U} key to display [IP Address],
and then press the {#Enter} key.
H Press the {T} or {U} key to enter the address.
Press the {T} or {U} key to enter the left most entry field of the address.
• To go to the next field, press the {#Enter} key.
• To go back to the previous field, press the {Escape} key.
I After setting values for all fields, press the {#Enter} key.
The [IP Address] menu appears.
J Set the subnet mask and gateway address. Press the {T} or {U} key to select
[Subnet Mask] or [Gateway Address], and then press the {#Enter} key.
Set values for each setting following the same procedure as for the IP address.
K After completing the settings, return to the initial screen by pressing the
{Menu} key.
Using DHCP - Detecting the Network Address Automatically
Important
❒ When you use this printer in the DHCP environment, select [DHCP] following
this procedure.
❒ When [DHCP] is selected, you cannot make settings for the following items:
• IP Address
•Subnet Mask
• Gateway Address
❒ Consult your network administrator for information about making network
settings.
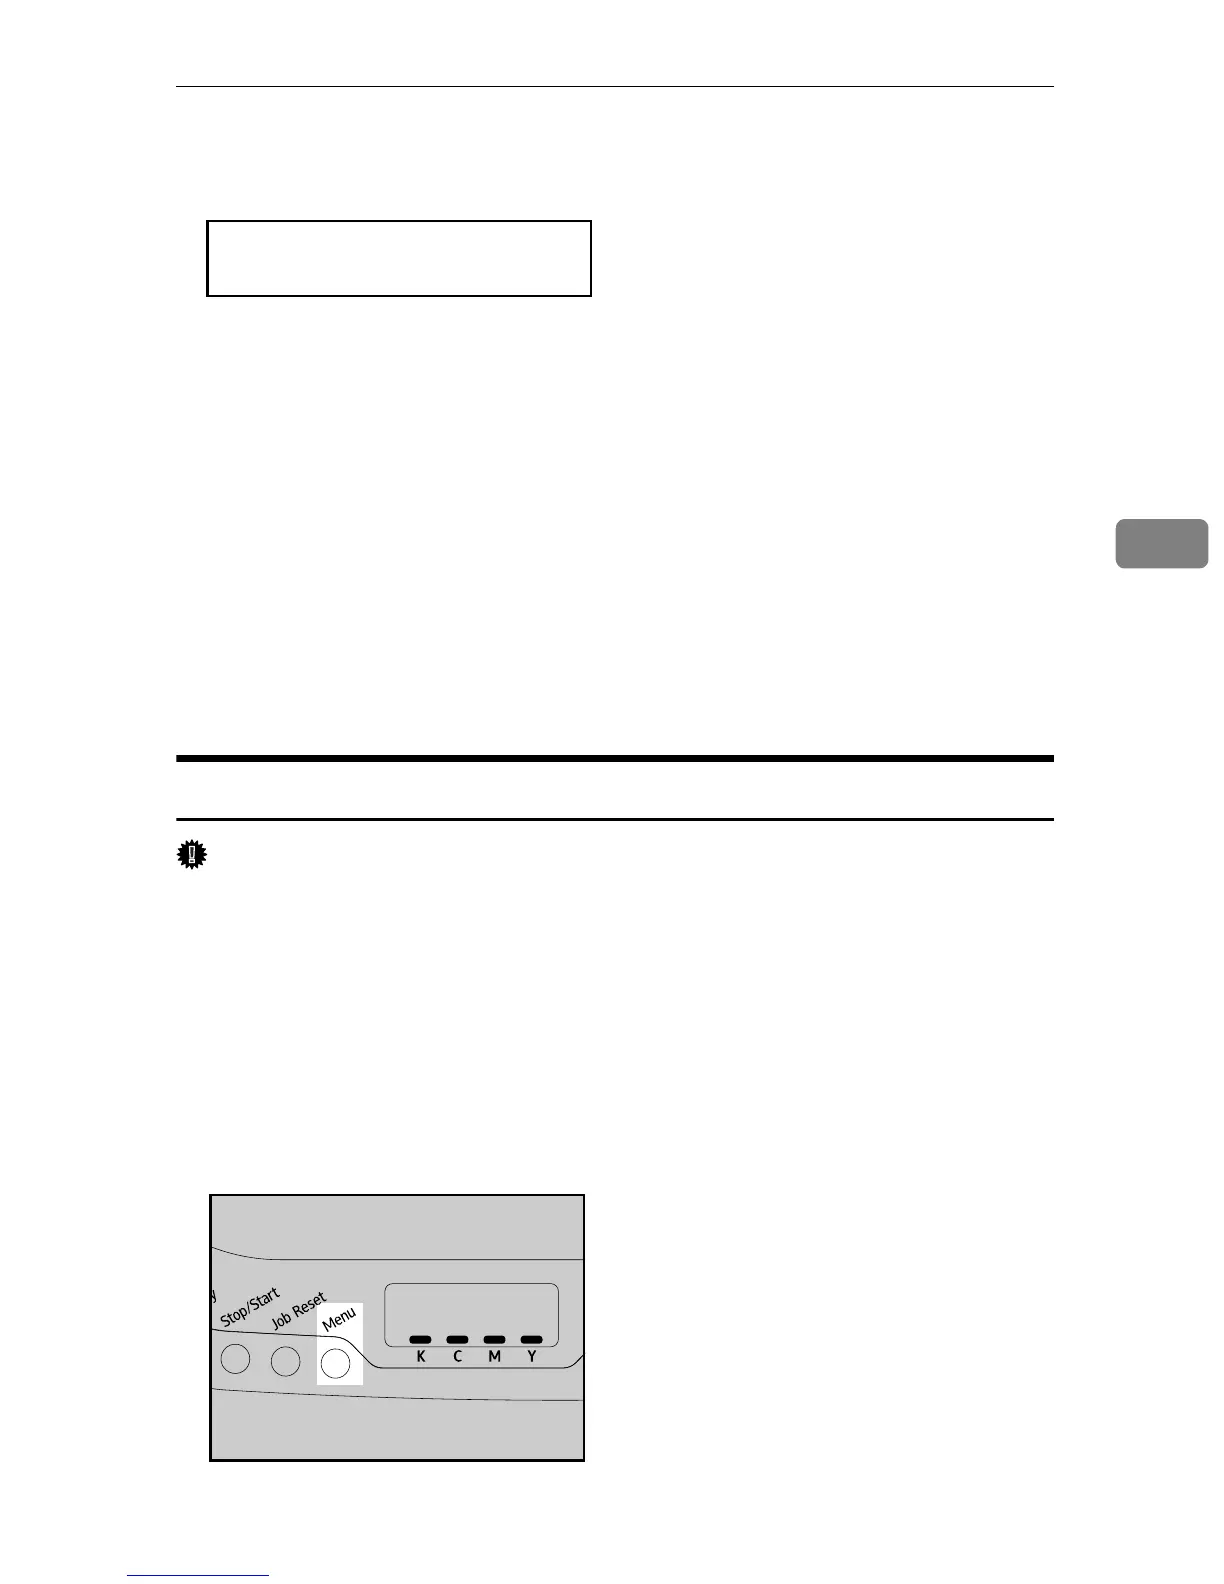
A Press the {Menu} key.
Network Setup:
IP Address
ASI066S

 Loading...