12. Click [Continue].
The printer driver installation starts
13. If you want to make initial settings for the printer, click [Set Now] or [OK].
14. Make initial settings, and then click [OK].
15. Click [Finish].
16. Click [Finish].
If a dialog box asking whether you want to restart now appears, select [Yes, restart now.], and
then click [Finish].
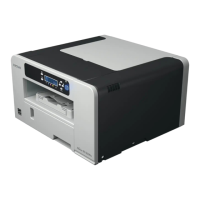
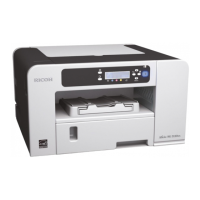
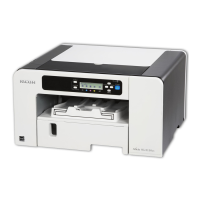
SG 2100N
1. Insert the CD-ROM in the CD-ROM drive.
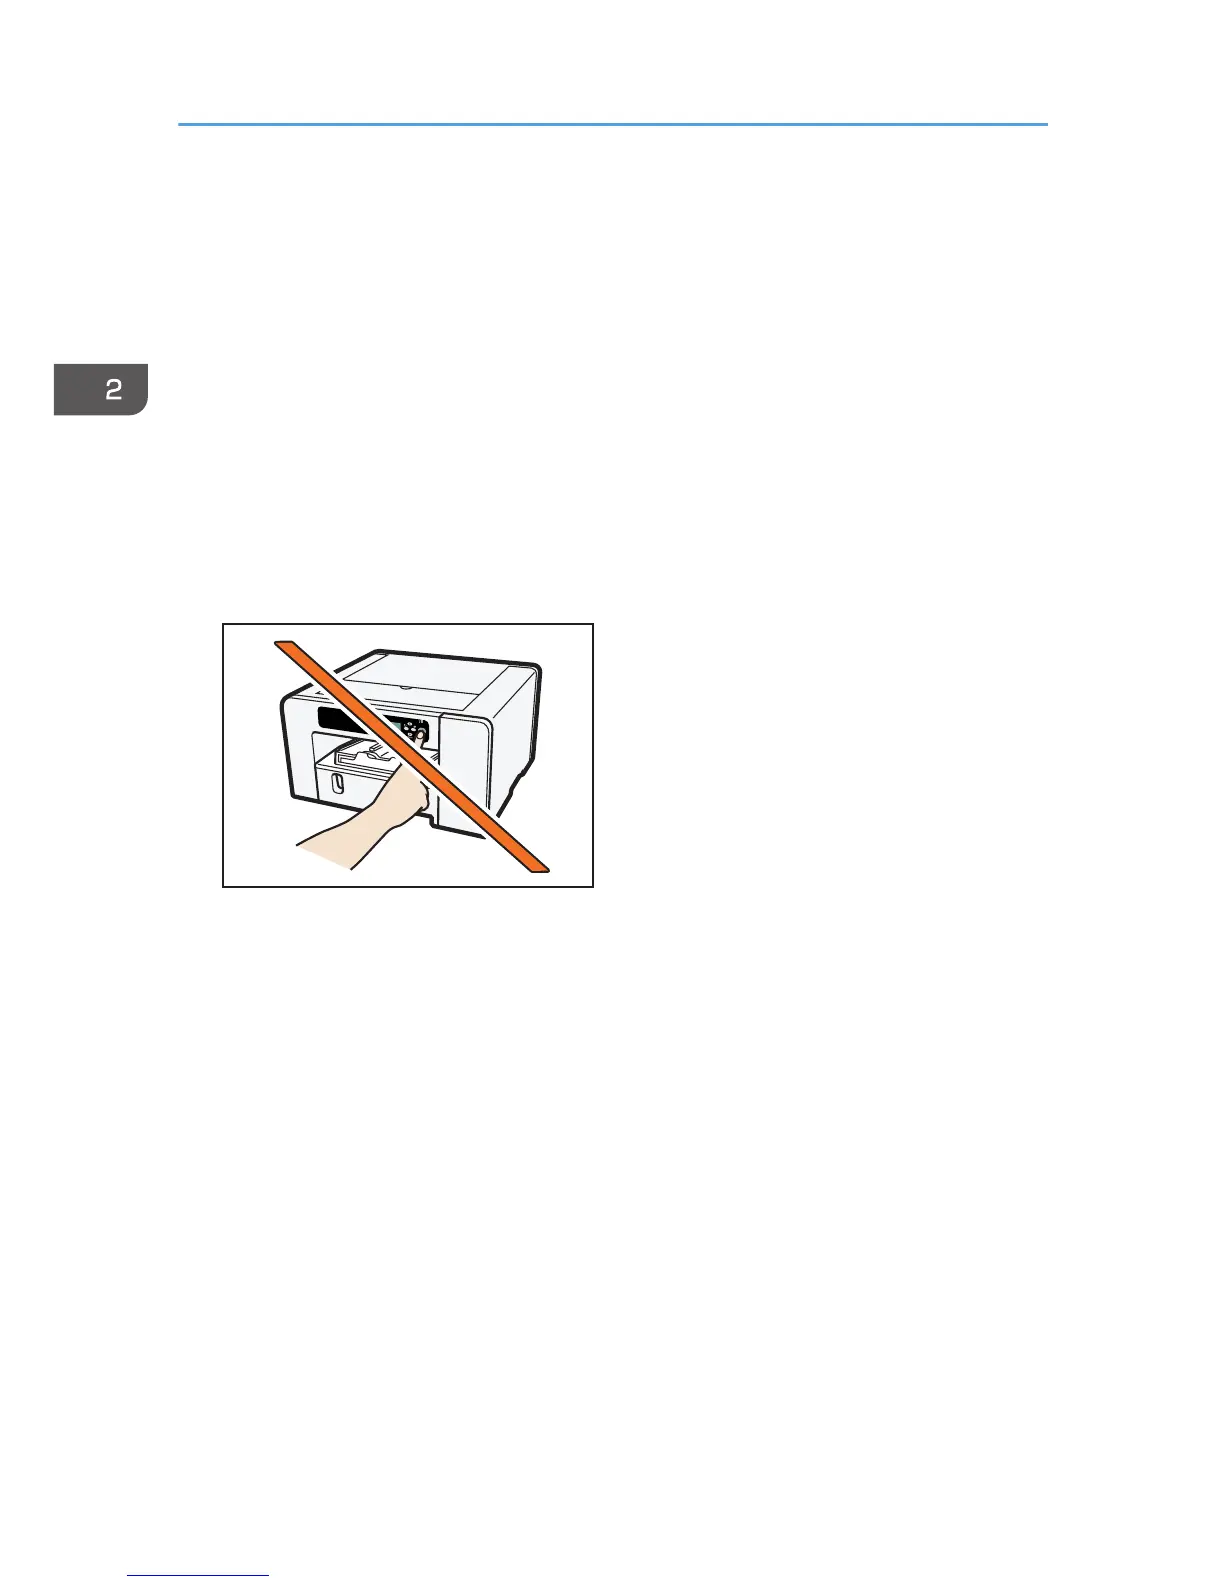
Do not turn the machine on until you have read how to do so.
Quit all other applications currently running.
If the "Add New Hardware Wizard" dialog box appears, click [Cancel], and then turn the
machine off.
When you insert the CD-ROM, the installer launches. Auto Run might not work automatically with
certain OS settings. If this is the case, double-click "SETUP.EXE", located on the CD-ROM root
directory, or click [Run SETUP.EXE] in the [AutoPlay] dialog box.
If the screen does not appear even when you double-click the [SETUP.EXE] icon, or if an error
occurs during the installation, access the CD-ROM drive from [My Computer] or [Explorer].
Double-click the [RP_SETUPXX.EXE] icon, and then install the printer driver by following the
instructions that appear on the screen.
2. Select a language for the interface, and then click [OK].
3. Click [PCL/RPCS Raster Printer Drivers] or [Printer Driver].
4. Read the entire license agreement carefully. If you accept its terms, click [I accept the
agreement.], and then click [Next >].
5. Click [Connect USB cable], and then click [Next >].
2. Preparing for Printing
70
 Loading...