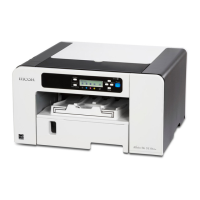
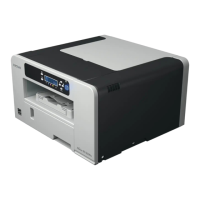
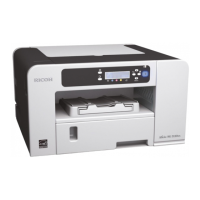
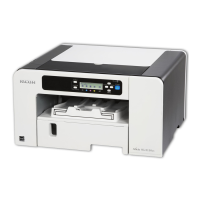
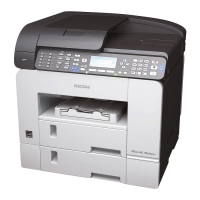
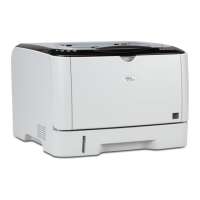
6. Select the machine model you want to use, and then click [Next >].
7. Check that the power of the machine is off, and then click [Next >].
Although the Windows security warning may appear during installation, ignore it and continue with
the installation.
8. Make sure that the computer and machine are properly connected, and then press the
[Power] key.
Installation starts.
9. Click [Yes] to specify the machine as the default printer.
10. If you want to make initial settings for the printer, click [Set Now].
11. Make initial settings, and then click [OK].
12. Select whether or not to open the Status Monitor automatically, and then click [Next >].
13. Click [Finish].
If a dialog box asking whether you want to restart now appears, select [Yes, restart now.], and
then click [Finish].
• For details about sharing the printer, see page 72 "Sharing the Printer".
• Confirm the printer driver is correctly installed by checking the [Power] key is lit, and then
performing a test print. To perform a test print, open the [Printer Properties] dialog box, click [Print
Test Page] on the [General] tab. If the test page does not print properly, see page 215 "If Test Print
Fails".
• If Windows Firewall is installed on the print server, configure exceptions in the firewall before using
Status Monitor. For details about configuring the Windows Firewall settings, see page 253 "Status
Monitor Errors".
• For details about installing the User Guide only, see page 66 "Installing and Opening the User
Guide".
Installing the Printer Drivers for a USB Connection
71
 Loading...
