REPLACE
TRANSMISSION
DRIVE PULLEY
Once
the
drive shaft has been shimmed,
you
can lubricate the
front
of
the
drive shaft and
make sure any metal burrs are cleaned
off
of
it.
Then,
put
on
the
inside snap ring and the
lower
pulley
(part #1008-1) and its key, followed by
the
outside
snap ring. Make sure that the
lower
pUlley is able
to
float back and
forth
a
fraction
of
an
inch.
Lubricating
the shaft well
will
insure
that the pulley
is
able
to
"float."
Now,
you
are
ready to reinstall
the
engine, in
accordance
with instructions given on page 148, Section 8
of
this manual.
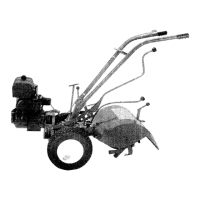
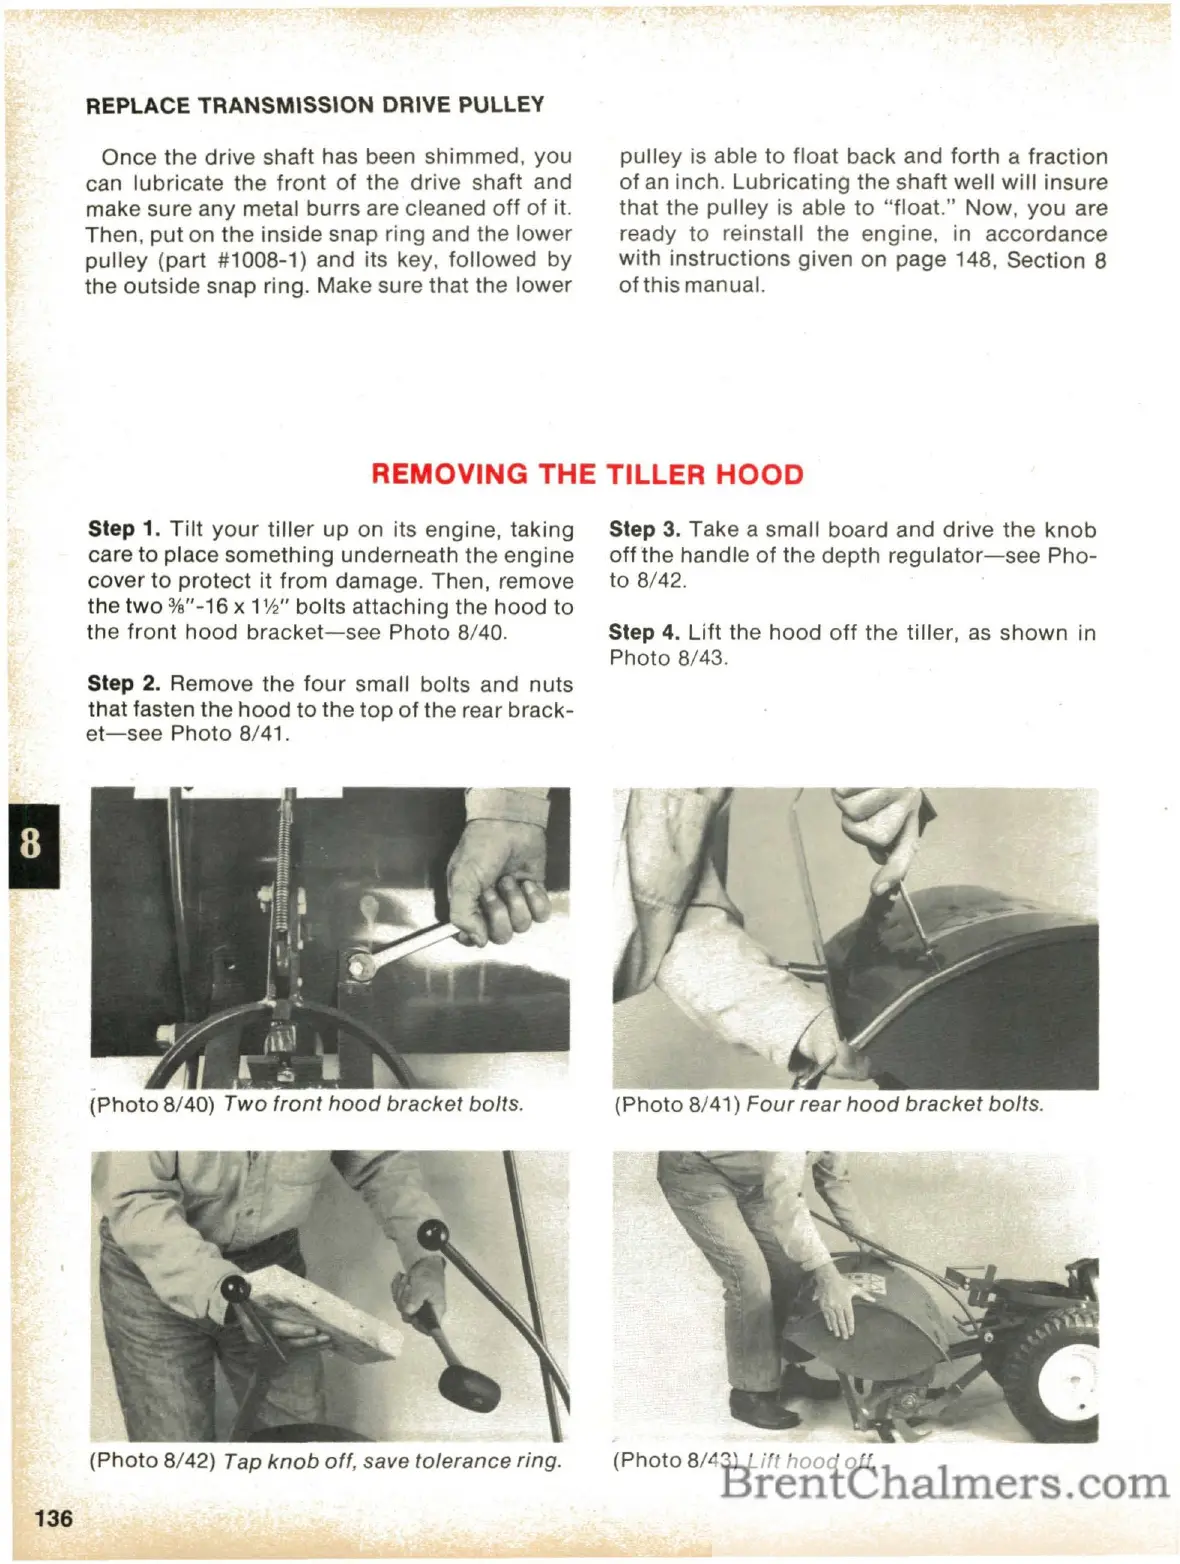
REMOVING THE TILLER
HOOD
136
Step 1.
Tilt
your
tiller
up
on its engine, taking
care to place
something
underneath the engine
cover
to
protect
it from damage. Then, remove
the
two
%"-16 x 1
'/2"
bolts attaching the
hood
to
the
front
hood
bracket-see
Photo 8/40.
Step
2.
Remove the
four
small bolts and nuts
that fasten
the
hood
to
the top
of
the rear
brack-
et-see
Photo 8/41.
-
(Photo
8/40)
Two
front
hood
bracket
bolts.
(Photo 8/42) Tap
knob
off, save
tolerance
ring.
Step
3. Take a small board and drive the
knob
off
the handle
of
the depth
regulator-see
Pho-
to 8/42.
Step 4.
Lift
the hood
off
the
tiller, as
shown
in
Photo 8/43.
(Photo 8/41)
Four
rear
hood
bracket
bolts.
(Photo 8/43)
Lift
hood
off.

 Loading...