Step
4.
Disconnect
the
battery recharging line
(8
in
Photo
8/131), also
shown
in Photo 8/132.
Step
5.
Disconnect
the cable leading from the
left side
of
the solenoid
(as
you
stand in
front
of
it) to the starter
motor.
This is the cable leading
from
the
starter
motor
at
the
engine
back
to
the
solenoid. Replace the
nut
on the starter
motor
post
so
that
it
doesn't
get
lost (see
Photo
8/133).
I
Step
6.
Remove the
two
bolts fastening the bat-
tery bracket
to
the
tiller
transmission.
The
en-
tire battery assembly
will
lift
off
while it
is
in-
tact. Replace the
bolts
in the transmission cover.
See Photos
8/134
and 8/135.
PREPARING A TILLER
TRANSMISSION FOR SHIPMENT
By
using
fir, pine
or
scrap lumber,
you
can
construct
a
shipping
case
for
shipment
of
your
tiller
transmission in the method illustrated
by
the photos.
The
2 x 4
blocks
supporting
the
wheel axle are
cut
out, notched,
or
plowed
out
to
create a cradle
forthe
wheel shaft (Photo 8/136).
Instead
of
the metal strapping, some owners
have used
strong
wire
to
hold the transmission
fast to the skid.
The
plywood
cover
is
nailed
with
box
nails
into
the
skid.
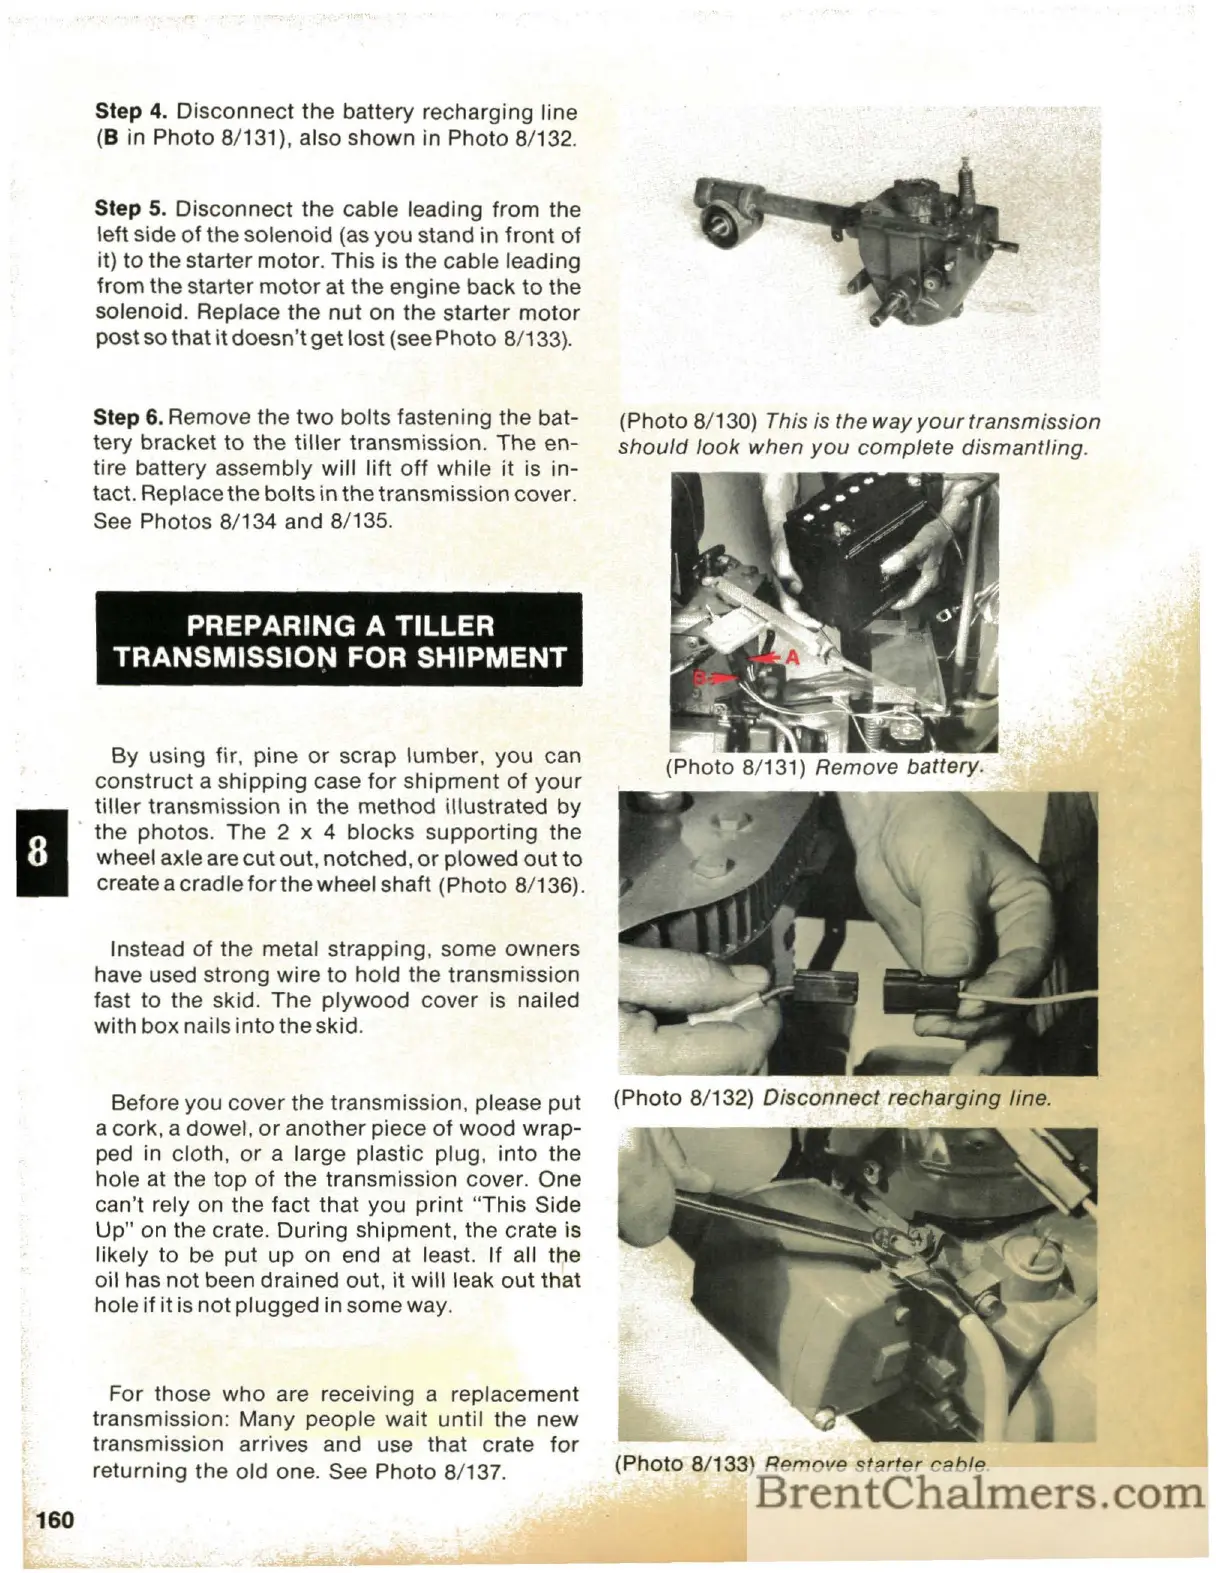
(Photo
8/130)
This is the way
your
transmission
should
look
when
you
complete
dismantling.
160
Before you
cover
the transmission, please
put
(Photo
8/132)
Disconnect
recharging
line.
a cork, a dowel,
or
another
piece
of
wood
wrap-
ped in cloth,
or
a large plastic plug,
into
the
hole at the
top
of
the
transmission cover. One
can't rely on the fact
that
you
print
"This
Side
Up"
on the crate.
During
shipment, the crate is
likely
to
be
put
up
on end at least. If all the
oil has
not
been drained out, it
will
leak
out
that
hole if it is
not
plugged
in some way.
For those
who
are receiving a replacement
transmission:
Many
people wait
until
the new
transmission arrives and use that crate
for
returning
the
old one. See Photo
8/137.
(Photo 8/133) Remove
starter
cable.

 Loading...