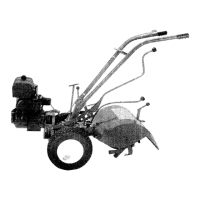
INSTALLING THE ENGINE ON ITS
MOUNT
Reinstall the
four
5/16"
bolts
into
the engine
mount
(6 H.P. engines), shown in Photo 8/105.
Then, replace
the
engine
pulley
shims and the
engine pulley on
the
engine crankshaft. Insert
the key in the keyway by tapping the key in
with
amallet
or
hammer-see
(Photo 8/106).
REPLACING THE ENGINE
With the engine
pulley
and engine
mount
in
place,
lift
up
the engine assembly and set it
back in place on the tiller. Align
the
holes in
the engine
mount
with
those in the transmission
so that you can replace one
of
the
engine
mount
bars (part #1034),
as
shown in Photos 8/107
and 8/108.
REPLACING ENGINE MOUNT BARS
Make sure that each engine
mount
bar-after
being cieaned and
greased-has
been placed in
the engine
mount
with
the
threaded hole
or
red
plastic cap on top.
When holes in the engine
mount
and the
transmission are lined up, insert the engine
mount
bar and push it
down
on one
side-see
Photo 8/108. Then, insert
the
bar
on the
other
side
of
the engine
mount
so
that
it holds the en-
gine and
mount
in place
for
you
temporarily.
Next, screw the
holding
bolt
and the jam
nut
for
each
mounting
bar
partially
into
position.
Don't
let the
bolt
protrude
into
the
hole
far
enough
to
prevent passage
of
the engine
mount
bar.
Tap the bars
down
lightly
until they have
penetrated the lowest hole
of
the transmission
case-see
Photo 8/109.
Align
the engine
mount
assembly
as
you
do
so. Momentarily, leave the
bars
right
where
they
are. Then, screw
in
the
locking
bolt
until the
bar
offers the slightest re-
sistance. Using a wrench to maintain
slight
pressure on the bolt, while you
continue
to tap
the bars in place, wait
for
the groove in the bar
to reach the
bolt-see
Photo 8/110.
Pressure
will
be released
from
the bolt.
Hold
the bar in
that
position.
Screw
the
bolt
all the
way in finger-tight, then back
off
one-half
turn.
Lock
the
bolt
securely
in place
with
jam
nut
using
two
wrenches-one
to
hold
the
bolt
in
po-
sition and
the
other
to
lock
the
jam nut. Test
the
up
and
down
play
of
the
mounting
bars
by
lifting
up
on
the
bar
and
pushing
it
back down.
This
test is
only
valid
if
someone
supports
the
engine and aligns
the
holes,
while
you
test
the
bars. Repeat the same process
on
the
other
side
ofthe
engine.
As
you
can see,
the
engine
mounting
bars
need
to
be lubricated well so
that
the
engine
can be raised and lowered on
the
bars as
you
shift
the Forward/Reverse Lever.
Next, reinstall
the
bolts
that
mount
the
yoke
to
the
engine
mount
(part
#1002)-see
Photo
8/98. (Make sure the bushings are in the
mount-
ing holes
of
the yoke.
REINSTALLING THE MATCHED SET
OF BELTS
Now,
it
is
time
to
reinstall a
matched
set
of
belts (part #1128) on
your
tiller. Please refer
to
the belt removal and installation
instructions
in Section 7
of
this
manual
for
illustrations
and
directions. Remember
to
do
this
before
you
re-
install the reverse
disc
and
while
you
are
in-
stalling the belts. Also, remember
to
keep
the
belts inside
of
the belt
guide
on
the
motor
mount.
After
the
belts are installed, then return
to the next step.
REPLACING THE REVERSE DISC
Before installing
the
disc,
look
at it
to
make
sure the surfaces are
not
chipped
or
gouged
out.
Note
whether
there is excessive wear on
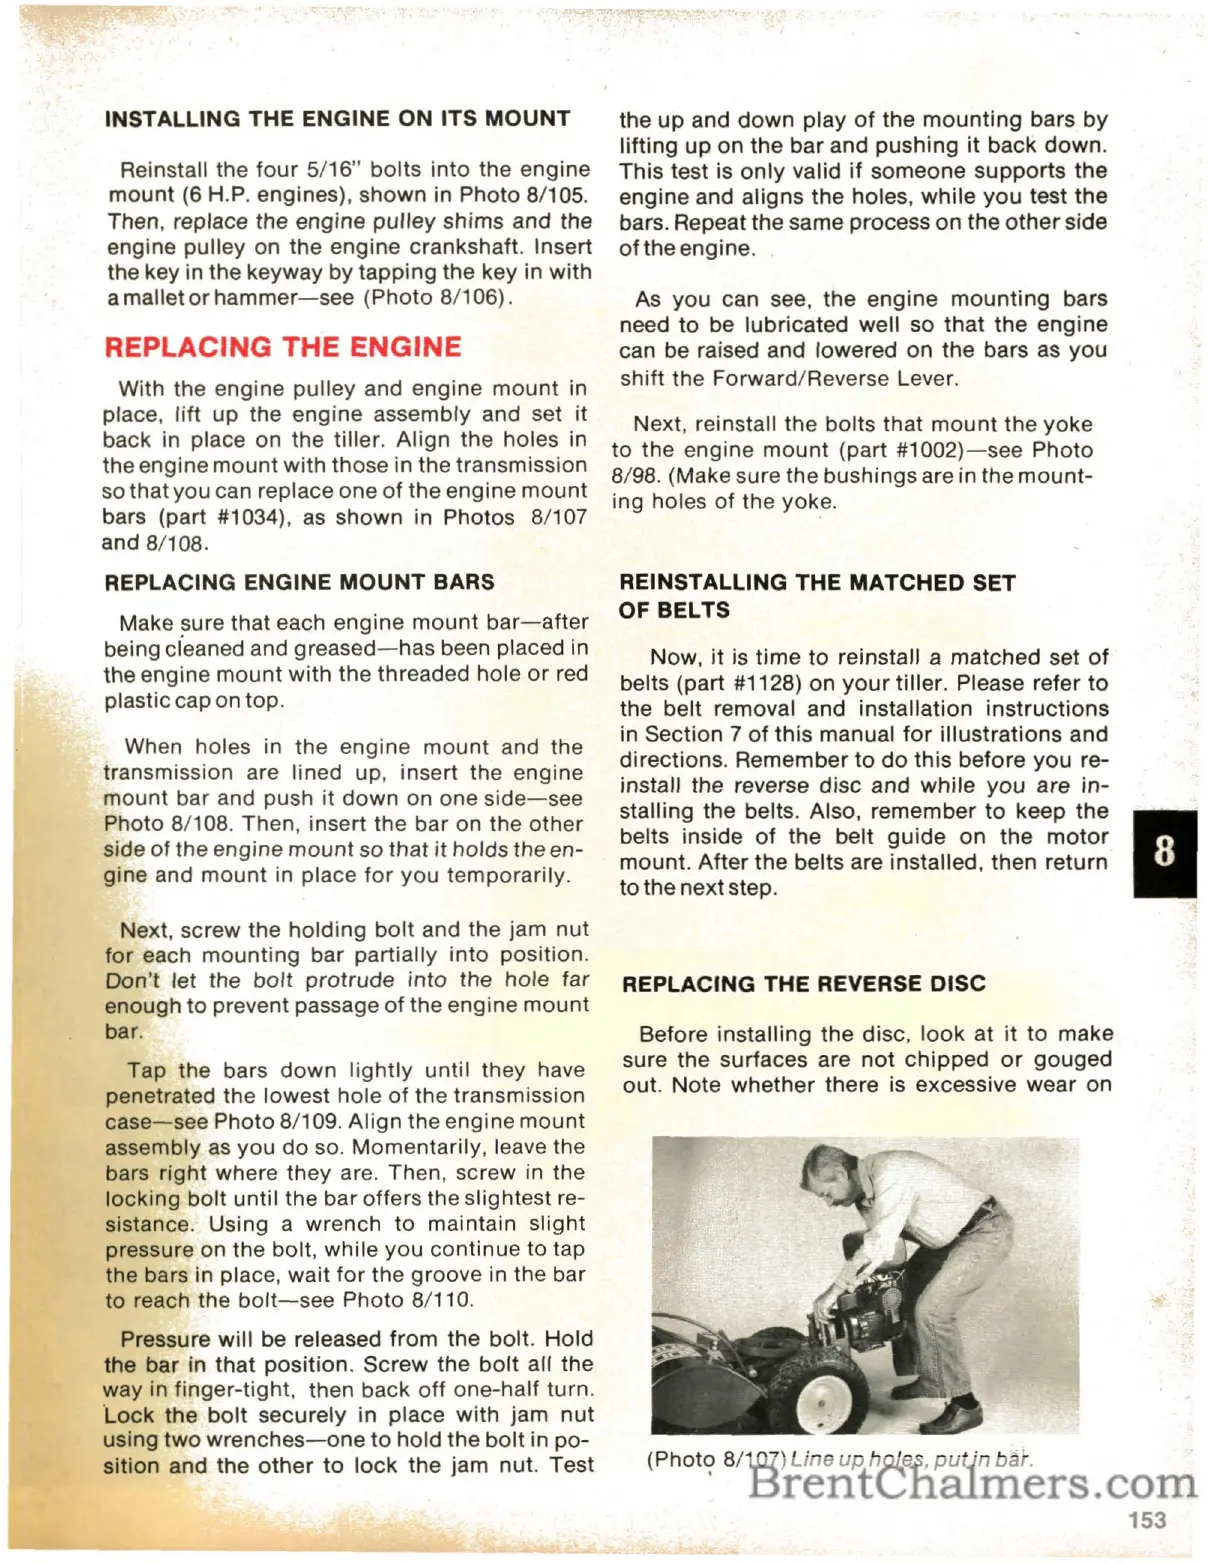
(Photc;>
8/107) Line
up
holes,
put
in
bar.
I
153
 Loading...