Fill all 6 cells on
your
12 volt battery with fresh
battery grade
acid-sulfuric
acid with a
specific
gravity
of
1.265. Fill each cell
with
battery acid
up
to
the
bottom
of
the acid fill
tubes-see
Sketch 1/23. Always keep plates covered
with
acid.
Note
that
the
depth
regulator
of
your
tiller
should
be in "travel" position,
with
the tines
off
the floor. Wait
20
minutes, recheck the level and
add
more
acid where needed
to
bring
each cell
up
to
the
proper
level. It
will
take
slightly
less
than
1%
quarts
(56 ounces).
Don't
dilute
the acid
with
distilled
water
dur-
ing initial preparation period. YOU
MAY
ADD
WATER (DISTILLED) LATER
ON
TO
RE-
PLACE WATER
THAT
HAS
"BOILED
OFF."
If acid level is
too
low
or
acid is
diluted,
you
won't
get
full starting
power
or
receive a satis-
factory
battery recharge. Never add acid
to
bat-
tery after initial filling. It can
do
more
harm
than good.
NOTE:
Almost
any large service station
or
bat-
tery
supply
store has
the
battery acid needed,
and will charge the
battery-if
it is necessary.
CAUTION
•
If
battery is charged
or
installed in reverse,
damage can result
to
the
battery,
diode
and
electrical system.
• Accidental
grounding
of
wires and terminals
is the first
thing
to
look
for,
if
you
have
diffi-
cUlty. Keep
the
battery charged at all times.
During inactive periods, use
your
electric start
and run
the
engine
for
30
minutes
to charge
your
battery.
....
IIIIIIII'
....
liliiii
I
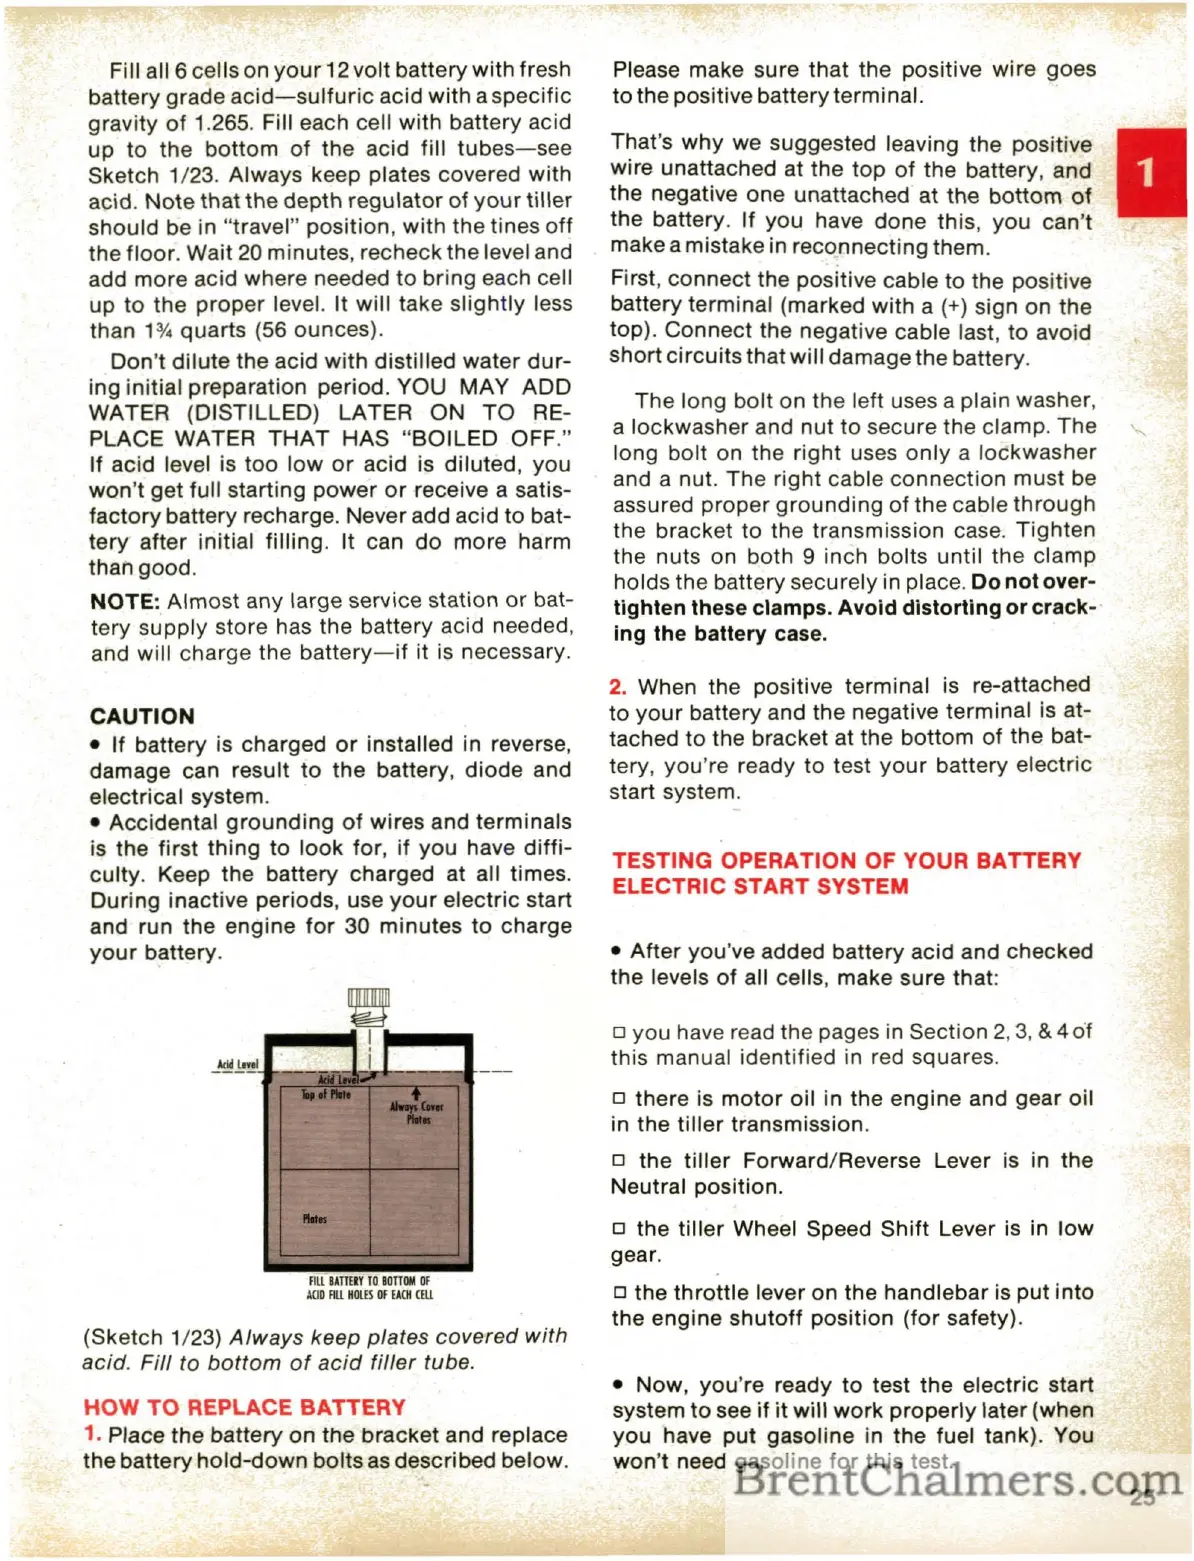
FiUBAlTEIl
TO
BOTTOM
Of
AaD
FIlL
HIlUS
DF
UCH
CEU
(Sketch 1/23)
Always
keep plates
covered
with
acid.
Fill
to
bottom
of
acid
filler
tube.
HOW
TO
REPLACE
BATTERY
1. Place the battery
on
the bracKet
and
replace
the
battery
hold-down
bolts
as described below.
Please make sure that the positive
wire
goes
tothe positive batteryterminal.
That's
Why
we suggested leaving the positive
wire unattached at
the
top
of
the battery, and
the negative one unattached
at
the
bottom
of
the battery. If you have done this,
you
can't
make a mistake in reconnecting them.
First,
connect
the positive cable to the positive
battery terminal (marked with a
(+) sign
on
the
top).
Connect
the negative cable last, to avoid
short
circuits
thatwill
damage the battery.
The long
bolt
on the left uses a plain washer,
a lockwasher and
nut
to secure
the
clamp. The "-
long
bolt
on the
right
uses
only
a
lockwasher
and a nut. The
right
cable
connection
must
be
assured
proper
grounding
of
the
cable
through
the bracket to the transmission case.
Tighten
the nuts on both 9 inch bolts
until
the
clamp
holds the battery securely in place.
Do
not
over-
tighten
these clamps.
Avoid
distorting
or
crack-'
jng the battery case.
2.
When the positive terminal is re-attached
to
your
battery and
the
negative terminal is at-
tached
to
the bracket at the
bottom
of
the
bat-
tery,
you're
ready
to
test
your
battery electric
start system.
TESTING OPERATION OF YOUR BATTERY
ELECTRIC
START
SYSTEM
•
After
you've added battery acid and checked
the
levels
of
all cells, make sure that:
o you have read the pages in Section
2,
3,
& 4
o"f
this manual identified in red squares.
o
there
is
motor
oil in the
engine
and gear oil
in
the
tiller
transmission.
o the
tiller
Forward/Reverse Lever is in
the
Neutral position.
o the
tiller
Wheel Speed
Shift
Lever is in
low
gear.
o the
throttle
lever on
the
handlebar
is
put
into
the engine
shutoff
position
(for
safety).
• Now,
you're
ready
to
test the electric start
system
to
see
if it
will
work
properly
later(when
you
have
put
gasoline in
the
fuel tank). You
won't
need gasoline
for
this
test.
25

 Loading...