LIFT AND REMOVE ENGINE ASSEMBLY -
(ALL ENGINES)
Prepare
for
removal
of
the
engine
by
having
ready a cement block,
or
a
box
about
4%"
to
12"
high,
or
a clear place on a table ready
upon
which
to
place the engine when
you
take it
off
the tiller.
The
6 H.P. standard engine and
mount
weigh
about
67 Ibs.
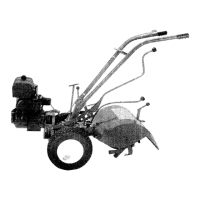
Lift the engine
mount
and engine assembly
first up, and then towards the front, and away
from the tiller.
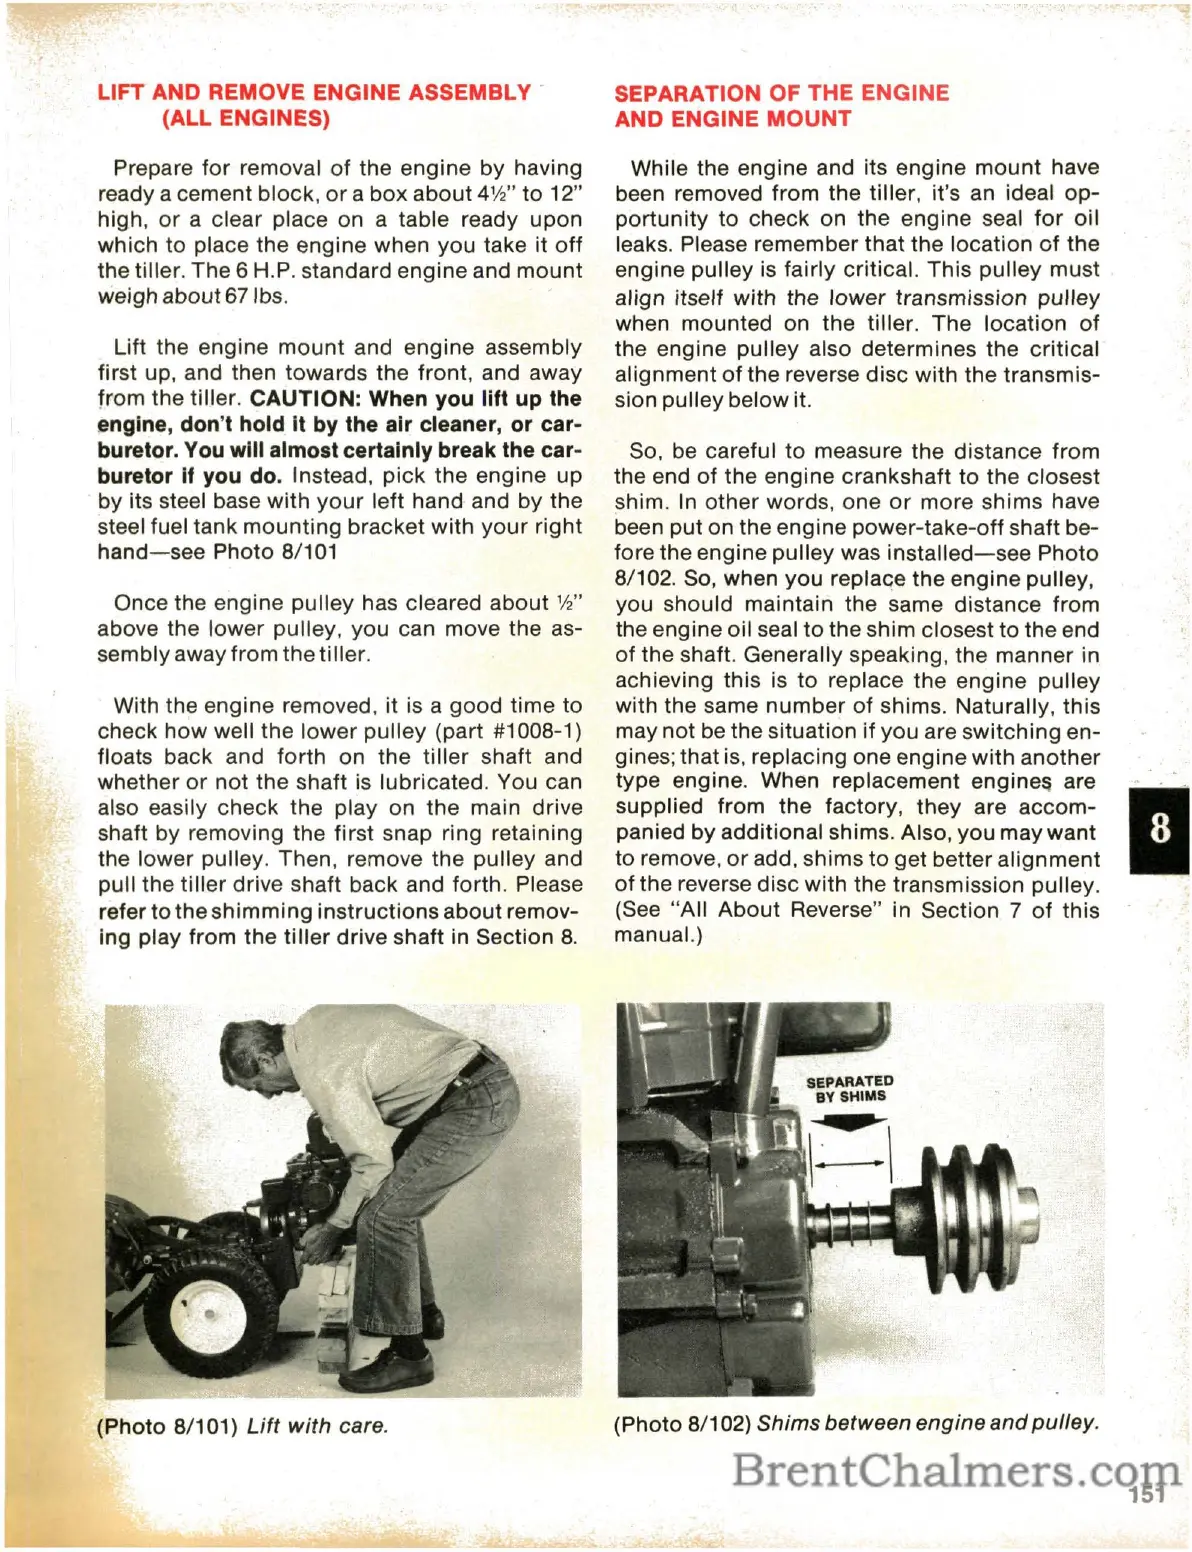
CAUTION: When you
lift
up
the
engine, don't hold it
by
the air cleaner, or car-
buretor.
You
will almost certainly break the car-
buretor
if
you
do. Instead,
pick
the
engine up
by its steel base
with
your
left
hand
and by the
steel fuel tank
mounting
bracket
with
your
right
hand-see
Photo 8/101
Once the engine
pulley
has cleared
about
%"
above the lower pulley,
you
can move the as-
sembly away from the tiller.
With the engine removed, it is a
good
time
to
check
how
well
the
lower
pulley
(part #1008-1)
floats back and forth on the
tiller
shaft and
whether
or
not
the shaft is lubricated. You can
also easily
check
the play on the main drive
shaft by removing the first snap ring retaining
the
lower
pulley. Then, remove the
pulley
and
pull the
tiller
drive shaft back and forth. Please
refer to
the
shimming
instructions
about
remov-
ing play from
the
tiller
drive shaft in Section
8.
(Photo 8/101)
Lift
with
care.
SEPARATION OF THE ENGINE
AND ENGINE
MOUNT
While the engine and its engine
mount
have
been removed from the tiller, it's an ideal
op-
portunity
to check on the engine seal
for
oil
leaks. Please remember
that
the
location
of
the
engine
pulley
is
fairly critical. This
pulley
must
align itself
with
the
lower
transmission
pulley
when mounted on the tiller. The location
of
the engine pulley also determines the critical
alignment
of
the reverse
disc
with
the transmis-
sion pulley below it.
So, be careful to measure
the
distance
from
the end
of
the engine
crankshaft
to
the
closest
shim.
In
other
words, one
or
more shims have
been
put
on
the
engine
power-take-off
shaft be-
fore the engine
pulley
was
installed-see
Photo
8/102. So, when
you
replace
the
engine pulley,
you should maintain the same distance from
the engine oil seal to the shim closest
to
the end
of
the shaft. Generally speaking, the manner in
achieving this is
to
replace the engine
pulley
with the same
number
of
shims. Naturally, this
may
not
be the situation if
you
are
switching
en-
gines; that is, replacing one engine
with
another
type engine. When replacement engine& are
'.
supplied
from
the factory,
they
are
accom-
1-'
panied
by
additional shims. Also,
you
may
want
;
to remove,
or
add, shims
to
get better
alignment
of
the
reverse disc
with
the transmission pulley.
(See
"All
About
Reverse" in Section 7
of
this
manual.)
(Photo 8/102)
Shims between engine
and
pulley.
151
 Loading...