Version 7.2 57 Mediant 1000B Gateway & E-SBC
User's Manual 6. Web-Based Management
save to flash) or powers off.
6.1.6.3 Deleting Table Rows
The following procedure describes how to delete a row from a table.
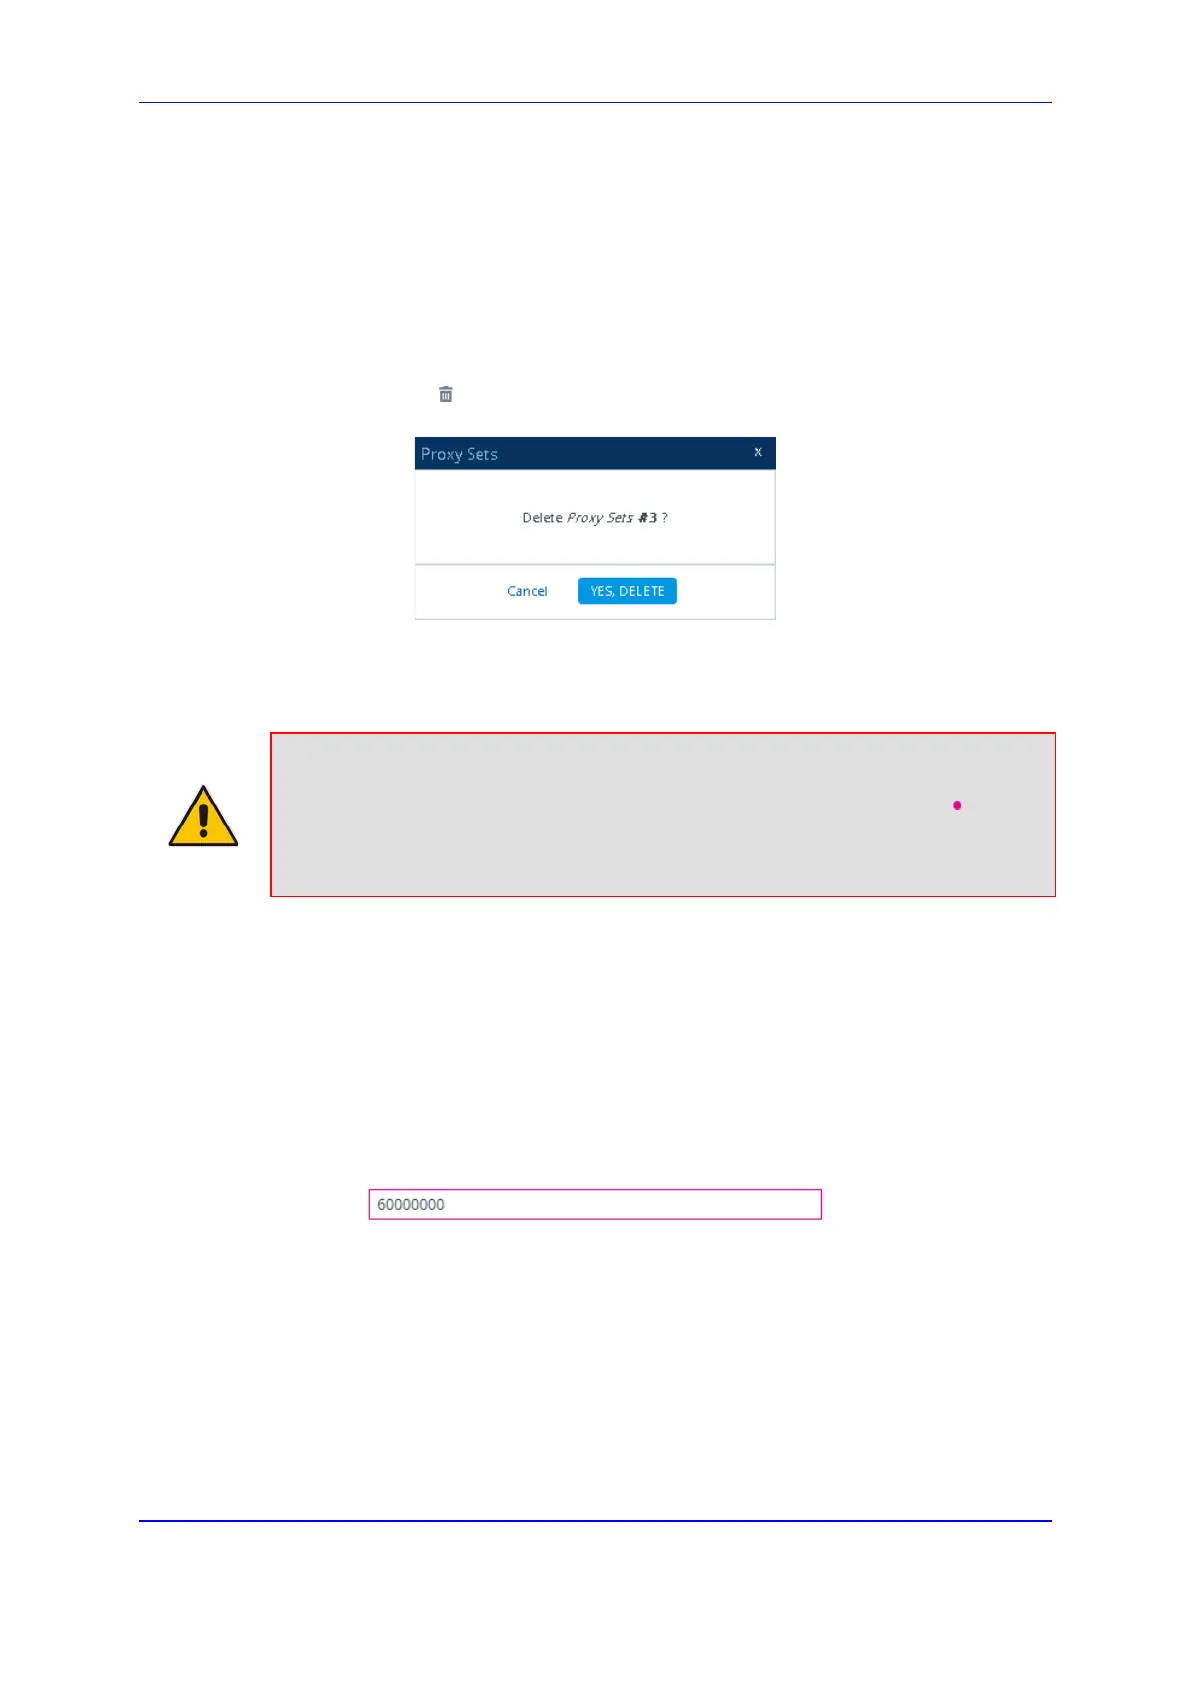
To delete a table row:
1. Select the row that you want to delete.
2. Click the delete icon, located on the table's toolbar; a confirmation message box
appears requesting you to confirm deletion, as shown in the example below:
3. Click Yes, Delete; the row is removed from the table and the total number of
configured rows that is displayed next to the page title and page item in the Navigation
tree is updated to reflect the deletion.
Note: If the deleted row (e.g., a Proxy Set) was referenced in another table (e.g., IP
Group), the reference is removed and replaced with an empty field. In addition, if the
reference in the other table is for a mandatory parameter, the invalid icon is
displayed where relevant. For example, if you delete a SIP Interface that you have
assigned to a Proxy Set, the invalid icon appears alongside the Proxy Sets item in
the Navigation tree as well as on the Proxy Sets page.
6.1.6.4 Invalid Value Indications
The Web interface provides the following indications of invalid values when configuring
table rows:
Parameters configured with invalid values: An invalid value is a value that is not
permissible for the parameter. This can include incorrect syntax (string, numeral, or
character) or an out-of-range value. If you enter an invalid value and then click Apply,
the field is surrounded by a colored border as shown in the example below.
Figure 6-8: Invalid Value
If you hover your mouse over the field, a pop-up message appears providing the valid
values. If you enter a valid value, the colored border is removed from the field. If you
leave the parameter at the invalid value and click Apply, the parameter reverts to its
previous value.
Mandatory parameters that reference rows of other configuration tables:
• Adding a row: If you do not configure the parameter and you click Apply, an
error message is displayed at the bottom of the dialog box, as shown in the
example below:

 Loading...


