User's Manual 92 Document #: LTRT-27045
Mediant 1000B Gateway & E-SBC
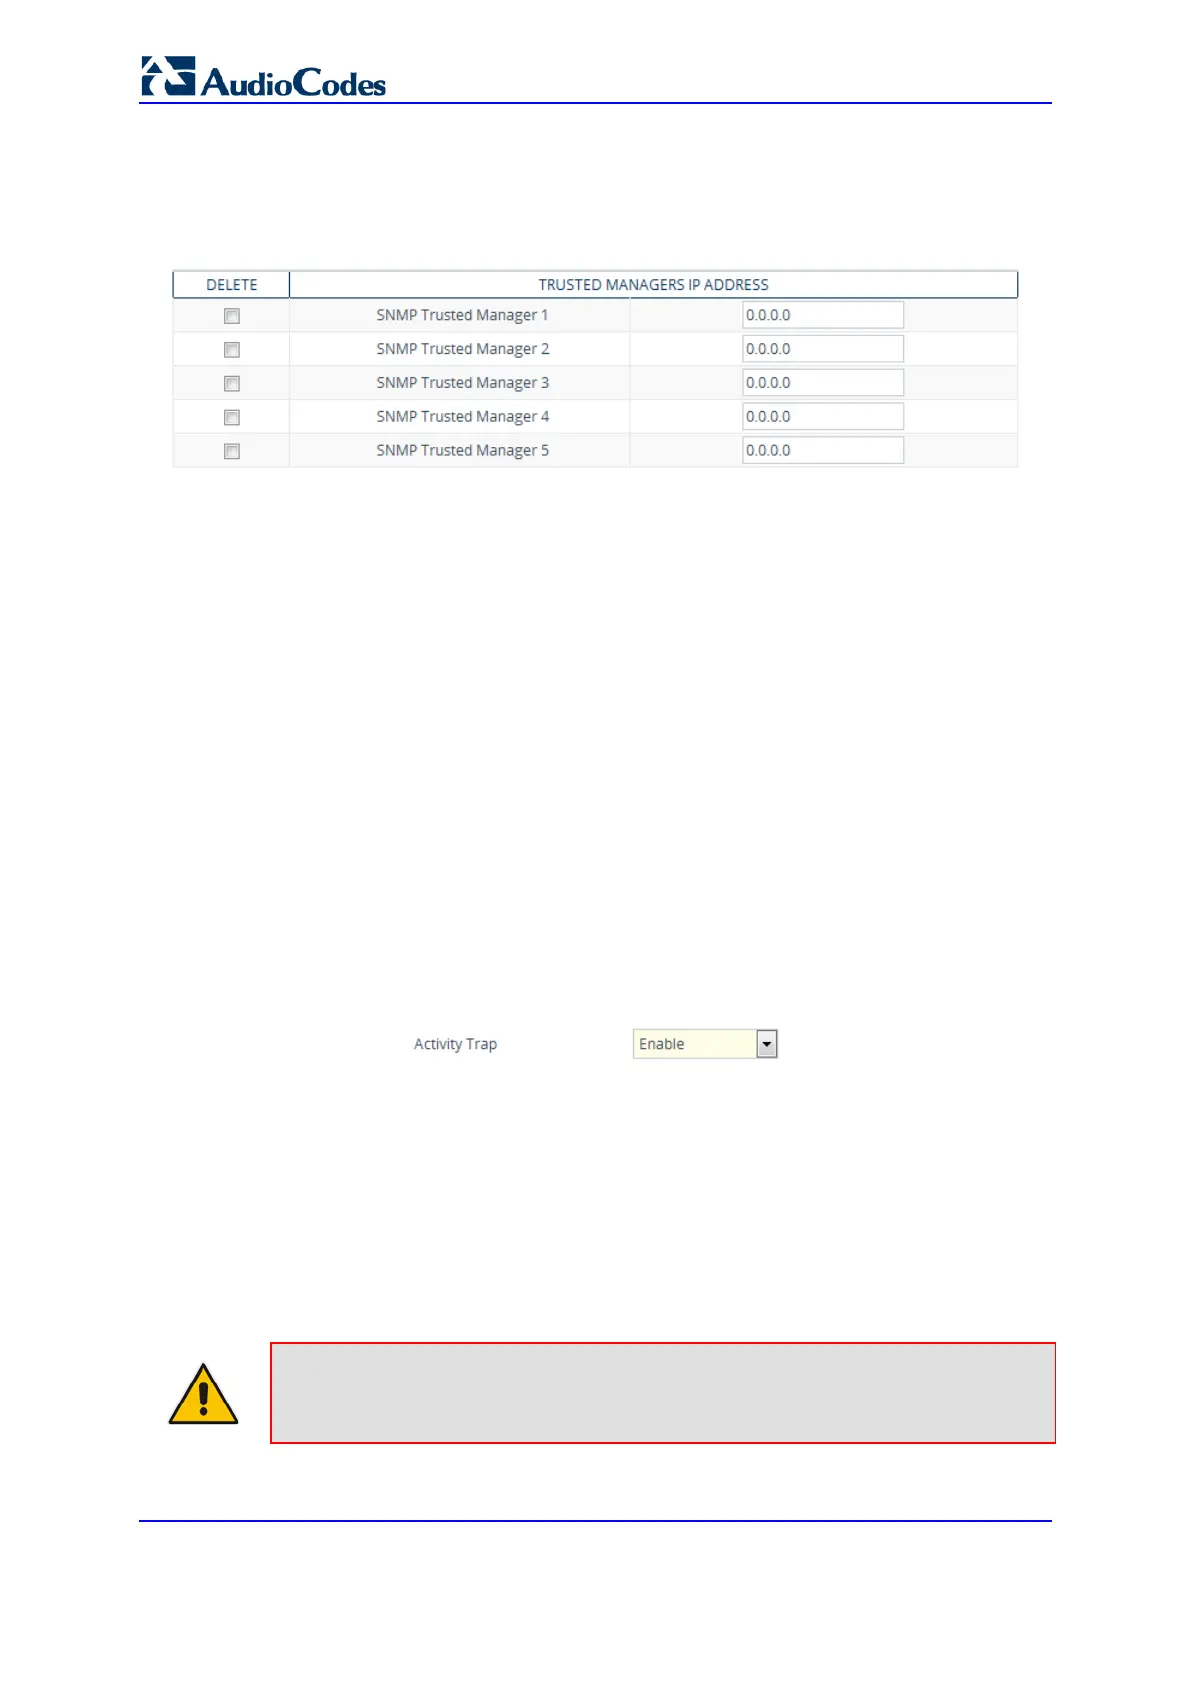
To configure SNMP Trusted Managers:
1. Open the SNMP Trusted Managers table (Setup menu > Administration tab > SNMP
folder > SNMP Trusted Managers).
Figure 8-4: SNMP Trusted Managers Table
2. Configure an IP address (in dotted-decimal notation) for one or more SNMP Trusted
Managers.
3. Select the check boxes corresponding to the configured SNMP Trusted Managers that
you want to enable.
4. Click Apply, and then reset the device with a save-to-flash for your settings to take
effect.
8.6 Enabling SNMP Traps for Web Activity
You can enable the device to send SNMP traps to notify of management users' activities in
the Web interface. A trap is sent each time an activity is done by a user. To configure the
types of Web activities that you want reported, see ''Configuring Reporting of Management
User Activities'' on page 893.
To enable traps to SNMP manager for Web activity:
1. Open the SNMP Community Settings page (Setup menu > Administration tab >
SNMP folder > SNMP Community Settings).
2. Under the Misc. Settings group, from the 'Activity Trap' drop-down list
(EnableActivityTrap), select Enable.
Figure 8-5: Enabling Trap for Web User Activities
3. Click Apply.
8.7 Configuring SNMP V3 Users
The SNMPv3 Users table lets you configure up to 10 SNMP v3 users for authentication
and privacy.
The following procedure describes how to configure SNMP v3 users through the Web
interface. You can also configure it through ini file (SNMPUsers) or CLI (configure system >
snmp v3-users).
Note: If you delete a user that is associated with a trap destination (see ''Configuring
SNMP Trap Destinations with IP Addresses'' on page 89
becomes disabled and the trap user reverts to default (i.e., SNMPv2).

 Loading...


