2. Preparing the projector
5
HDMI IN terminal (HDMI 19-pin)
6
COMPUTER/COMPO NENT V IDEO DVI-D IN (HDCP) terminal (DVI-D 24-pin)
7
SDI IN terminal (for PHWU -81B only)
8 LAN terminal
9
REMOTE1 IN terminal (D-SUB 9-pin female)
10
SERIAL IN and OUT term inals (D-SUB 9-pin male)
11
REMOT E 2 IN and OUT terminals
Do not use these terminals.
12
Kensington S ecurity Lo ck Standard conn ector
13 Power jack
2.3 Installation of the batteries into the remote control
Read carefully the battery safety instructions, see "Important safety instructions", page 6
Necessary parts
Tw o size-AAA batteries (R03).
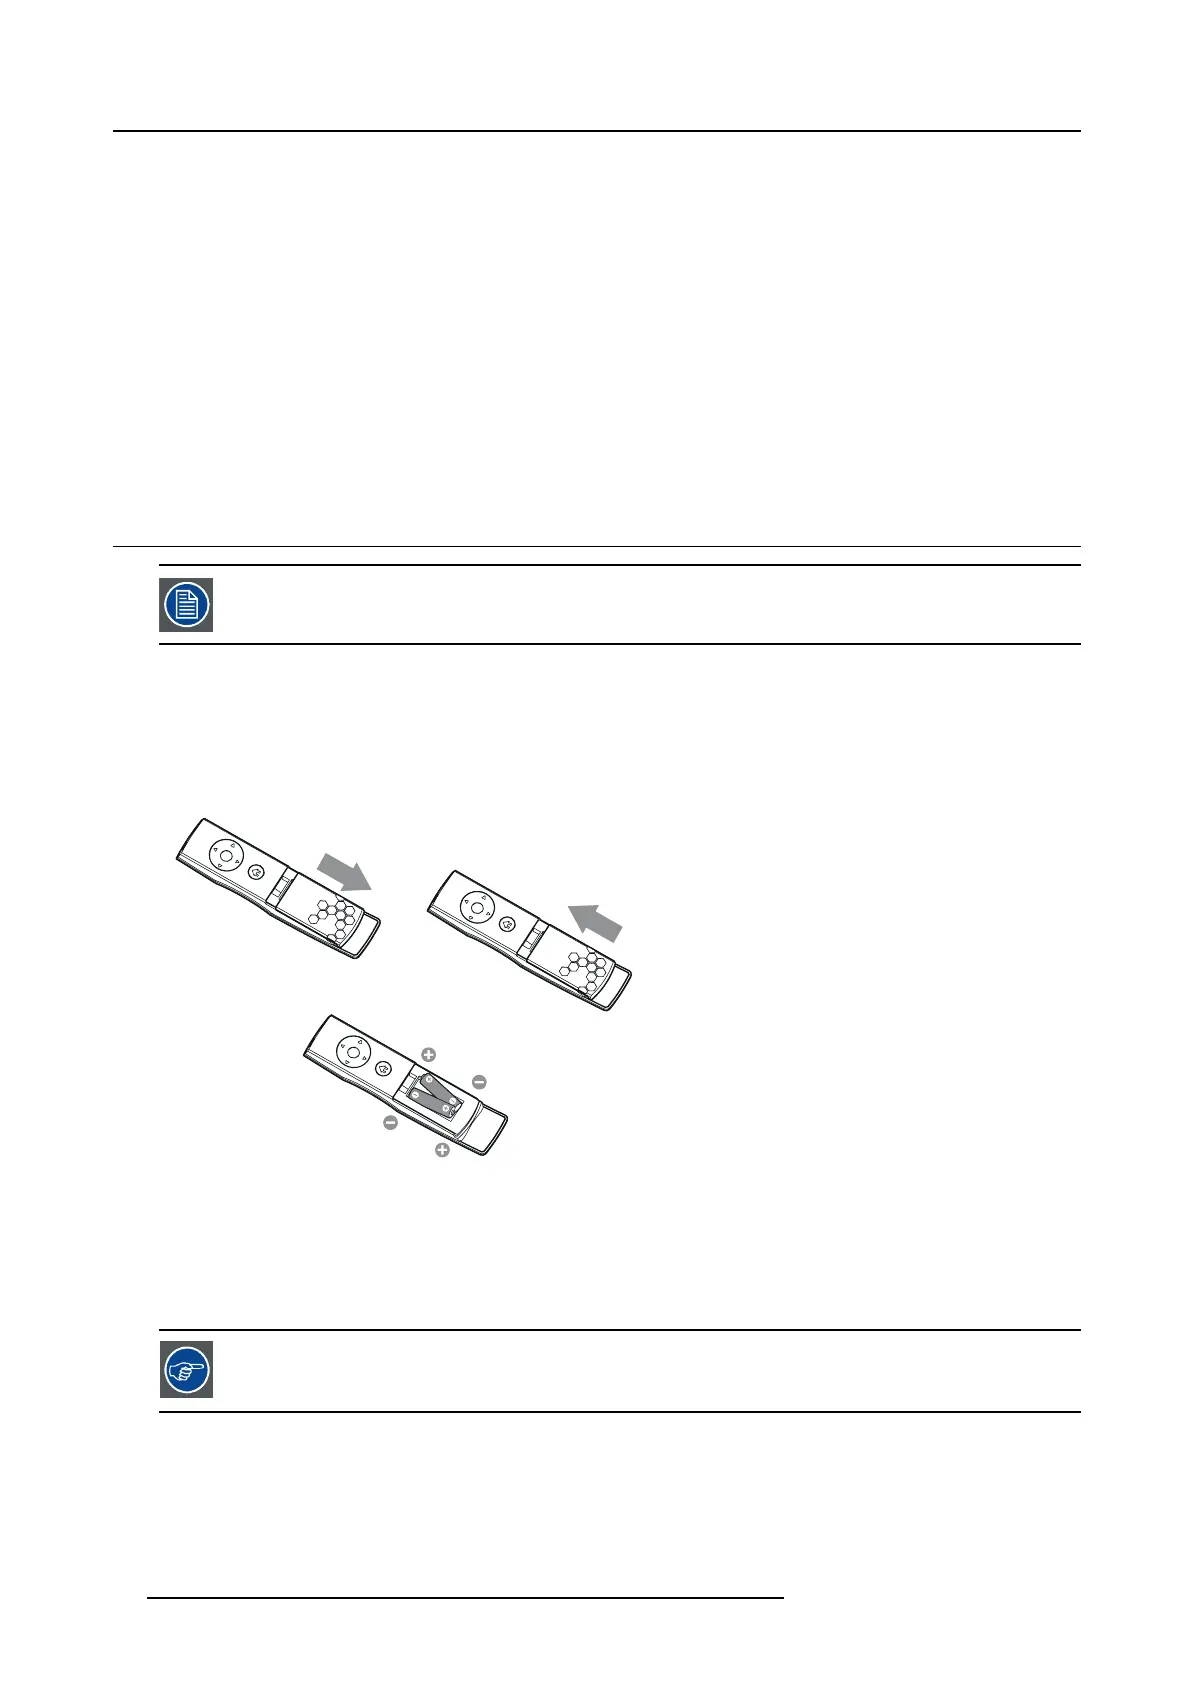
How to insert
1. Slide and remov e the rear lid of the remote control.
1
3
2
Image 2-5
Batteries in sertion
2. Check the polarity (+), (-) of the batteries, and set them correctly, inserting their (-) side first.
Note: If the battery is inserted from the (+) side first, inserting the (-) side is diffi c ult because the coil spring end hits on the
battery side. If the battery is forced to insert in this way, the outer label of the battery m a y get ripped and it may cause a
short-circuit and heating.
3. Attach the rear lid.
Replace the 2 batteries with new ones when the remote control is slow to operate.
Removing the batteries from the
remote control
Slide and remove the back lid of the remo te control and take out the batteries.
14
R5905597 PHXX SERIES 20/05/2014
 Loading...


