6. Adjustments with the ADVANCED menu
100
0
0
- - -
- - -
- - -
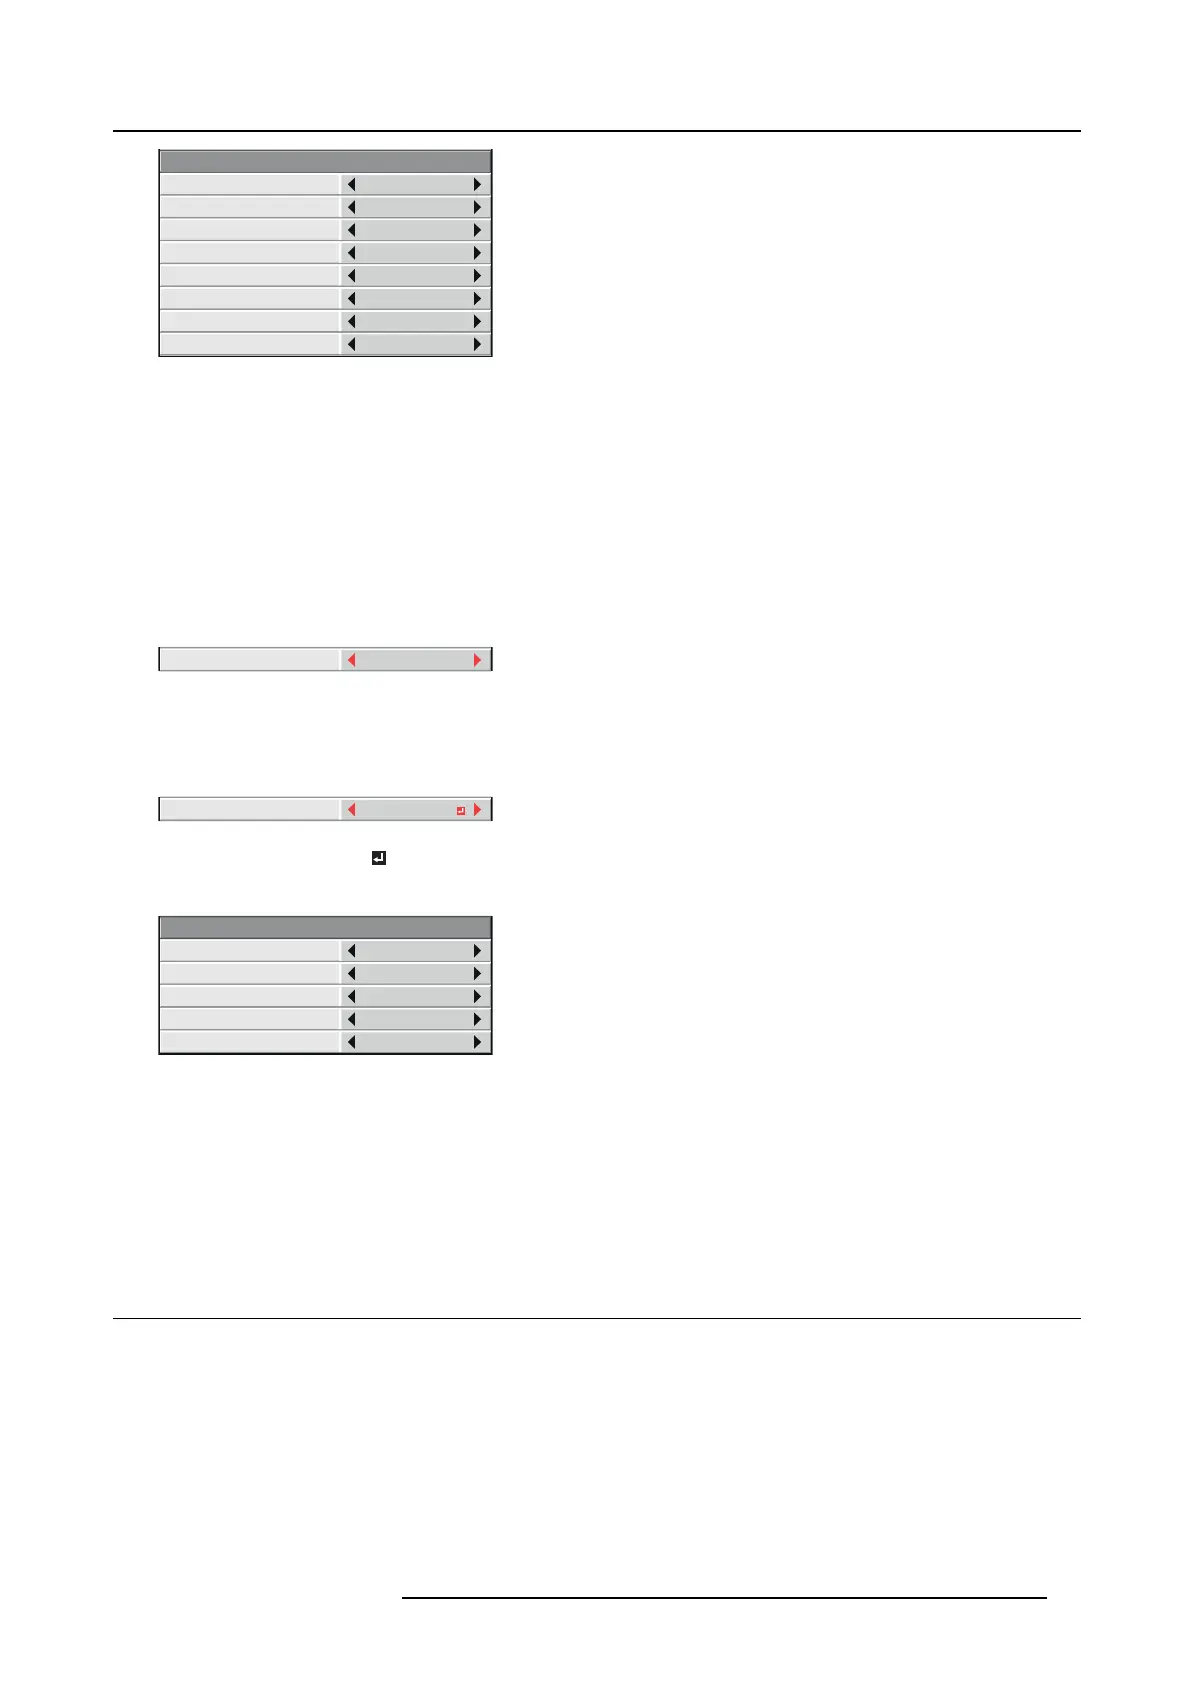
MANUAL – SETTING
COLOR
GAIN
SATURATION
HUE
RED
WHITE R
WHITE G
WHITE B
AUTO PATTERN
ON
Image 6-20
7. Select an item you want to set by pressing the ▲ or ▼ key.
Select the color you w ant to adjust using COLOR.
When you s et AUTO PAT TERN to ON, the test pa ttern of each color is displayed.
8. Select a setting value by pressing the ◄ or ► key.
9. Repeat step 7 and step 8, if ne cessary.
Adjustment using a chroma meter
1. Display the M ULT I-SCREEN menu.
2. Select COLOR M AT CHING by pressing the ▲ or ▼ key.
OFF
COLOR MATCHING
Image 6-21
3. Select MEASURE by pressing the ◄ or ► ke y.
Set now the meas ured brightness and the chromaticity coordinates
4. Select MEASURE by pressing the ▲ or ▼ ke y.
MEASURED DATA
MEASURE
Image 6-22
5. Select MEASURED DATA by pressing the ◄ or ► ke y.
6. Press the ENTER key.
*
.
***
*
.
***
*
.
***
MEASURE – TARGET DATA
COLOR
GAIN
x
y
RED
AUTO PATTERN
ON
Image 6-23
7. Select an item you want to set by pressing the ▲ or ▼ key.
→ Select the color you want to adjust using COLOR.
→ When you set AUTO PATTERN to O N, the test pattern of e ach co
lor is displayed.
8. Select a setting value by pressing the ◄ or ► key.
9. Repeat step 7 and step 8, if ne cessary.
6.18 Resetting the settings
About reset
You can reset the SETTING , MANU AL, and MEASURE settings to the factory defaults.
How to reset
1. Display the M ULT I-SCREEN menu.
2. Select SETTING, MANUAL or MEASUR E by pressing the ▲ or ▼ key.
3. Select RESET by pressing the ◄ or ► key.
4. Press the ENTER key.
R5905597 PHXX SERIES 20/05/2014
67
 Loading...


