7. Initial network settings
7. INITIAL NETWORK SETTINGS
Where to find the settings
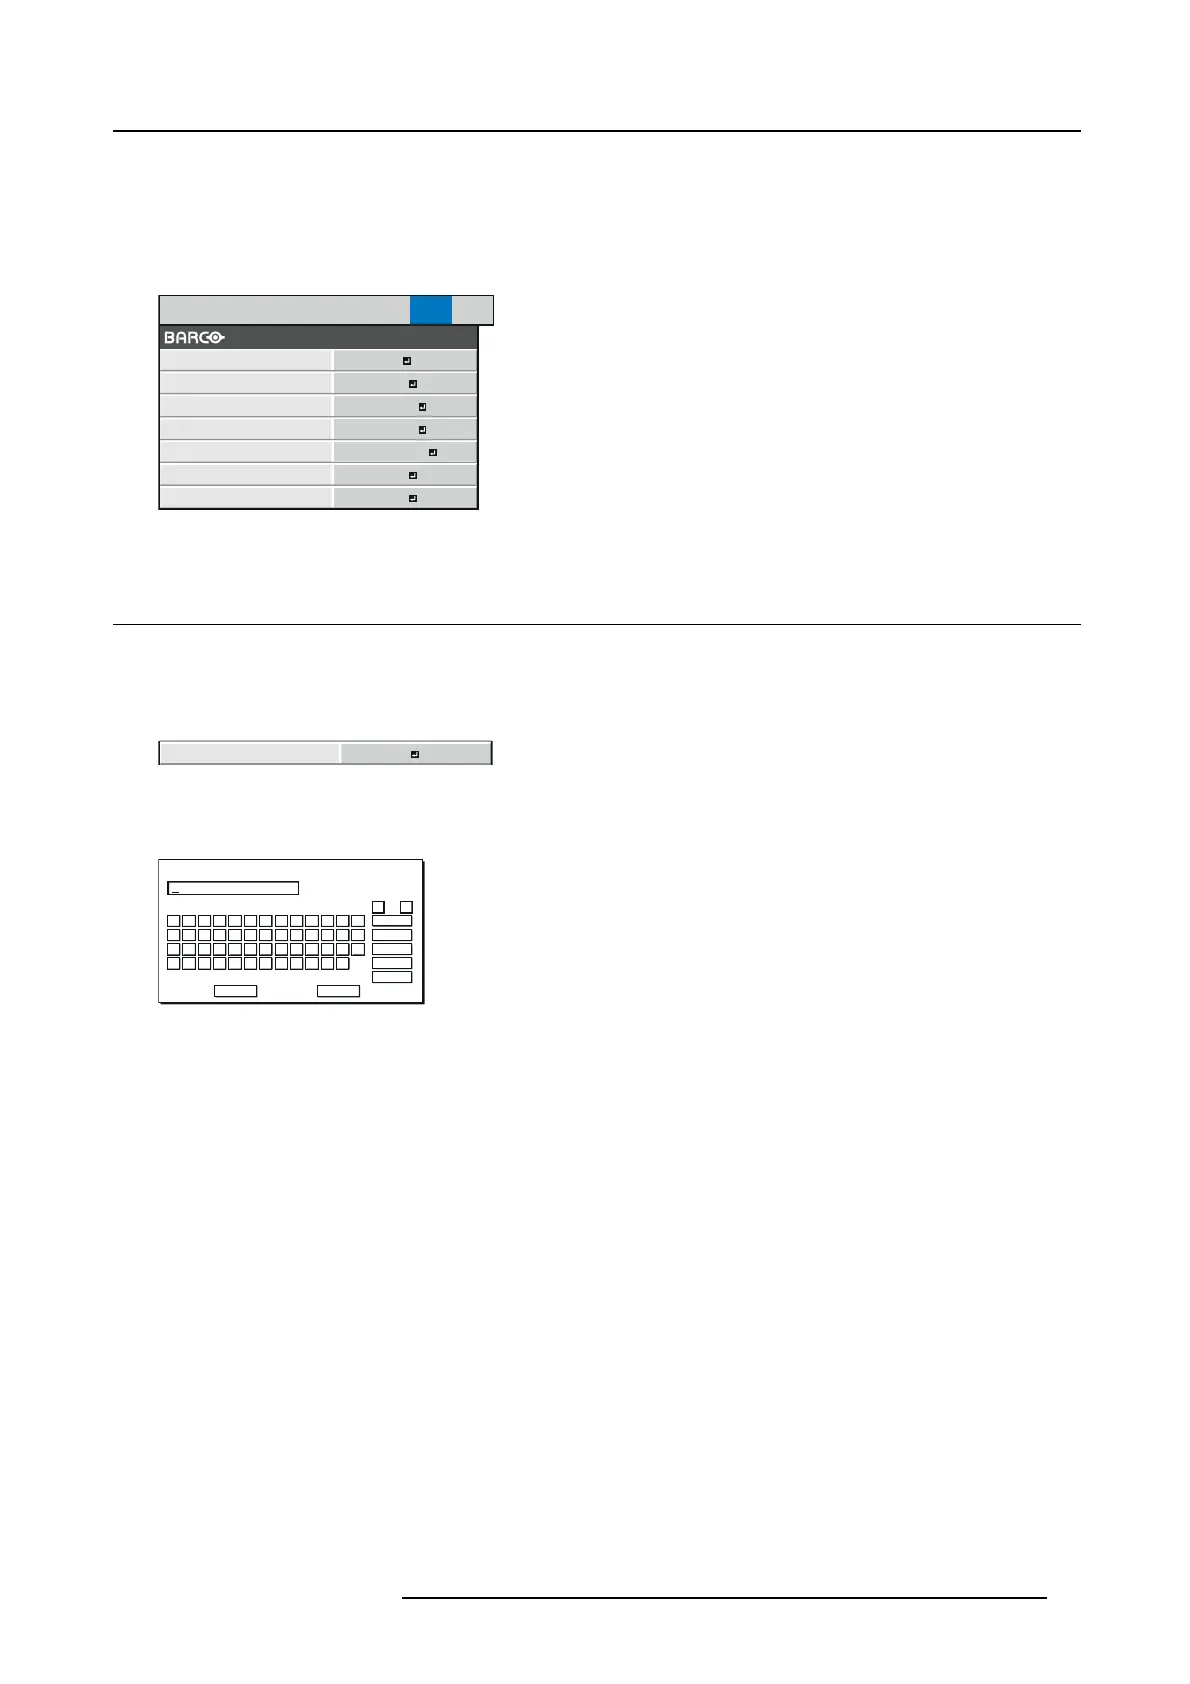
You can set the network of the projec tor us ing the NE TWORK menu in the ADVANCED menu of the OSD Lite m enu.
IMAGE INSTALL1 INSTALL2
MULTI-
SCREEN
FEATURE SIGNAL NETWORK INFO
CONTROL SYSTEM
NETWORK
PASSWORD
NETWORK
CERTIFICATION
PROJECTOR NAME
IP CONFIG
NETWORK RESET
STANDARD
ENTER
ENTER
OK
OFF
NETWORK RESTART
OK
Image 7-1
7.1 Setting Pr ojector Name
How to set
1. Display the NETWORK menu.
2. Press the ▲ or ▼ key to select PROJEC TOR NA ME.
PROJECTOR NAME
Image 7-2
3. Press the ENTER key.
PROJEC TOR NAME screen appears.
CODE : XXXXX V Z $ %
A
OK
cap s
NEXT
SP AC E
CLEAR
DEL
CANCEL
B C D E F G H I J K L M
N O P Q R S T U V W X Y Z
0 1 2 3 4 5 6 7 8 9 – . _
! ” # $ % ’ ( )
*
+ , /
← →
PROJECTOR NAME
Image 7-3
4. Press the d irection keys to move the key cursor, select the c haracters or mark s to enter, and press the ENTER key.
Projector Nam e can be set using up to 15 c haracters inc luding alphabets (capital/small), numer ic characters, or marks.
← key:
Shifting the position of enter cursor to the left for each c haracter.
→ key:
Shifting the position of enter cursor to the right for each c haracter.
DEL key:
Deleting the character in the position of enter cursor for each character.
caps/CAPS key: S witching an alphabet character to CAPITAL or small.
NEXT/PREV key: Switching the marks listed on the fourth line.
SPACE key: Inserting a s pace in the pos ition of enter cursor.
CLEAR key:
Deleting all the entered characters.
5. When selecting OK, the setting is c ompleted as the name stored. However, when selecting CANCEL, the setting is completed
without storing.
→ The display returns the N ET W ORK menu after selecting O K or CANCEL.
→ Itmaytakesometimetoreflect the settings.
R5905597 PHXX SERIES 20/05/2014
75
 Loading...


