6. Adjustments with the ADVANCED menu
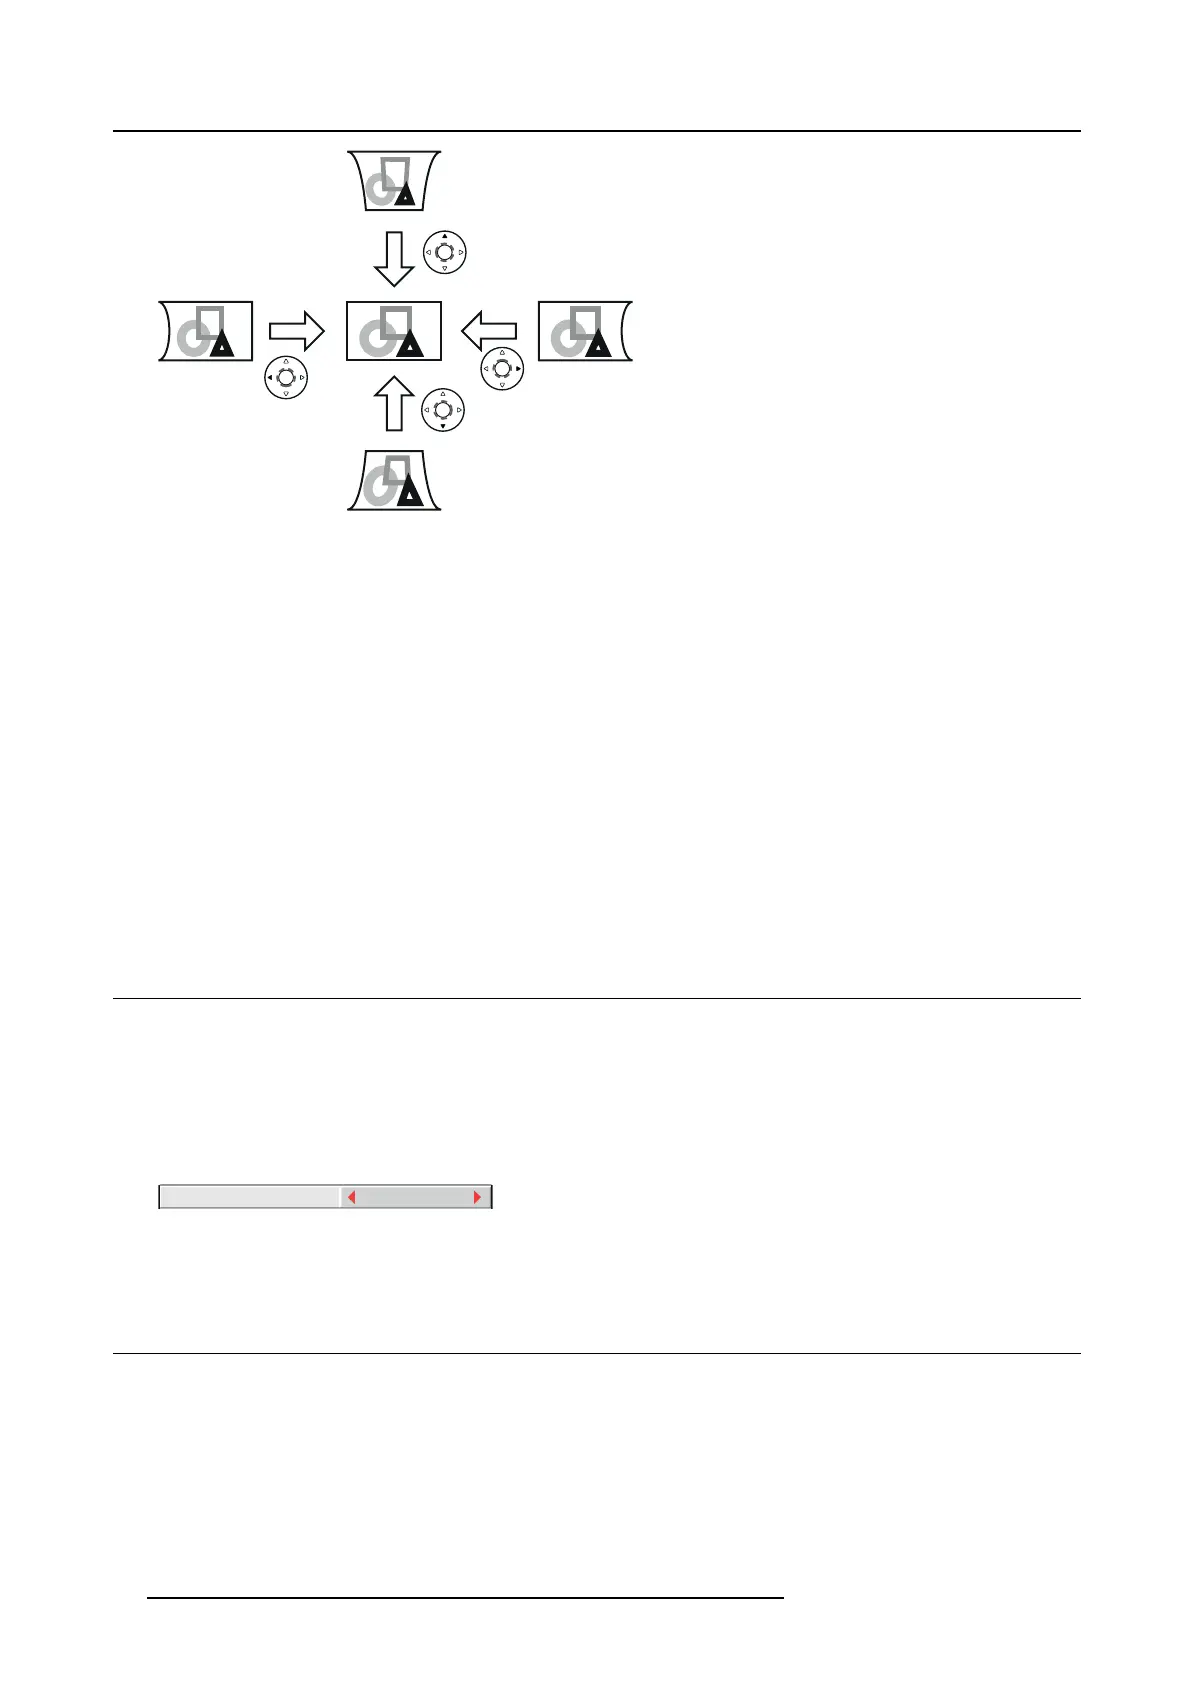
Image 6-32
When you pr e ss the ◄ or ► key in the RE SE T mode, the distortion correction is reset.
Important
• When the CURVED-mode adjustm ent takes effect, the resolution decreases. In add ition, stripes may appear or straight lines
may bend in im ages with complicated patterns. They are not due to product malfunctions.
• When the CU RVED-mod e ad justment is performed, the displayed image ma y be distorted.
• Depending on the installation conditions of the projector a nd the screen or the c orrection amount o f the CURVED-mode adjust-
ment, you may n ot obtain a com plete rectangular sc reen or the cor
rect aspect ratio. Slight distortion can be corrected by the
CORNERSTONE-mode adjustment.
• Noise may appear on the screen du ring the CURVED-mode adjustment because of the type of the video signal being projected
and the setting values of the CURVED-mode adjustment. In such cases, set the CURVED-m ode adjustment values in the range
where the im age is displayed without noise.
• When you carry out the KEYSTONE-mode adjustmen t and the CURVED-mode adjustment in combination, the adjustment
range bec omes narrower than that in the ca se where you carry out these adjustments individually. When setting the arc s etting
value o f the CURVED-mode adjustment to 31 or larger, you cannot use the K EY STONEm ode adjustment.
• When carrying out the CURVED-m ode adjustment while the option lens is in use, you may not be able to obtain a perfectly
rectangular image or the correct aspect ratio. Slight d istortion can be corrected by the CORN ERS TONE-mode adjustment.
6.20 Changing the AUTO POWER OFF setting
About
The A UTO PO W E R OFF function of this projector is enabled by default. Change the AUTO POW ER OF F setting as necessary.
How to change
1. Display the INSTALLATION 2 menu.
2. Select AUTO PO WER OFF by pressing the ▲ or ▼ key.
AUTO POWER OFF 5min
Image 6-33
3. Select your desired item by pressing the ◄ or ► key.
6.21 Setting IMAGE REVERSE
Overview
• Set IMAG E RE VER SE in the INSTALLATION 1 menu according to the orientation of the projector. The default setting is OFF.
• Select OFF for the com bination of floor ins tallation and front p rojection.
• Select MIRROR INVERT for the co mbination o f ceiling installation and front projection.
• Select MIRROR for the combination of floor installation and rear projec tion.
• Select INVERT f or the c ombination of ceiling installation and rear projection.
72
R5905597 PHXX SERIES 20/05/2014
 Loading...


