7. Initial network settings
0. 0. 0. 0
SUBNET MASK
Image 7-14
3. Press the ENTER key.
SUBN ET MA SK screen appears.
255 . 255 . 255 . 0
0
OK
CLEAR
DEL
CANCEL
1234567 8 9
← →
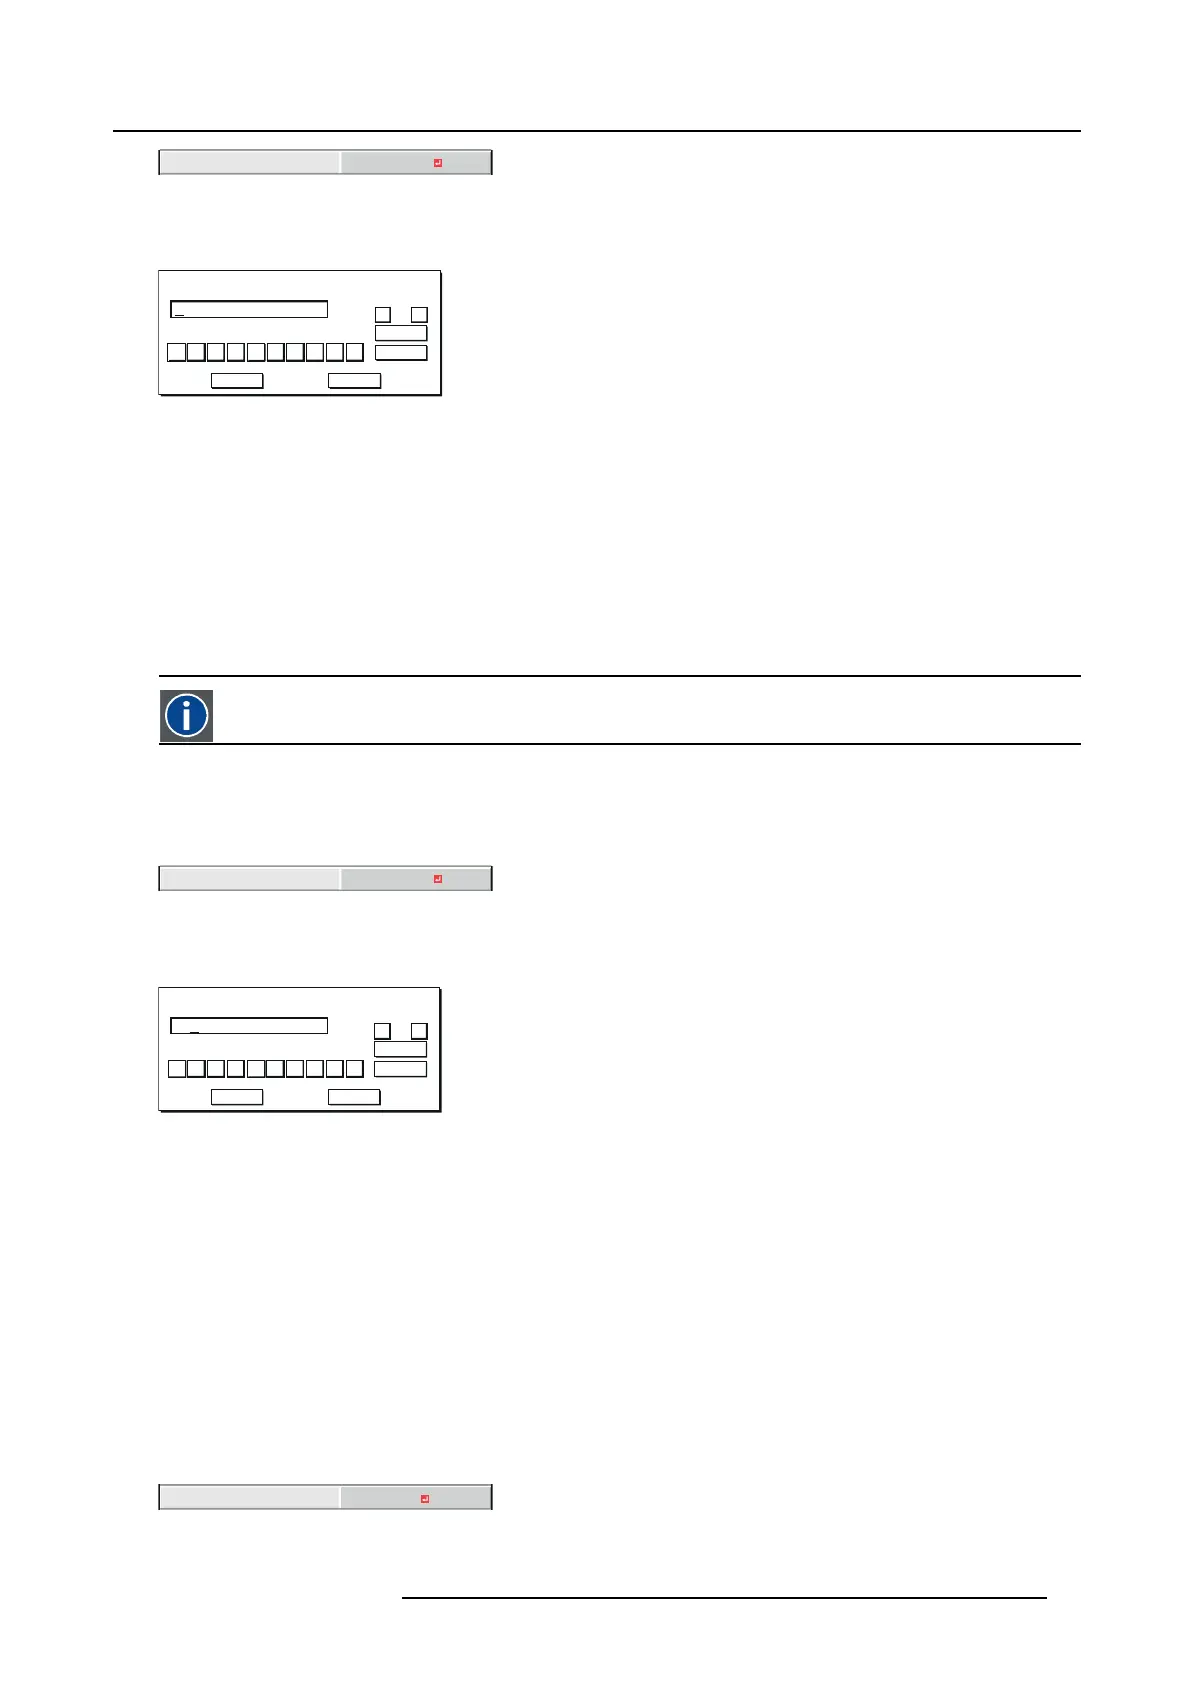
SUBNET MASK
Image 7-15
4. Enter the Subnet Mask.
Refer to IP Address Settings for the detail of entering.
5. Wh en selectin g OK, the setting is completed as the Subnet Mask stored temporarily. How ever, when selecting CANCE L,the
setting is com pleted without storing.
→ When the setting you entered is correct, the IP CONFIG menu is displayed. If the entered content is not correct, the IP CO NFIG
menu is displayed after an error dialog is displayed.
→ Until the execution of SAVE SETTINGS, the change is not saved.
7.4.5 Default Gateway Settings
Default G ateway
A server (or router) to communicate ac ross networks (subnets) that are divided by Subnet M ask.
How to set
1. Display the IP CO NFIG menu.
2. Press the ▲ or ▼ key to select DEFAULT GATEWAY.
0. 0. 0. 0
DEFAULT GATEWAY
Image 7-16
3. Press the ENTER key.
DEFAULT GATEWAY screen appears.
10 . 132 . 1 . 1
0
OK
CLEAR
DEL
CANCEL
1234567 8 9
← →
DEFAULT GATEWAY
Image 7-17
4. Enter the Default Gateway.
Refer to IP Address Settings for the detail of entering.
5. Whe n selec ting OK, the setting is com pleted as the Default Gateway stored temporarily. However, when selecting CA NCEL,the
setting is com pleted without storing.
→ When the setting you entered is correct, the IP CONFIG menu is displayed. If the entered content is not correct, the IP CO NFIG
menu is displayed after an error dialog is displayed.
→ Until the execution of SAVE SETTINGS, the change is not saved.
7.4.6 Saving IP CONFIG Settings
How to save
1. Display the IP CO NFIG menu.
2. Press the ▼ key to select SAVE SETTINGS.
SAVE SETTINGS
OK
Image 7-18
3. Press the ENTER key.
R5905597 PHXX SERIES 20/05/2014
79
 Loading...


