5. Advanced menu
The selected menu is displayed.
IMAGE INSTALL1 INSTALL2
MULTI-
SCREEN
FEATURE SIGNAL NETWORK INFO
COMPUTER
0
COLOR
0
TINT
0SHARPNESS
ADVANCED MENU
COLOR MATRIX
SUPER RESOLUTION
BRIGHTNESS 0
COLOR ENHANCER
AUTO
CONTRAST
STANDARDCOLOR TEMP.
0
ENTER
ON
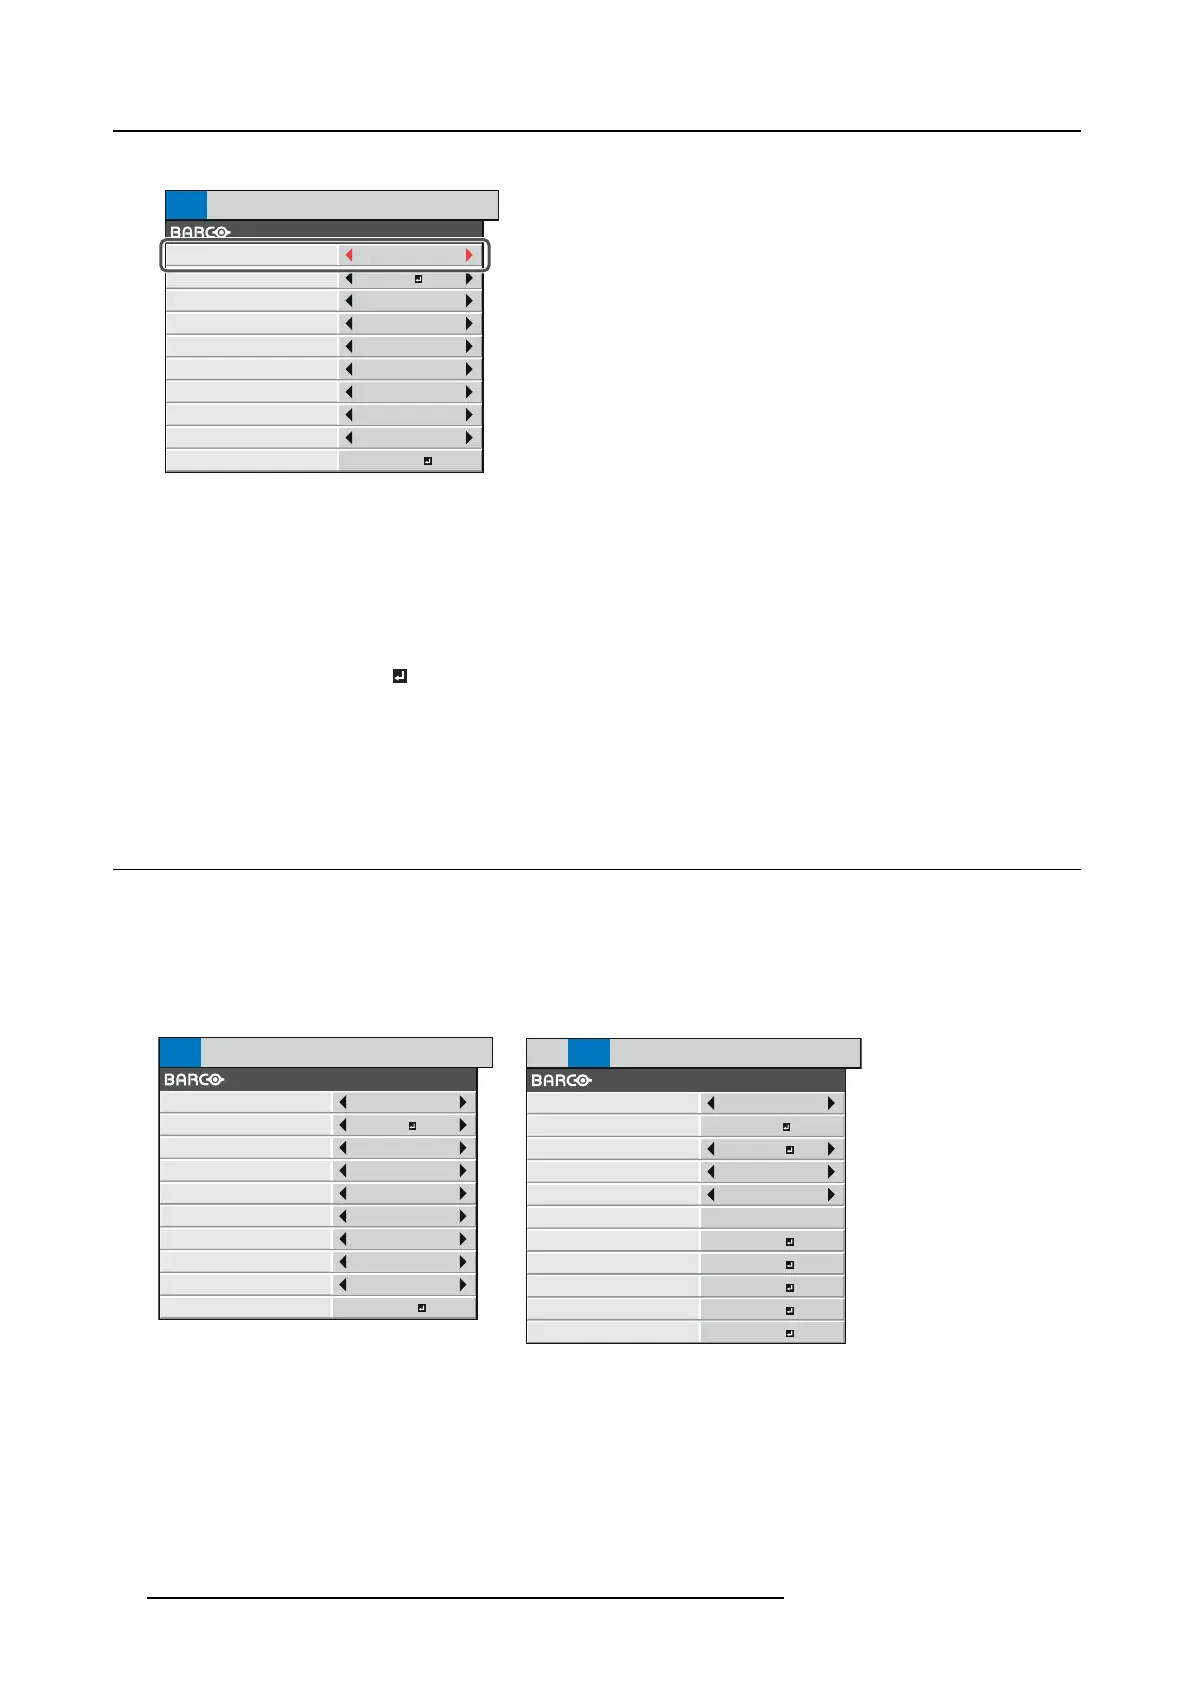
Image 5-4
The item being selected is displayed in r ed letters.
6. Press the ▲ or ▼ key to select an item to adjust.
7. Set the selected item by pressing the ◄ or ► key.
8. To cancel the menu, press the HOME key several times.
Important
• When an item marked w ith “ ” is s elected, pressing the ENTER key makes its value effective or displays another screen for
further s etting.
• When the HOME k ey doesn’t function, unplug the power cord from the wall outlet. Wait about 10 minutes, p lug the power cord
in, and try again.
• The menus and screens shown in this manual may be different from those of the actual projector.
5.2 Advanced menus overview
Overview
You can make various settings using the displayed menus.
Following 8 menus are displayed. (These menus show those of PHW U-81B. Some m enu items are different depending on the
models.)
IMAGE menu
0
0
0
0
0
IMAGE INSTALL1 INSTALL2
MULTI-
SCREEN
FEATURE SIGNAL NETWORK INFO
COMPUTER
COLOR
TINT
SHARPNESS
ADVANCED MENU
COLOR MATRIX
SUPER RESOLUTION
BRIGHTNESS
COLOR ENHANCER
CONTRAST
STANDARDCOLOR TEMP.
ON
AUTO
ENTER
Image 5-5
INSTALLATION 1 m enu
IMAGE INSTALL1 INSTALL2
MULTI-
SCREEN
FEATURE SIGNAL NETWORK INFO
LAMP MODE
LAMP SELECT
STANDARD
1H/24H
LOW
OFF
STANDARD
DUAL
LAMP RELAY
HIGH ALTITUDE MODE
STANDBY MODE
IMAGE REVERSE
LENS LOCK
ENTER
GEOMETRY
ENTER
TEST PATTERN
ENTER
SPLIT
ENTER
AUTO POSITION
ENTER
Image 5-6
40 R5905597 PHXX SERIES 20/05/2014
 Loading...


