6. Adjustments with the ADVANCED menu
Important
• When the CORNE RSTONE-mode a djustment takes effect, the resolution de creases. In addition, stripes may appear or straight
lines may bend in images with c omplicated patterns. They are not due to product m alfunctions.
• When the CO RNER STONE-m ode adjustment is performe d, the displayed image m ay be dis torted.
• Noise may appear on the sc reen during the CORNERSTONE-mode adjus tment because of the type of the video signal being
projected and the setting values of the CORNE RSTONE-m ode adjustment. In such cases, set the C OR NERS TONE-mode
adjustment values in the range w here the image is displayed without no ise.
• Large distortion of the image shape or aspec t ratio may not be corrected by the C OR NERS TONE-m ode adjustment.
6.19.3 Adjustment using the CURVED mode
When using?
Use this ad justment to a djust images projected on a curved surface.
How to adjust
1. Display the INSTALLATION 1 menu.
2. Select GEOMETRY by p ressing the ▲ or ▼key.
3. Press the ENTER key.
The KEYSTONE m enu appears.
4. Press the ENTER ke y twice.
The CURVED menu appears.
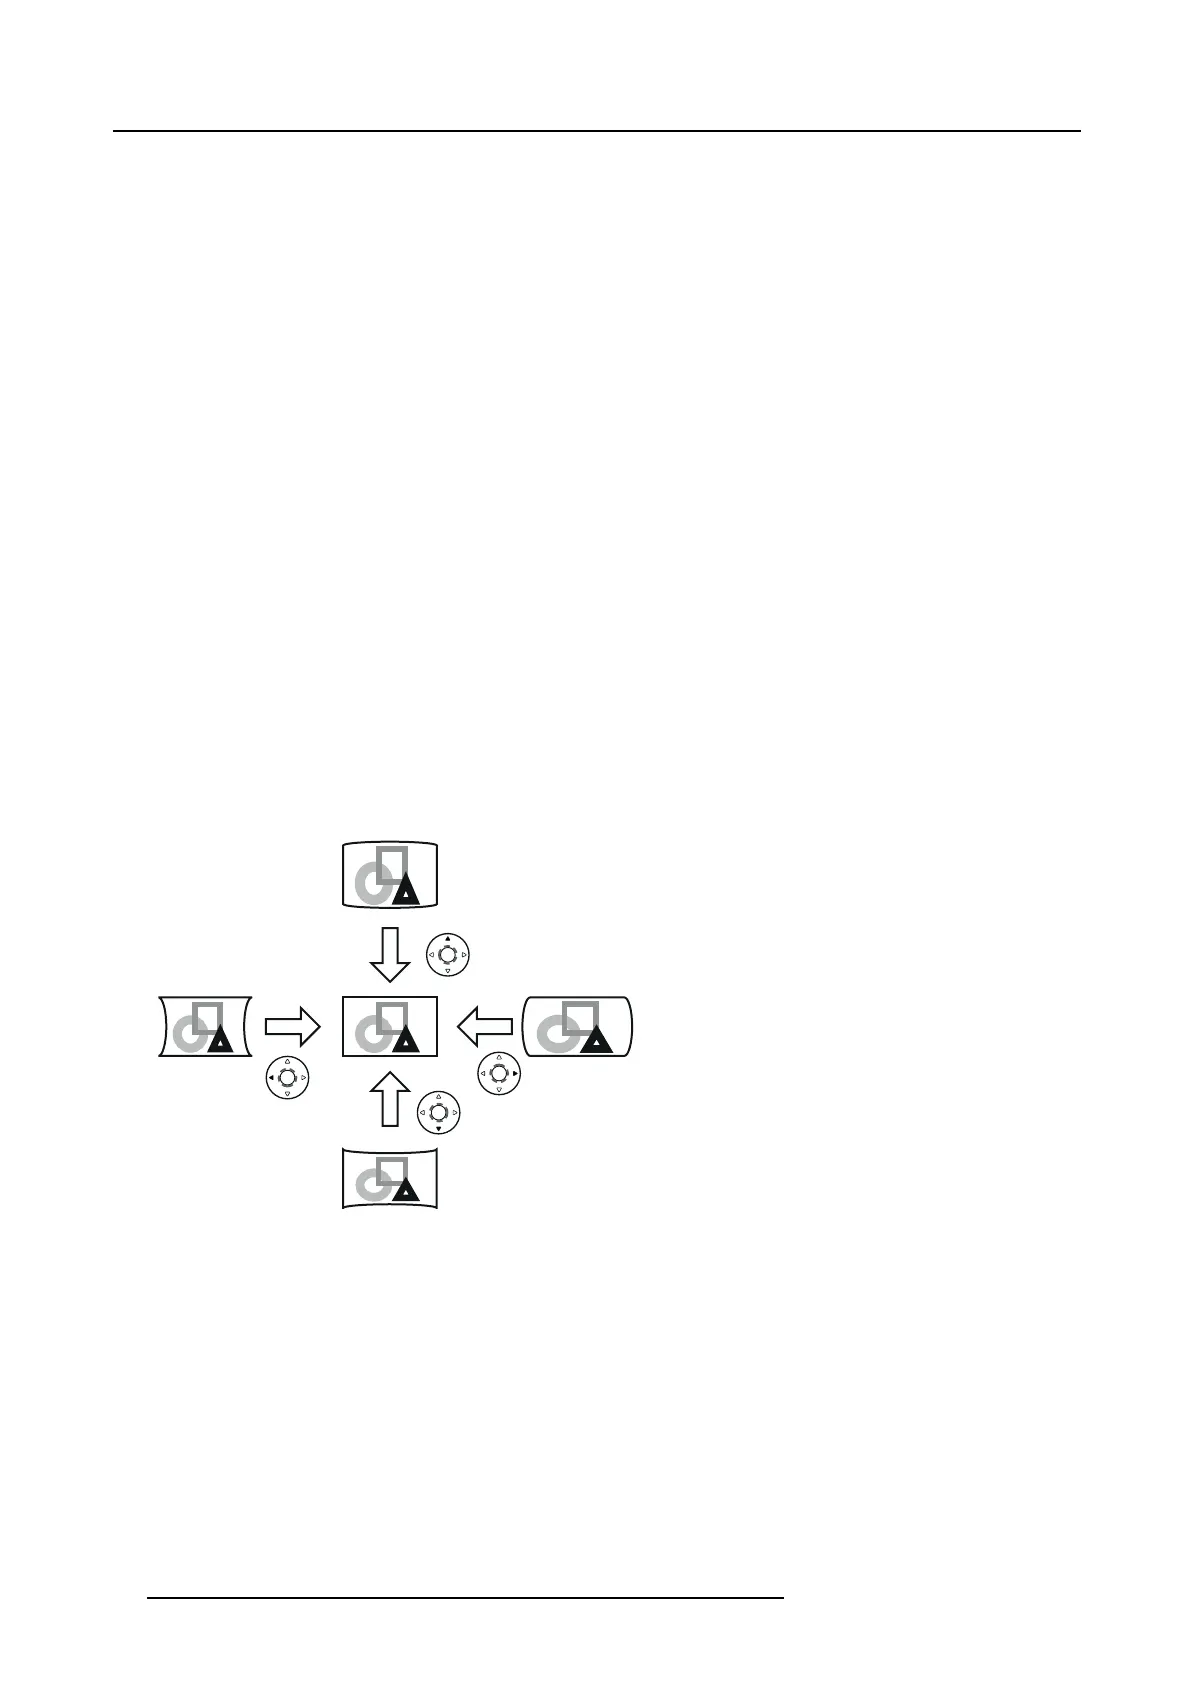
5. Make adjustment us ing the ▲, ▼, ◄,or► ke y.
Every time y ou press the MENU key, the adjustment menu changes as follows: ARC → HORIZ. O RIGIN → VE RT. ORIGIN →
RESET → ARC...
ARC menu
You can correct the arc v ertically or horizontally focusing on the screen center.
Image 6-28
HORIZ. ORIGIN or VERT. ORIGIN menu
When the CURVED-mode adjustment has ex cessive effect o n either top or bottom or either right or left side of the screen, adjust
the horizontal or vertical position of the origin to the horizontal or vertical arc. W ithout the arc adjustment, the im age shape won’t
change.
Adjusting the origin to the horizontal arc
When the horizontal arc adjustment is neg
ative (-) (or the ARC is adjusted in the ▼ direction)
70
R5905597 PHXX SERIES 20/05/2014
 Loading...


