4. Select your scanning preferences and click Adjust the quality of the scanned picture to display
the Advanced Properties dialog box.
5. Select the desired properties including brightness and contrast, and then click OK.
6. Click Scan to start scanning.
7. Click Save As from the File menu.
8. Enter a picture name, and select a file format and destination to save the picture.
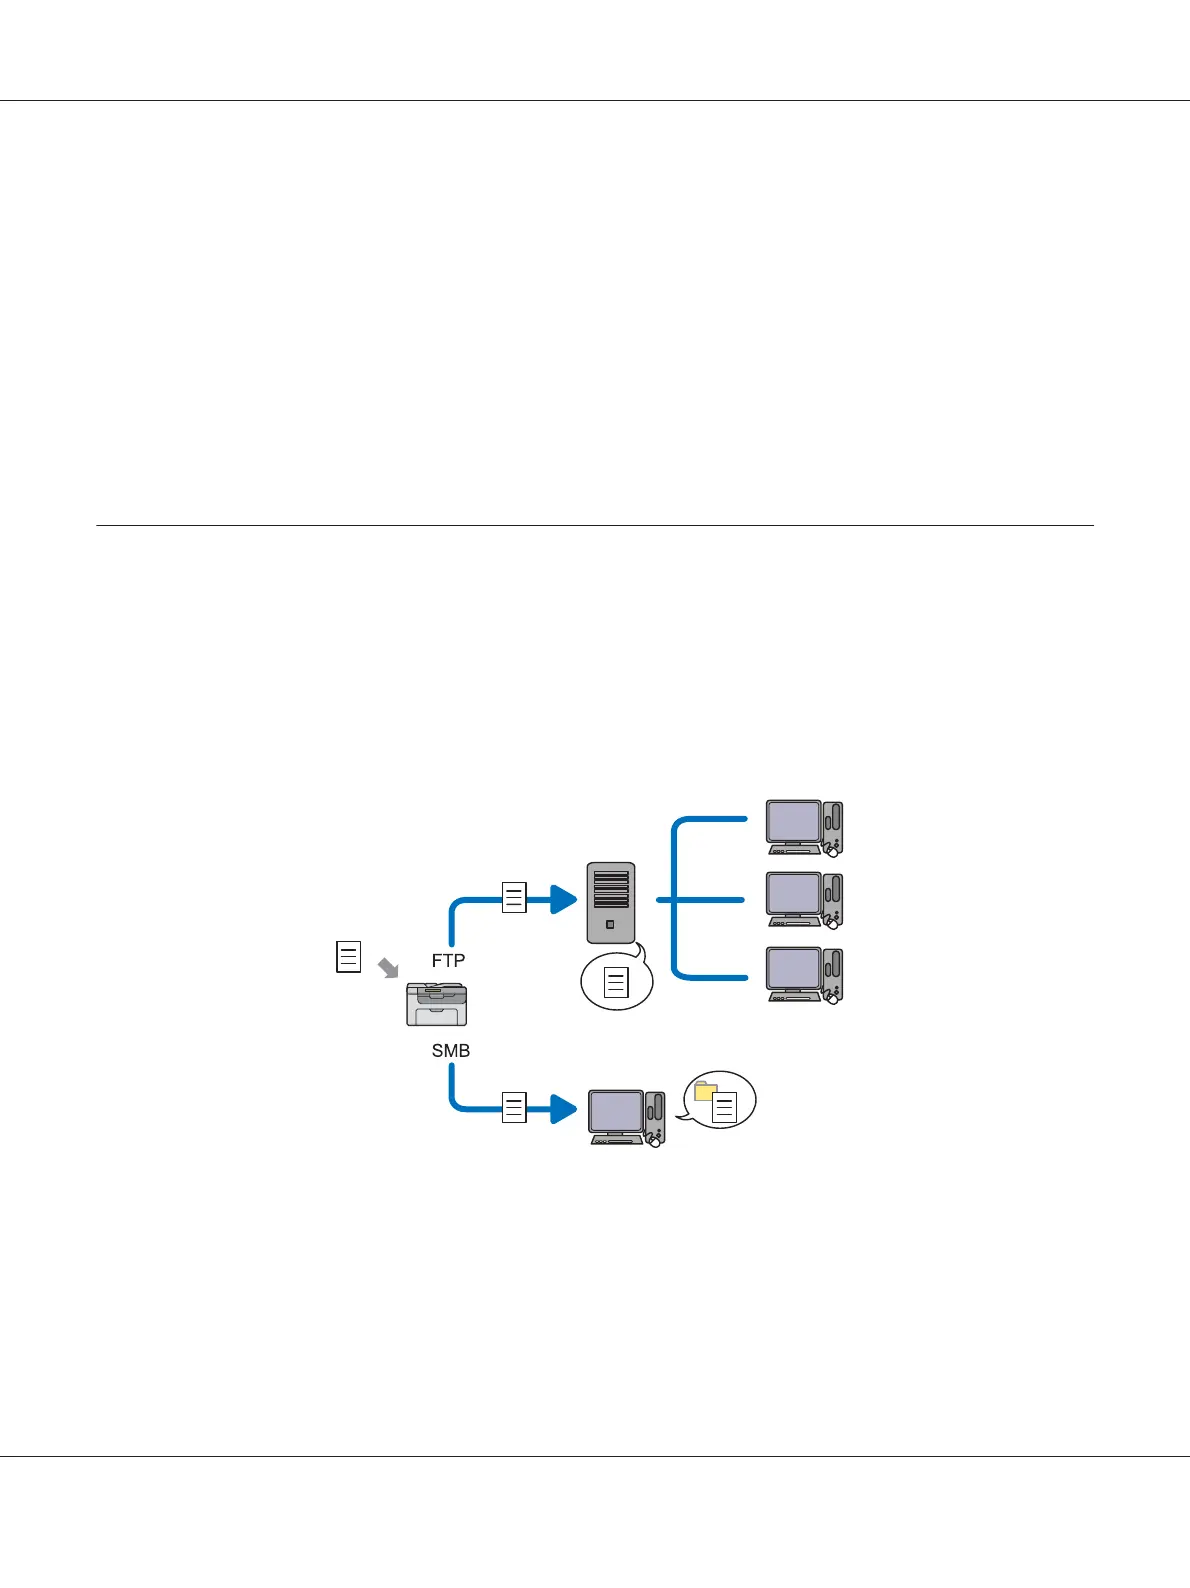
Using a Scanner on the Network (Epson AcuLaser CX17NF/CX17WF only)
Overview
The Scan to Server/Computer feature allows you to scan documents and send the scanned document
to a network computer via the FTP or SMB protocol.
You can select the kind of the server and specify a destination to store the scanned document with the
EpsonNet Config or Address Book Editor.
The following items are required to use the Scan to Server/Computer feature.
❏ Using SMB
Epson AcuLaser CX17 Series User’s Guide
Scanning 182
 Loading...