4. Select Initialize NVM, and then press the button.
5. Select System Section to initialize the menu parameters, and then press the
button.
For the Epson AcuLaser CX17NF/CX17WF, select User Fax Section to initialize the Address
Book data for fax, and select User Scan Section to initialize the Address Book data for e-mail.
6. Select Yes, and then press the
button.
The printer restarts automatically to apply the settings.
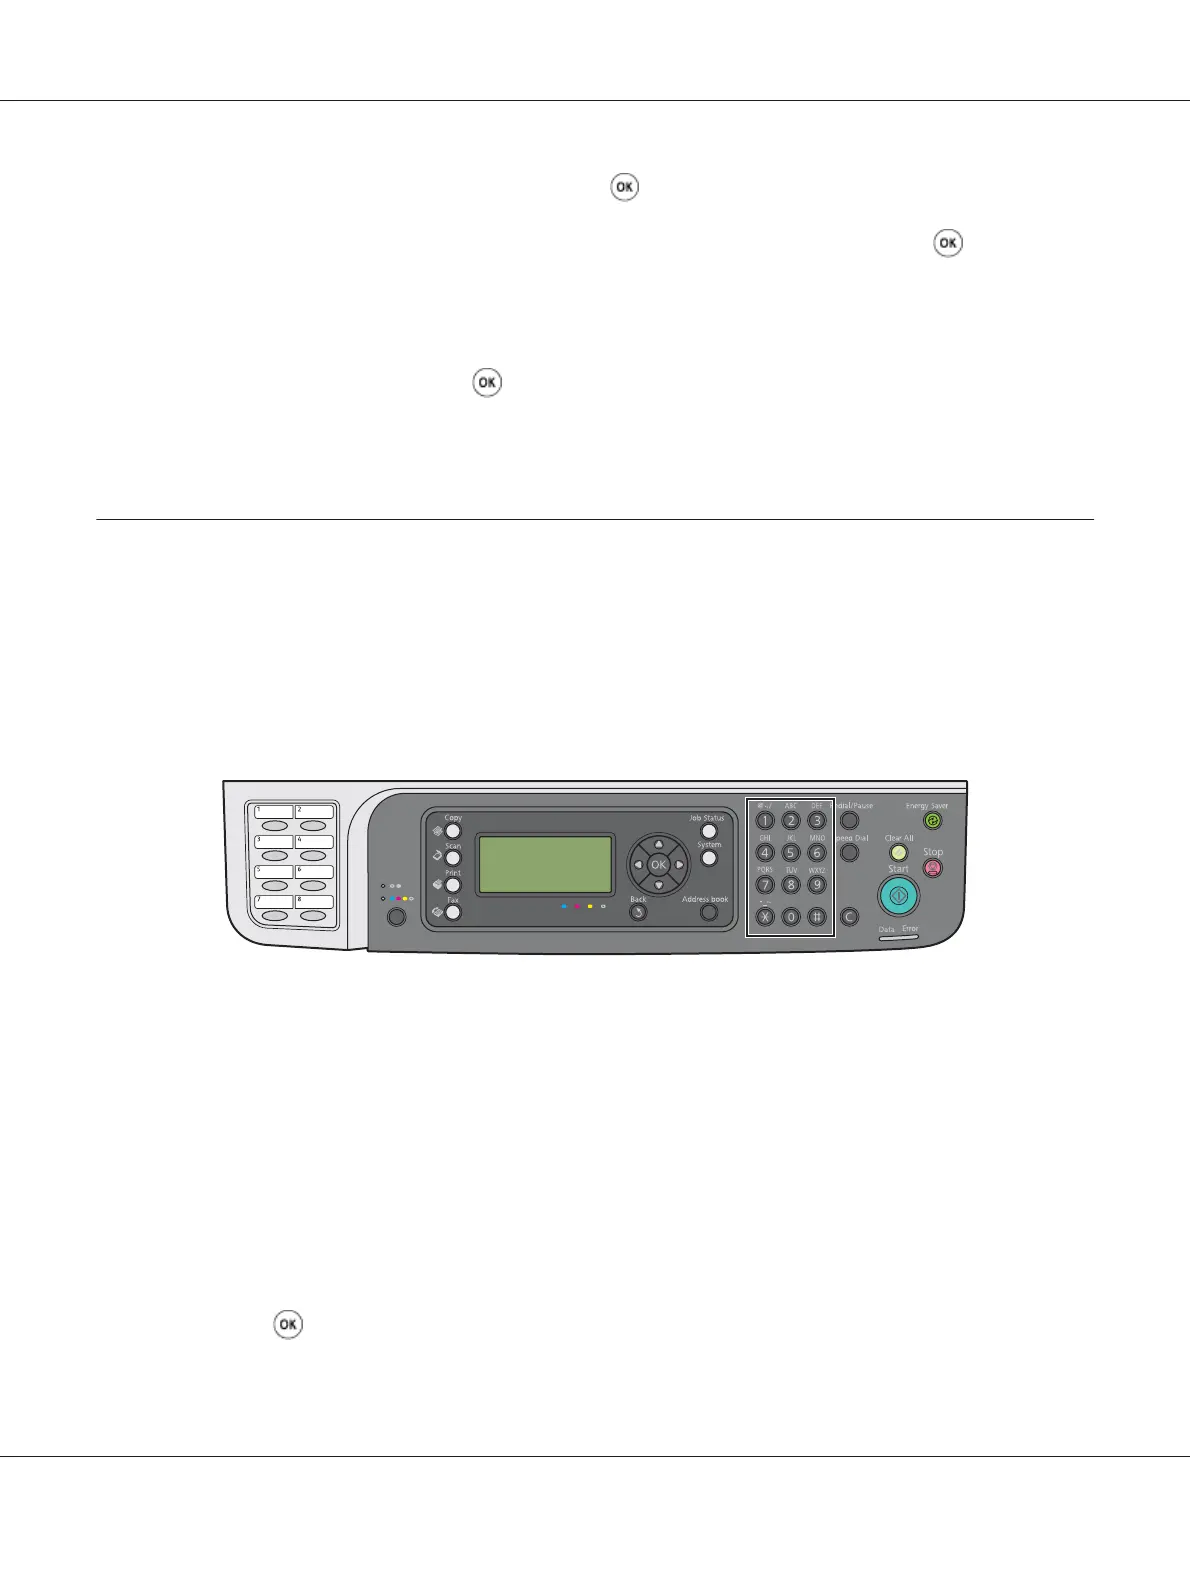
Using the Numeric Keypad
As you perform various tasks, you may need to enter numbers. For example, when you enter the
password, you enter four-digit number.
For the Epson AcuLaser CX17NF/CX17WF, you may also need to enter names. For example, when
you set up your printer, you enter your name or your company name. When you store speed dial or
group dial numbers, you need to enter the corresponding names.
Entering Characters (Epson AcuLaser CX17NF/CX17WF Only)
When prompted to enter a letter, press the appropriate button until the correct letter appears on the
LCD panel.
For example, to enter the letter O, press 6.
❏ Each time you press 6, the display shows a different letter, m, n, o, M, N, O and finally 6.
❏ To enter additional letters, repeat the first step.
❏ Press the
button when you are finished.
Epson AcuLaser CX17 Series User’s Guide
Using the Operator Panel Menus and Keypad 299
 Loading...