Setting Procedures for Printing
A
Open the file you want to print in your
application.
B
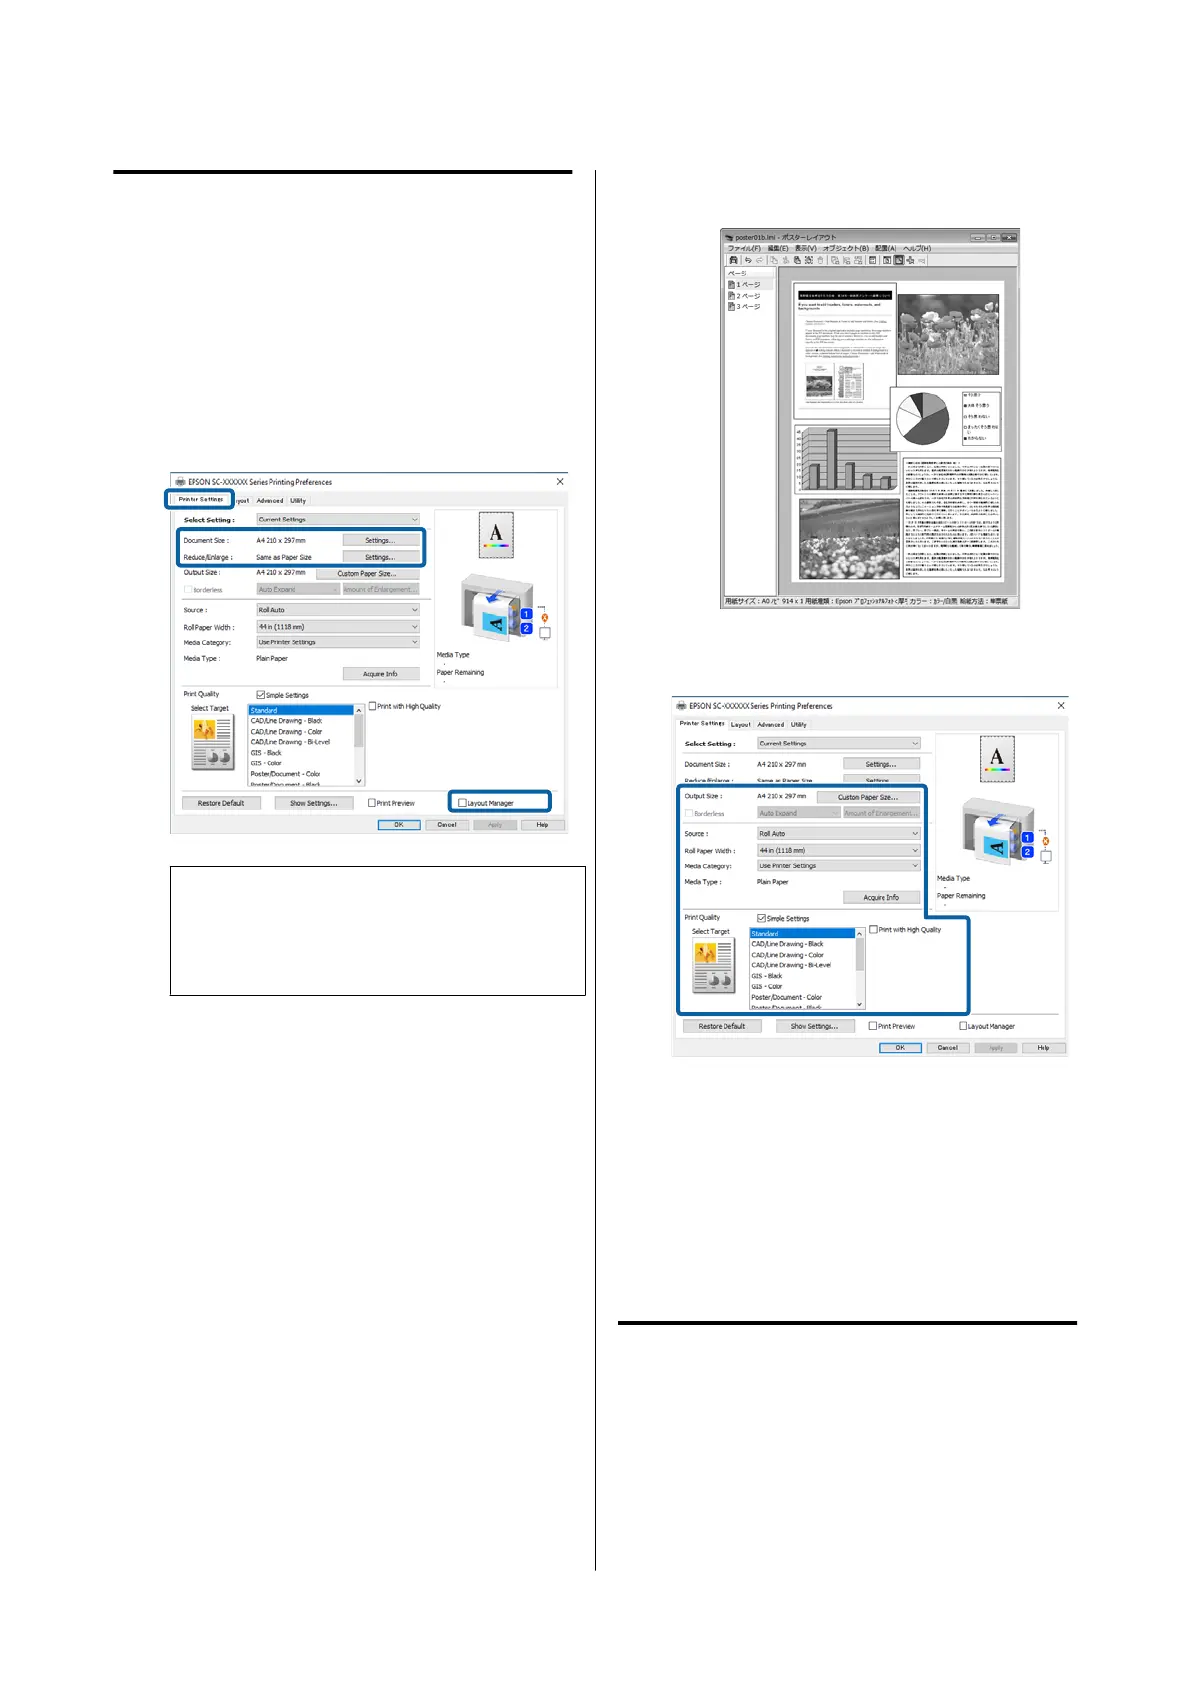
Select Layout Manager on the printer driver’s
Printer Settings screen, and then in Paper Size
set the page size created by the application.
U “Basic Printing Methods(Windows)” on
page 70
Note:
The Page Size is the size that will be placed on the
Layout Manager screen. Set the actual paper size
to be printed on the screen in step 6.
C
After clicking OK, the Layout Manager screen
opens when printing using your application.
The data is not printed, but placed on the paper
in the Layout Manager screen where one page is
one object.
D
Leave the Layout Manager screen open and
repeat steps 1 to 3 to place the next item.
The object is added to the Layout Manager
screen.
E
Arrange the layout for the objects on the Layout
Manager screen.
Objects can be moved or resized by dragging as
well as rearranged or rotated using the tool
buttons or the options in the Object menu.
You can change the size and position of each
object in the Preferences or Arrangement
menus from the File menu.
For details on each function, see the help on the
Layout Manager screen.
F
Click the File menu - Properties to set the print
settings on the printer driver screen.
Set each item such as Paper Setting, Source, or
Paper Size (or Roll Paper Width for roll
paper).
G
Click the File menu on the Layout Manager
screen, and then click Print.
Printing starts.
Saving and Recalling Settings
You can save the layout and setting information on the
Layout Manager screen as a file. If you need to close
your application in the middle of a job, you can save it
to a file and then open it later to continue your work.
SC-P8500DM/SC-P8500D/SC-P6500D/SC-P6500DE/SC-P6500E/SC-T7700DM/SC-T5700DM/SC-T7700D/SC-T5700D/SC-3700D/SC-T3700DE/SC-T3700E/SC-P8500DL/SC-T7700DL Series User's Guide
Various Printing Methods
110
 Loading...


