7-24 ApexPro™ Telemetry 2001989-203C
Parts lists, drawings and replacement
204A
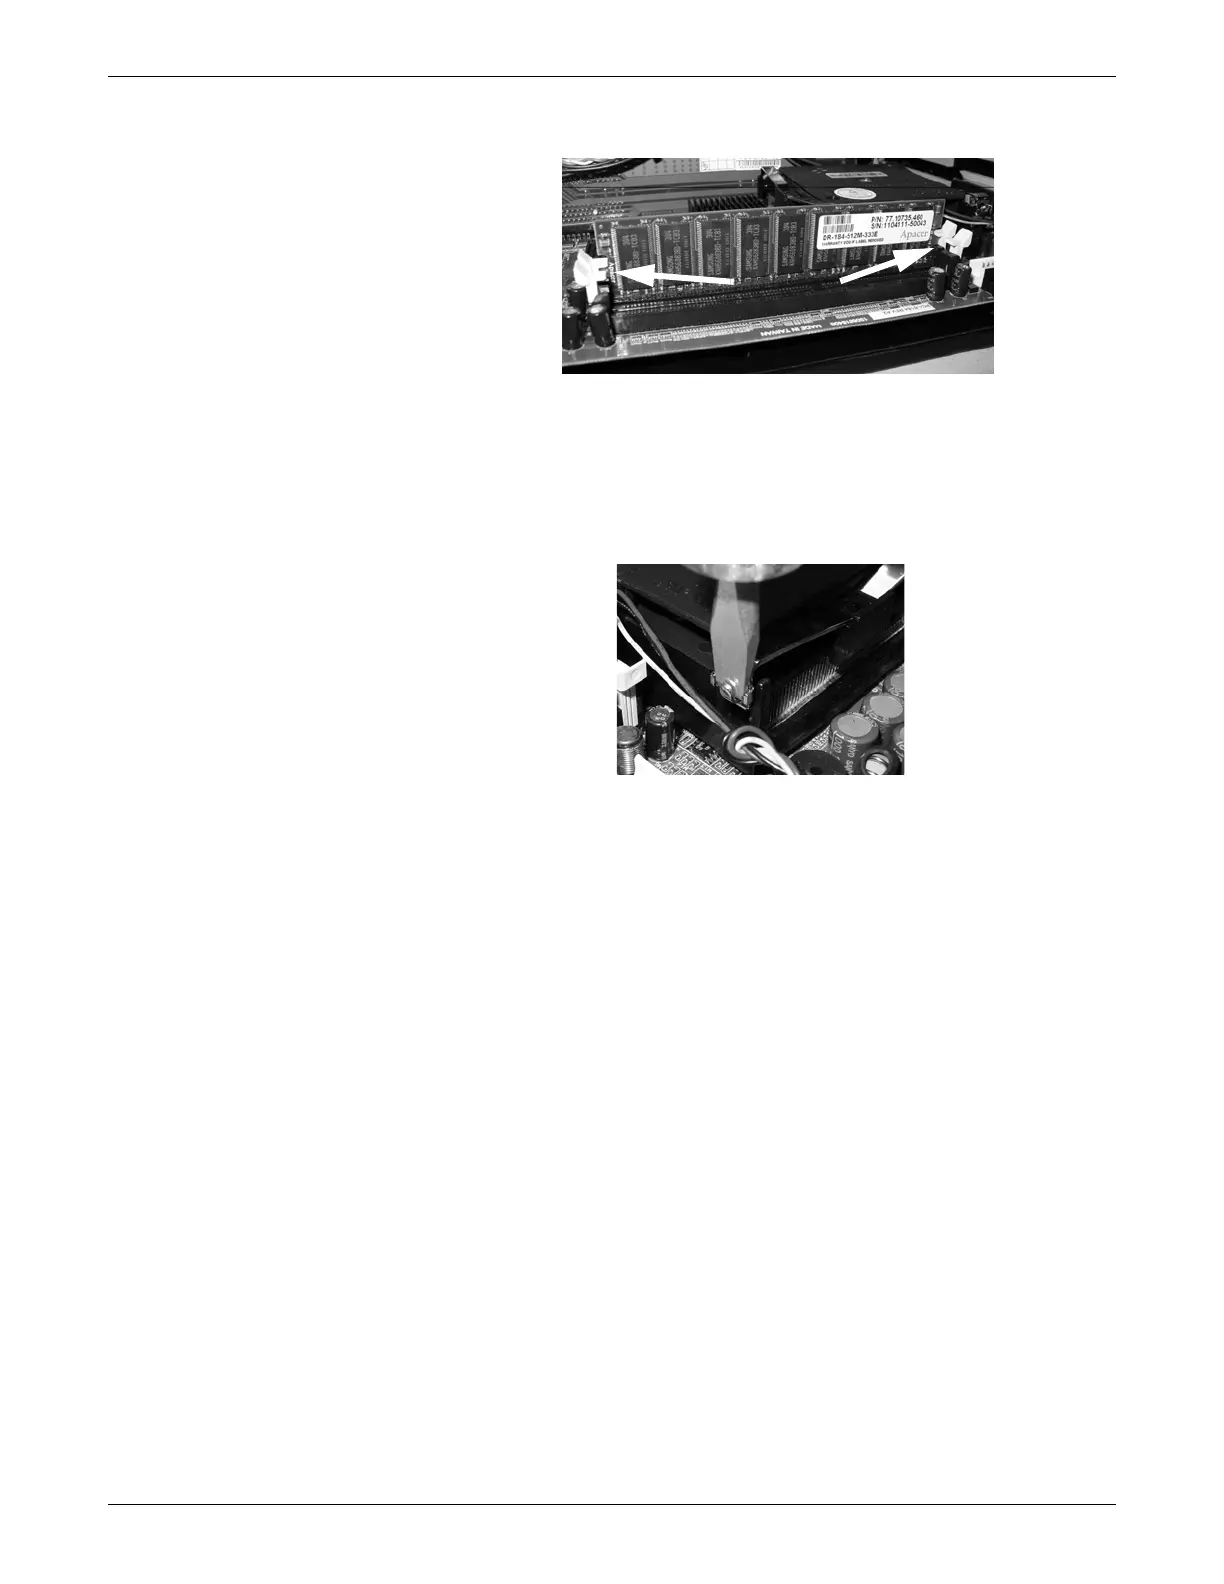
5. Insert a flat-bladed screwdriver into a spring clip securing the fan to the CPU
main board as shown in the figure. Push down on the spring clip, and lever with
the screwdriver to unhook the clip. Remove the clip. Repeat for the other spring
clip. Remove the CPU fan.
205A
NOTE
Considerable force is needed to unhook the spring clips. To prevent slipping,
and possible damage to the CPU board, it is important to use a flat-bladed
screwdriver with a blade size which fits snugly into the spring clip. The
figure shows the proper fit.
6. Reverse the steps in this procedure to install the CPU fan.
Chassis fan
1. Complete the preparation procedures. See Field replacement preparation on page
7-3.
2. Remove the chassis cover. See Chassis cover on page 7-6.
3. Disconnect the cabinet fan power connectors from the receptacles along the left
edge of the SNMP connector board. Note the position and orientation of the
connectors for reassembly.
 Loading...


