3-8 ApexPro™ Telemetry 2001989-203C
Installation
a. If a connection to the ATS Unity Network IX network ethernet port is used,
configure a service laptop for direct ethernet connection with the ATS. See
Service laptop direct connection on page C-2.
b. If a serial connection to the ATS is used, connect the serial connection. See
Serial connection on page 6-4.
2. Start-up the ATS. See Power up on page 3-14.
3. Configure the ATS Unity Network IX network IP address settings. See Set the
ApexPro Channelized Telemetry System network name and IP address on page
5-4.
4. Shut down the ATS. See Safe shutdown/restart of the ATS on page 6-21. Proceed
with ATS installation.
Floor/tabletop mounting
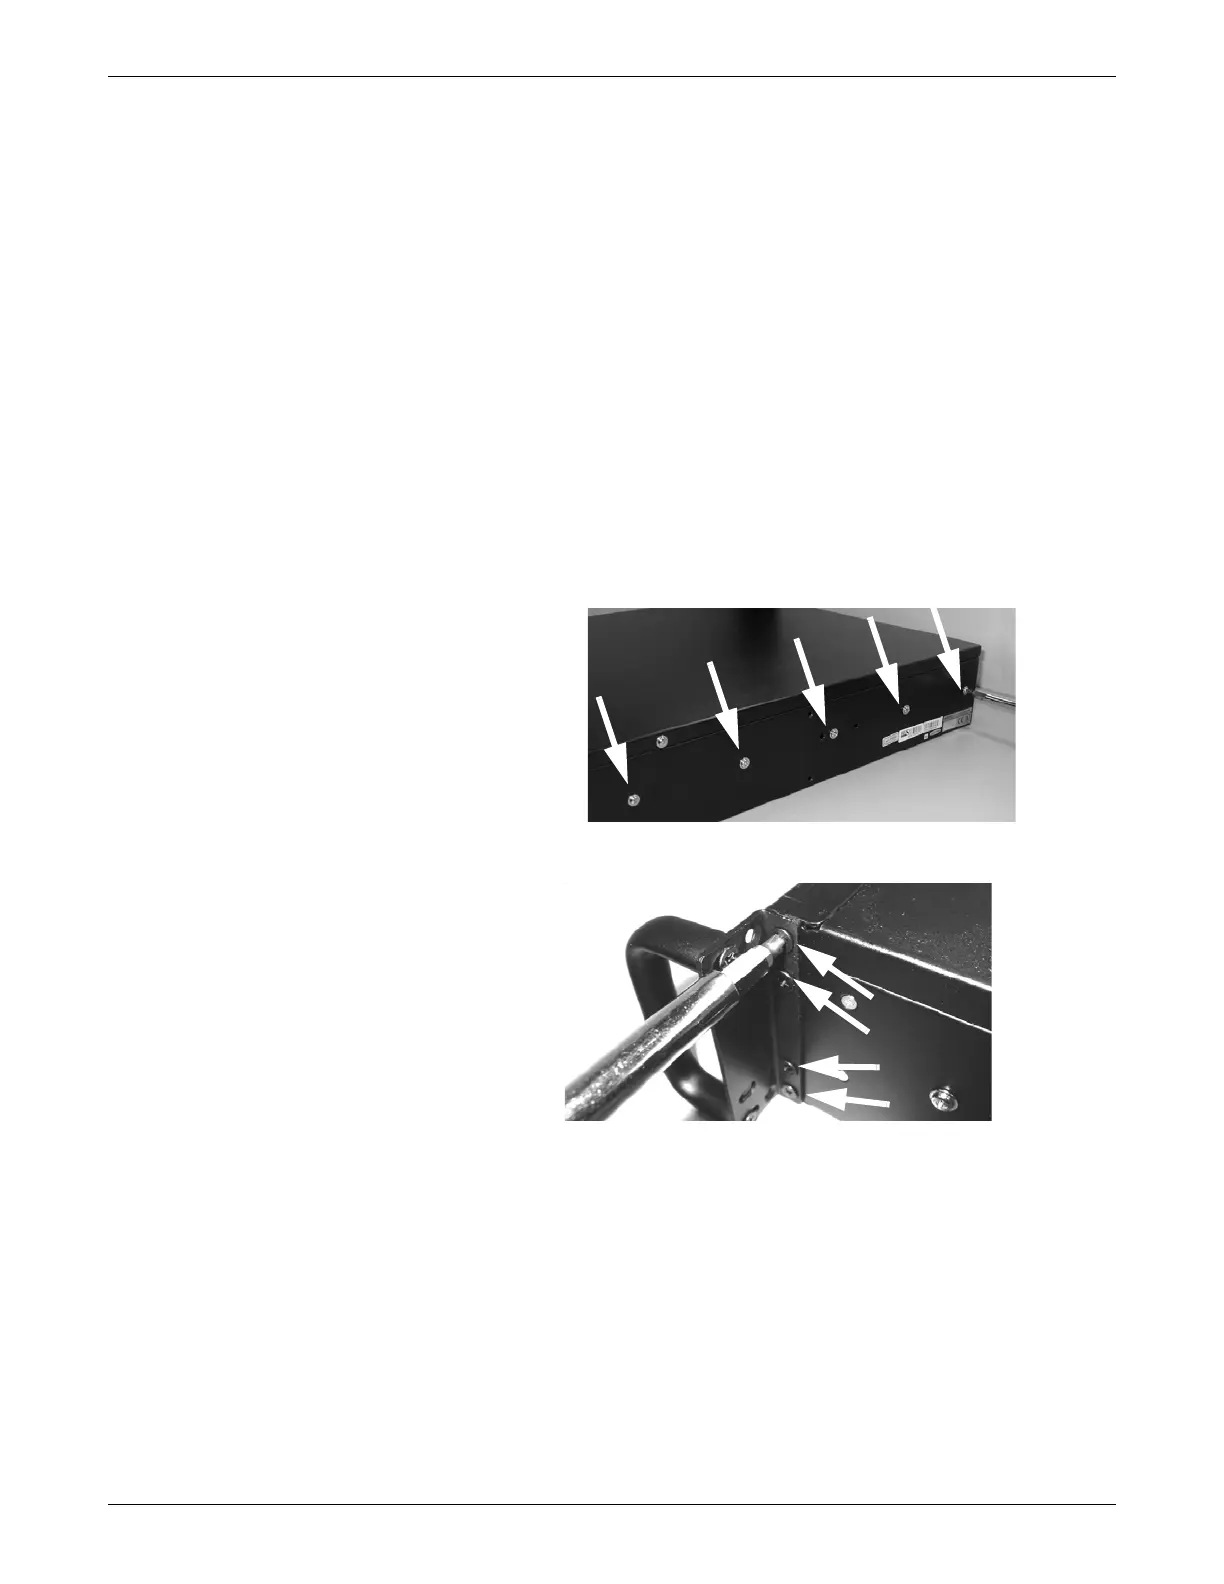
1. Remove the 5 center screws from the right side of the ATS.
159A
2. Remove the screws and/or the handle at the front right side of the ATS.
157A
3. Place the ATS on its left side on a sturdy surface. Position the stand so the holes
in the stand align with the screw holes in the right side of the ATS. Secure the
stand with the 5 screws removed in step 1.
4. Finish securing the stand with the 2 front right side screws removed with the
handle in step 3.
 Loading...


