1-22
6) Push the cables inside the cableveyor by hand to check that they are flexible.
7) Push the cables inside the cableveyor by hand to check that they are flexible.
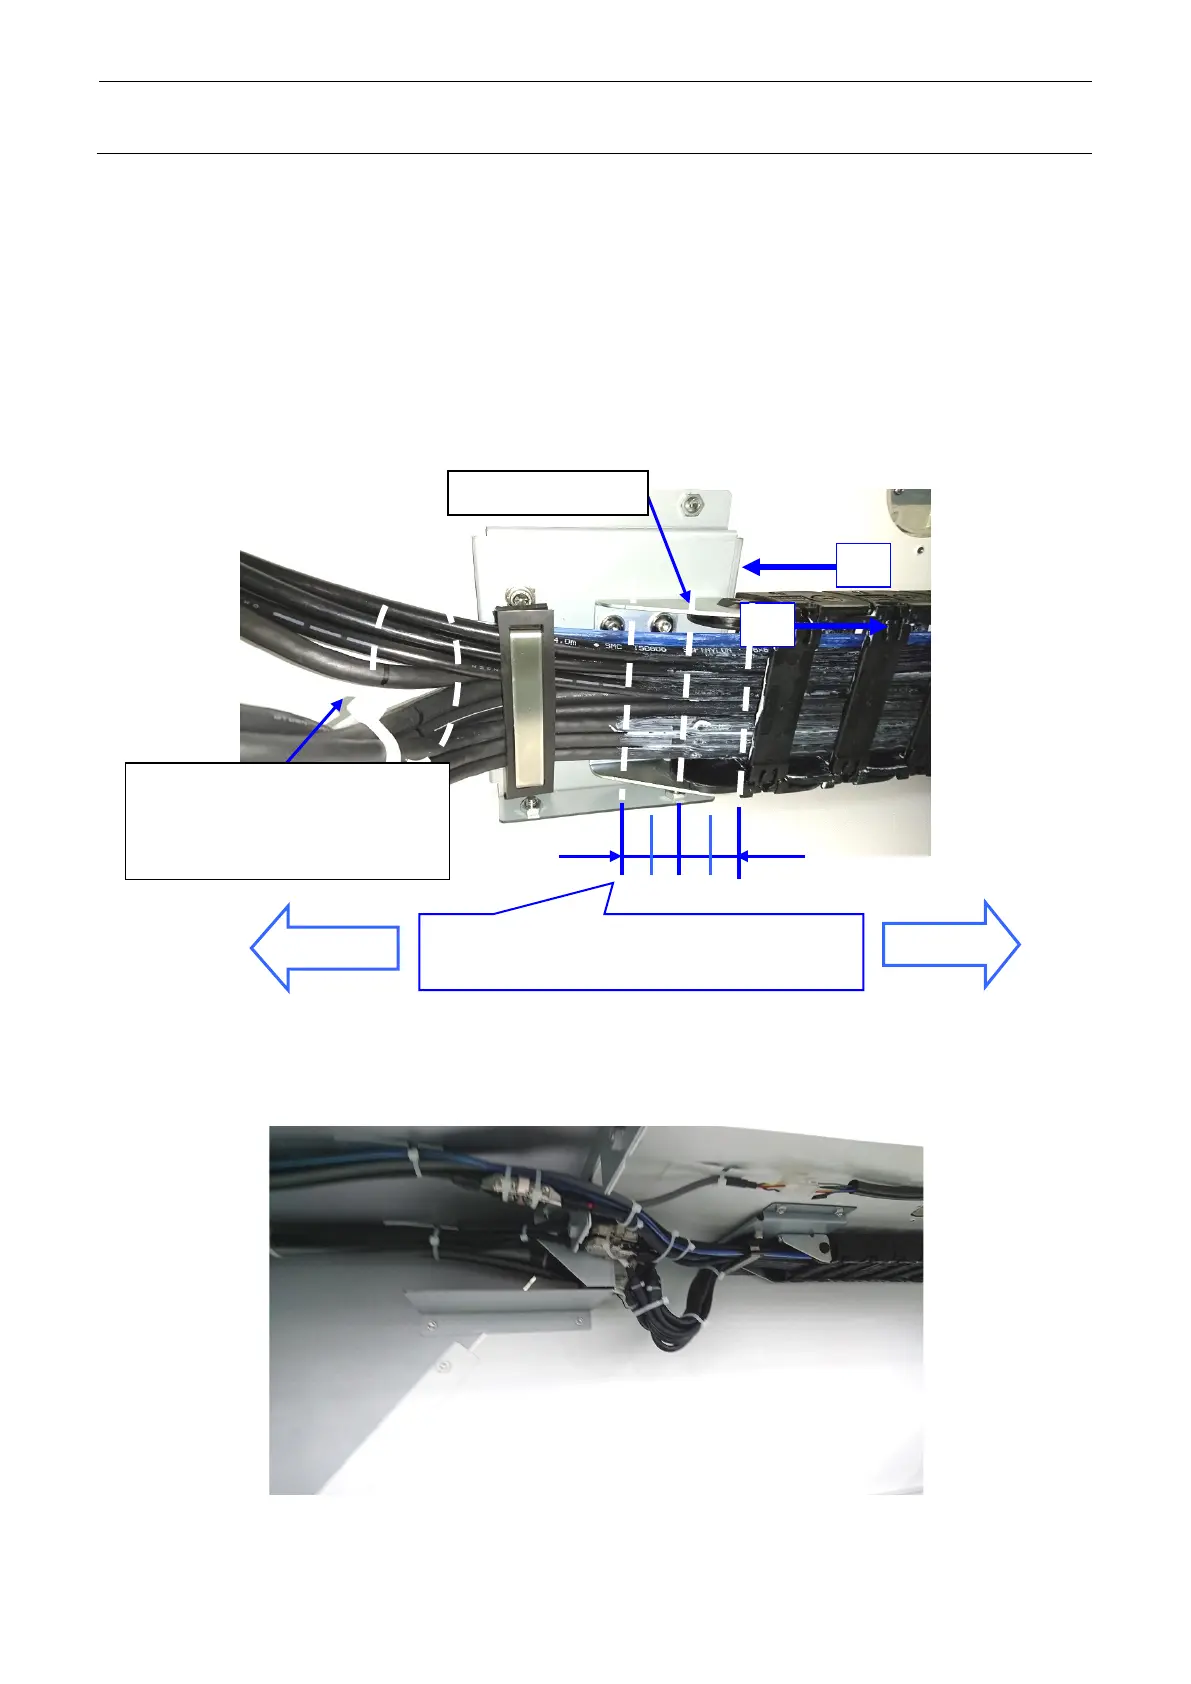
Pull the Y veyor-cable, XY veyor-cable in the direction ① and put the white marking at the
movable end (rear side) of the Y-cableveyor in the cable arrangement direction.
Push in the cables in the direction ② and put the white marking at the movable end (rear
side) of the Y-cableveyor in the cable arrangement direction.
Adjust the cable position so that the center position between two markings is located at the
end (movable end) of the Y-cableveyor, and then secure the cables.
Figure 1-4-3-6
8) Fixed Y axis connector relay and surplus cable.
Figure 1-4-3-7
Adjust that the center position between two
markings (white lines) of the XY and Y veyor-cables
is located at the end of the cableveyor.
XY VEYOR-CABLE ASM
OPTICAL FIBER CABLE 7M
 Loading...