8-2 Physiological Signal
8.1 ECG
8.1.1 ECG Operation Basic Procedures
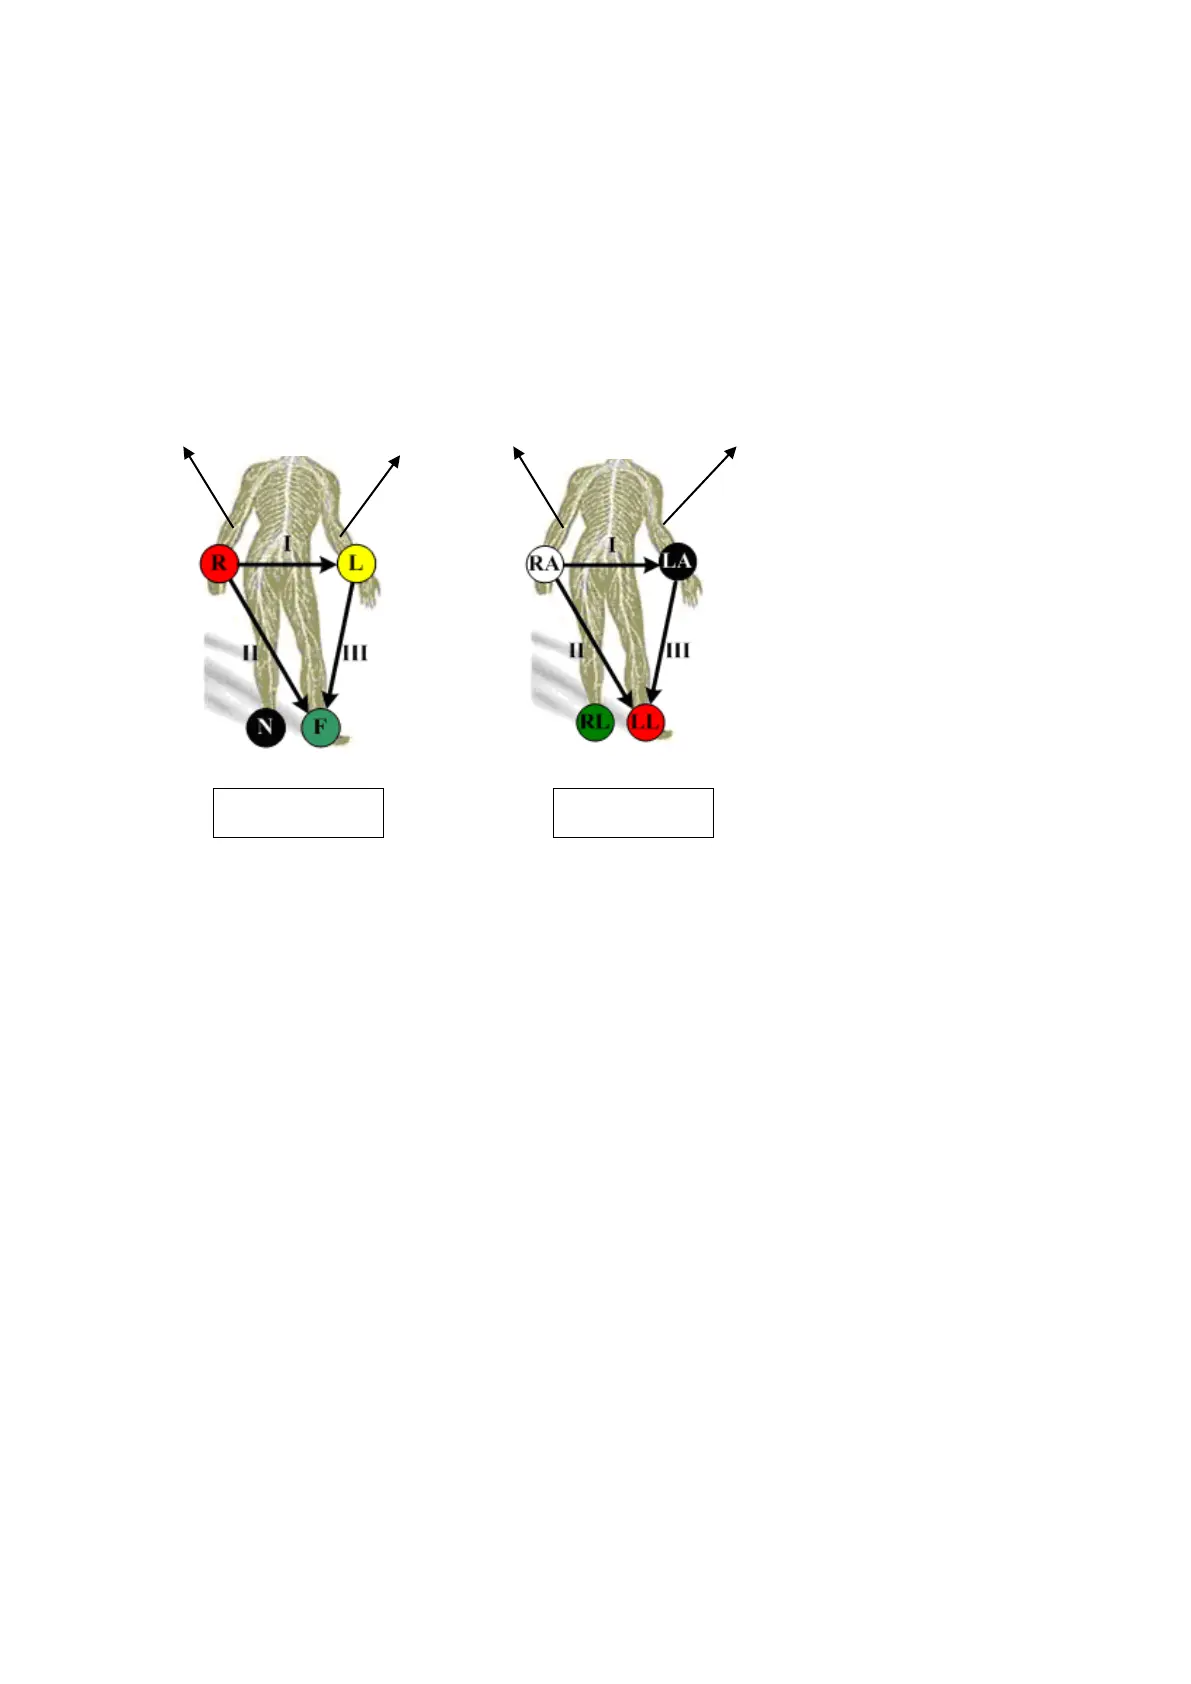
1. Connect the ECG module to the serial port on the rear cover of the main unit. Place the ECG
electrodes on the patient’s body.
2. Tap the [Physio] on the right of the screen to enter physio operation status.
3. Switch the imaging modes and display formats. Adjust the parameters to obtain an optimized
image.
4. Parameter adjusting
In image menu, tap [ECG] in the menu to turn ON/OFF the ECG wave display. Adjust the
[Speed], [ECG Gain], [Position] and [Invert]
5. Trigger:
Touch Trig Mode to open the triggering function and sect the trigger time.
6. Freeze the image and review the image and waves.
7. Exit ECG mode, and remove ECG electrodes from the patient.
8. Tap [Physio] to exit the ECG mode.
8.1.2 ECG Triggering
8.1.2.1 Overview
ECG triggering means that image scanning is activated at some time points of ECG signals, thus
obtaining B images at these time points. In most cases, the triggered image are 2D-mode image.
When ECG triggering occurs, a mark appears on the ECG waveform, indicating the time points
when the B images are captured (corresponding to the delay time from R curve started).
NOTE:
The trigger mark is displayed in both freeze mode and live mode.
Trigger function is unavailable if the ECG trace is disappeared. Trigger function is
unavailable if the ECG trace is disappeared. Only the live 2D image can be triggered.
No delay time or time interval shall less than the time required to scan a single image.
 Loading...