10-2 Patient Data Management
You can tap [Save Clip] at the bottom of the operating panel to save a multi-frame image file.
The system can save FRM files as BMP, JPG, TIFF or DCM files, or save CIN files as AVI or
DCM files by Send To function in iStation/Review screen. For details, please refer to “10.2.7
Sending Image Files” chapter.
PC-compatible formats:
Screen file (BMP)
Single-frame file format, used to save the current screen, non-compressed format.
JPG: single frame export format.
TIFF: single frame export format.
PNG: single frame storage format.
Multi-medium file (AVI or MP4)
Multi-frame export format.
DICOM file (DCM)
DICOM standard file format, single-frame or multi-frame format, used to record patient
information and images, you can only open DCM files to view rather than to edit.
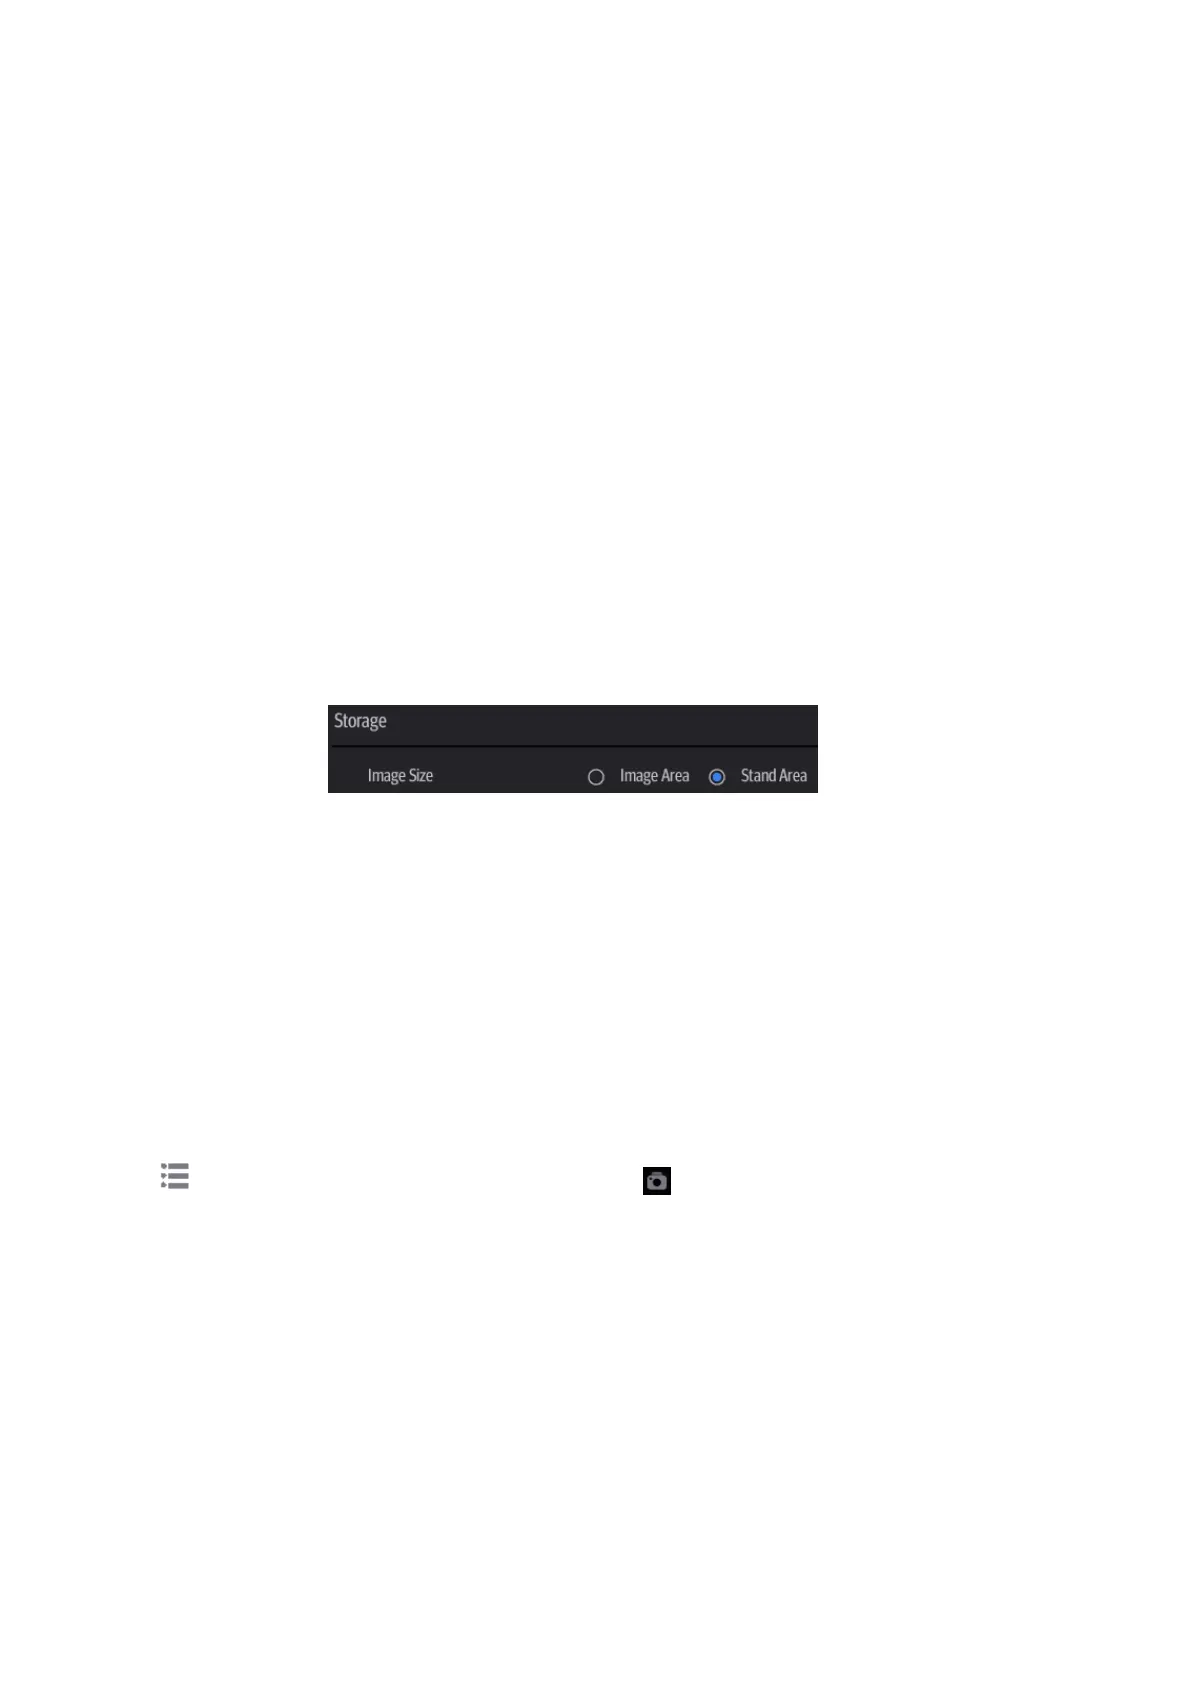
10.2.3 Image Storage Preset
Set image size
You can set the image storage size via [Setup] -> [System] -> [General]:
Set cine saving length (clip length)
For details, see “6.8 Preset.”
Set send/print image after ending the exam
Select [Setup] -> [System] -> [General], check “Sending/printing after Ending Exam” in the
Patient Management area. Then every time you tap [End], the system will send images of the
exam to the connected default DICOM server.
Image/clip storage settings
Select [Setup] -> [System]->General], check options in the Image/Clip Storage area. Then every
time you save an image/clip, the system will send images of the exam to the connected default
printer/DICOM Storage server/DICOM Print server/iStorage server.
10.2.4 Quickly Saving Full Screen Images to the System
Tap in the top-right corner of the screen and select to save single frame image (full
screen).
The image is saved in BMP format, you can check the image in Review screen.
 Loading...