11-12 DICOM/HL7
a) Enter the DICOM Service Preset screen via [Setup] -> [Network] [DICOM/HL7].
b) Select a storage server in the Service List and tap [Default]. You will see “Y” in the
Default column.
c) Tap [Exit] to exit the page and return to the Setup menu, then tap [Save] on the Setup
menu to make the preset take effect.
3. After finishing the presets, perform image scanning. Each time [End] is tapped, the system will
send the image to the default DICOM storage server for storage.
If images are successfully sent to the storage server, in the iStation screen, "Send to PACS, OK" is
displayed in the list below "Storage Commitment".
11.3.2 DICOM Print
DICOM Print is used to send images to the DICOM print server for printing.
Print images on iStation/Review
1. Select images. Operations are the same as for DICOM storage.
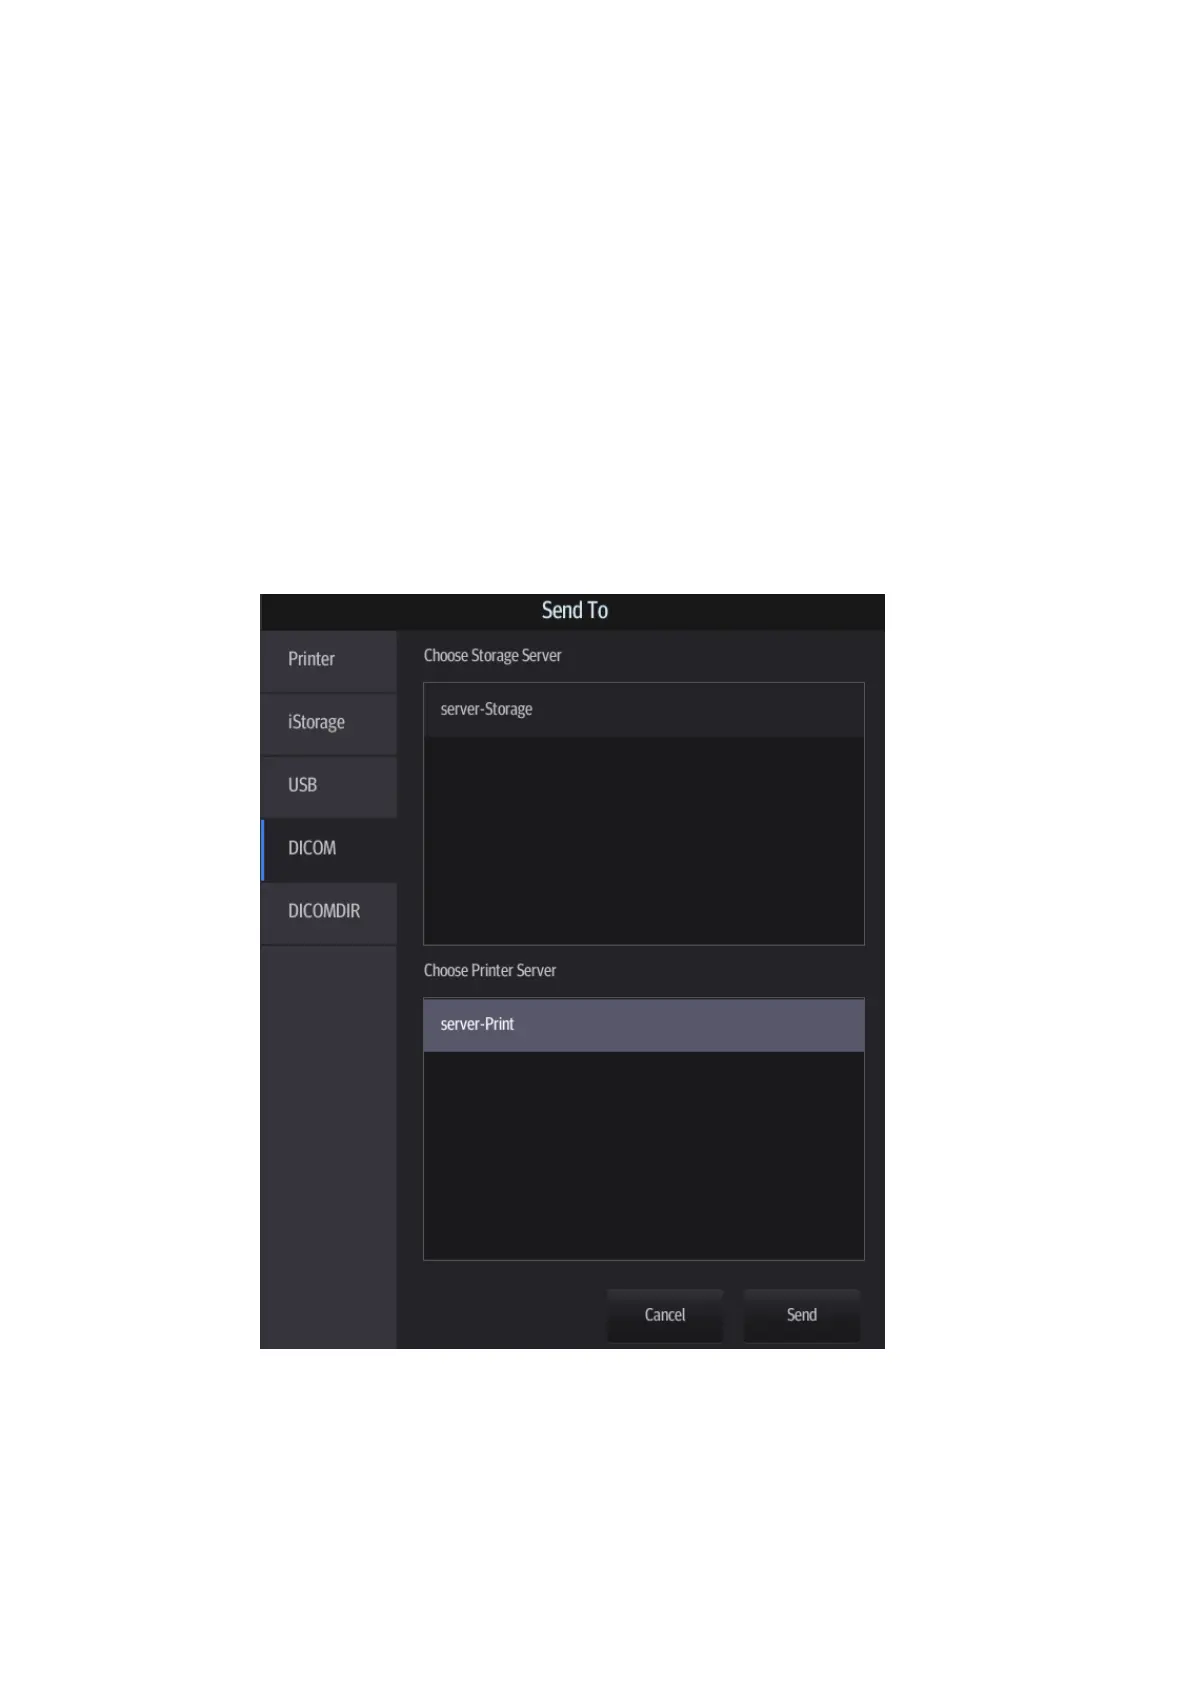
2. In the Send To dialog box, select a DICOM print server.
3. Tap [Send] to begin printing.
To send image to DICOM print after an exam ends
1. Select [Setup] -> [System] -> [General] and then check [Sending/Printing after End Exam] in
the Patient Management area.
2. Set a default print server.
a) Enter the DICOM Service Preset screen via [Setup] -> [Network] -> [DICOM/HL7].
 Loading...