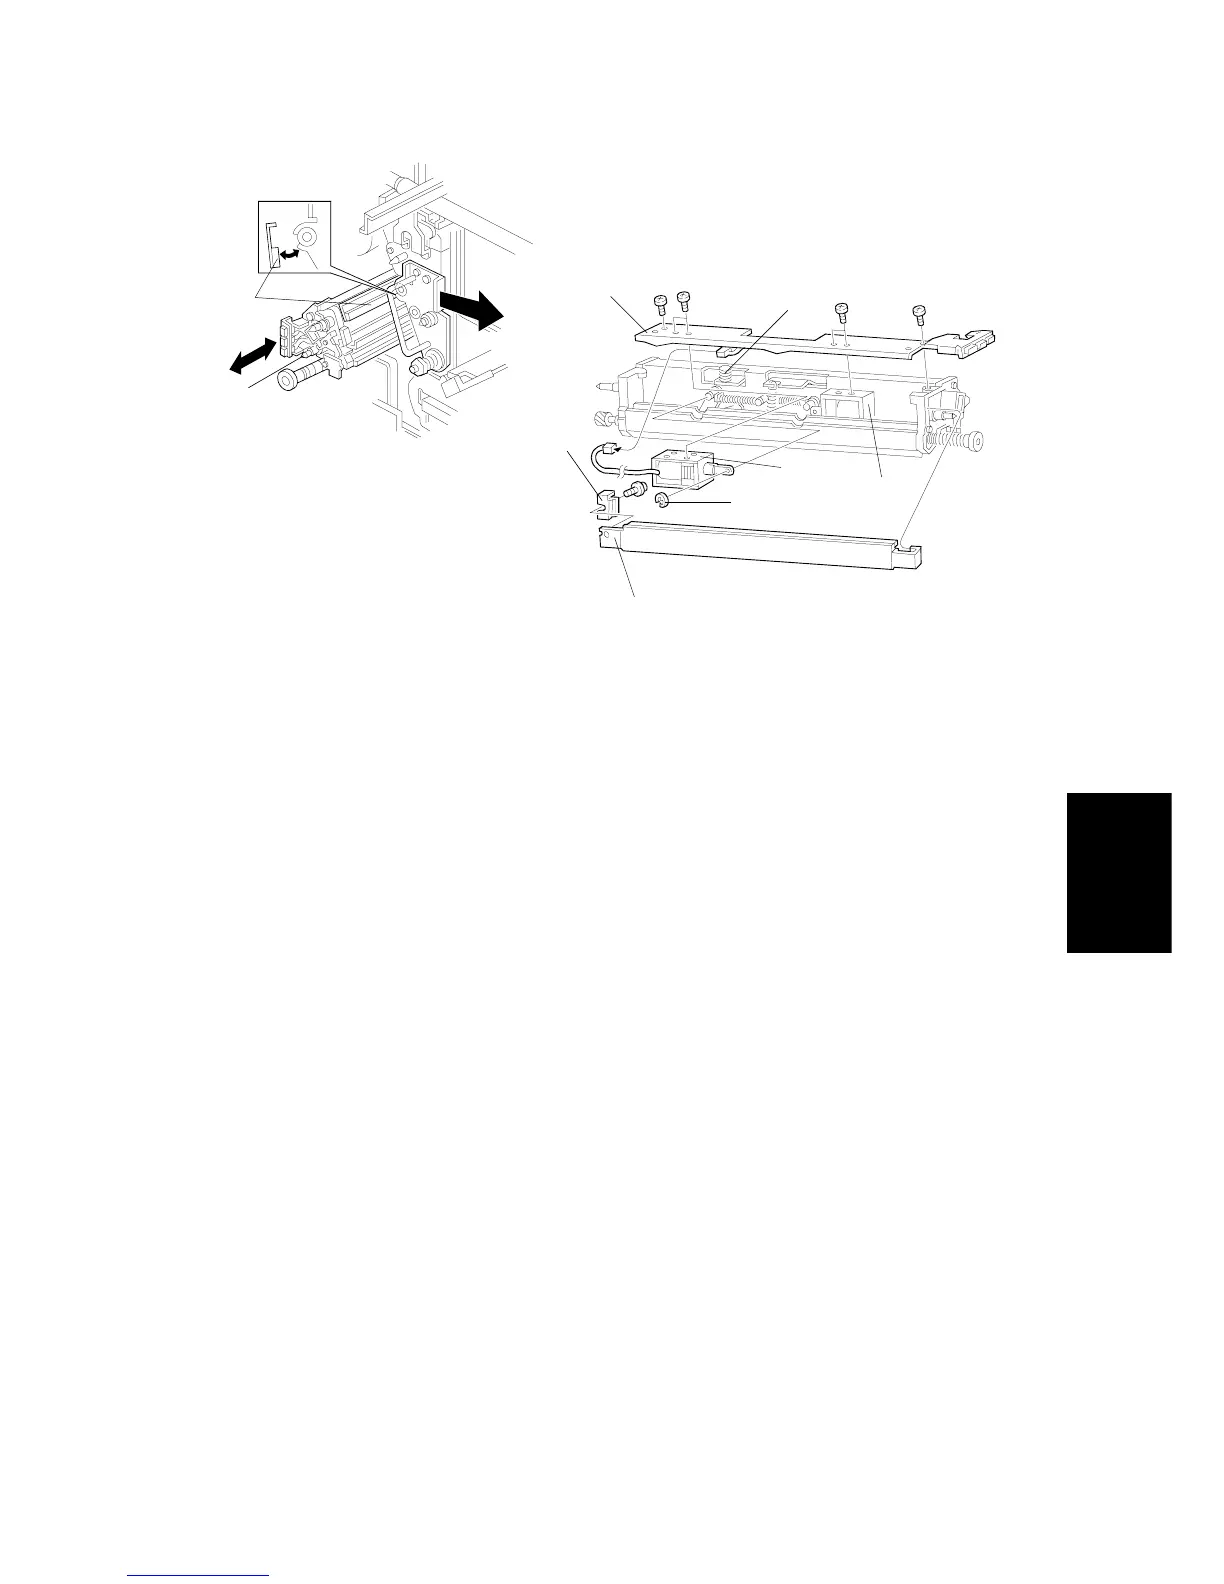
5.2 BELT LUBRICANT BAR SOLENOID REPLACEMENT
1. Remove the cleaning unit [A] and remove the lubricant bar [B]. (Refer to
the Transfer Belt Lubricant Bar Replacement section.)
NOTE:
To prevent the belt lubricant bar [B] from being scratched, pull
the handle of the transfer belt unit slightly to the right while you
pull the transfer belt cleaning unit out.
2. Remove the blade solenoid bracket [C] (2 screws).
3. Remove the blade solenoid [D] (2 screws).
4. Remove the base plate securing bracket [E] (1 screw) and remove the
base plate [F].
5. Disconnect the lubricant bar solenoid connector.
6. Remove the lubricant bar solenoid plunger E-ring [G].
7. Remove the lubricant bar solenoid [H] (2 screws).
NOTE:
When reinstalling, make sure of the following:
•
Set the arm hole of the solenoid plunger on the pin first, then
screw down the solenoid bracket.
•
The belt lubricant bar solenoid’s plunger must be in (the
position for no contact with the transfer belt).
•
The spring [I] must fit the projection on the blade solenoid
bracket.
[B]
[A]
[C]
[I]
[D]
[G]
[F]
[E]
[H]
Replacement
and
Adjustment
SM 5-21 A172/A199

 Loading...


