7.2 FUSING PRESSURE (NIP BAND WIDTH) CONFIRMATION
NOTE:
Normally this adjustment is not needed in the field. (The standard
factory settings are shown in the table below.)
Perform the following procedures only when the problem is thought
to be caused by an incorrect nip band width.
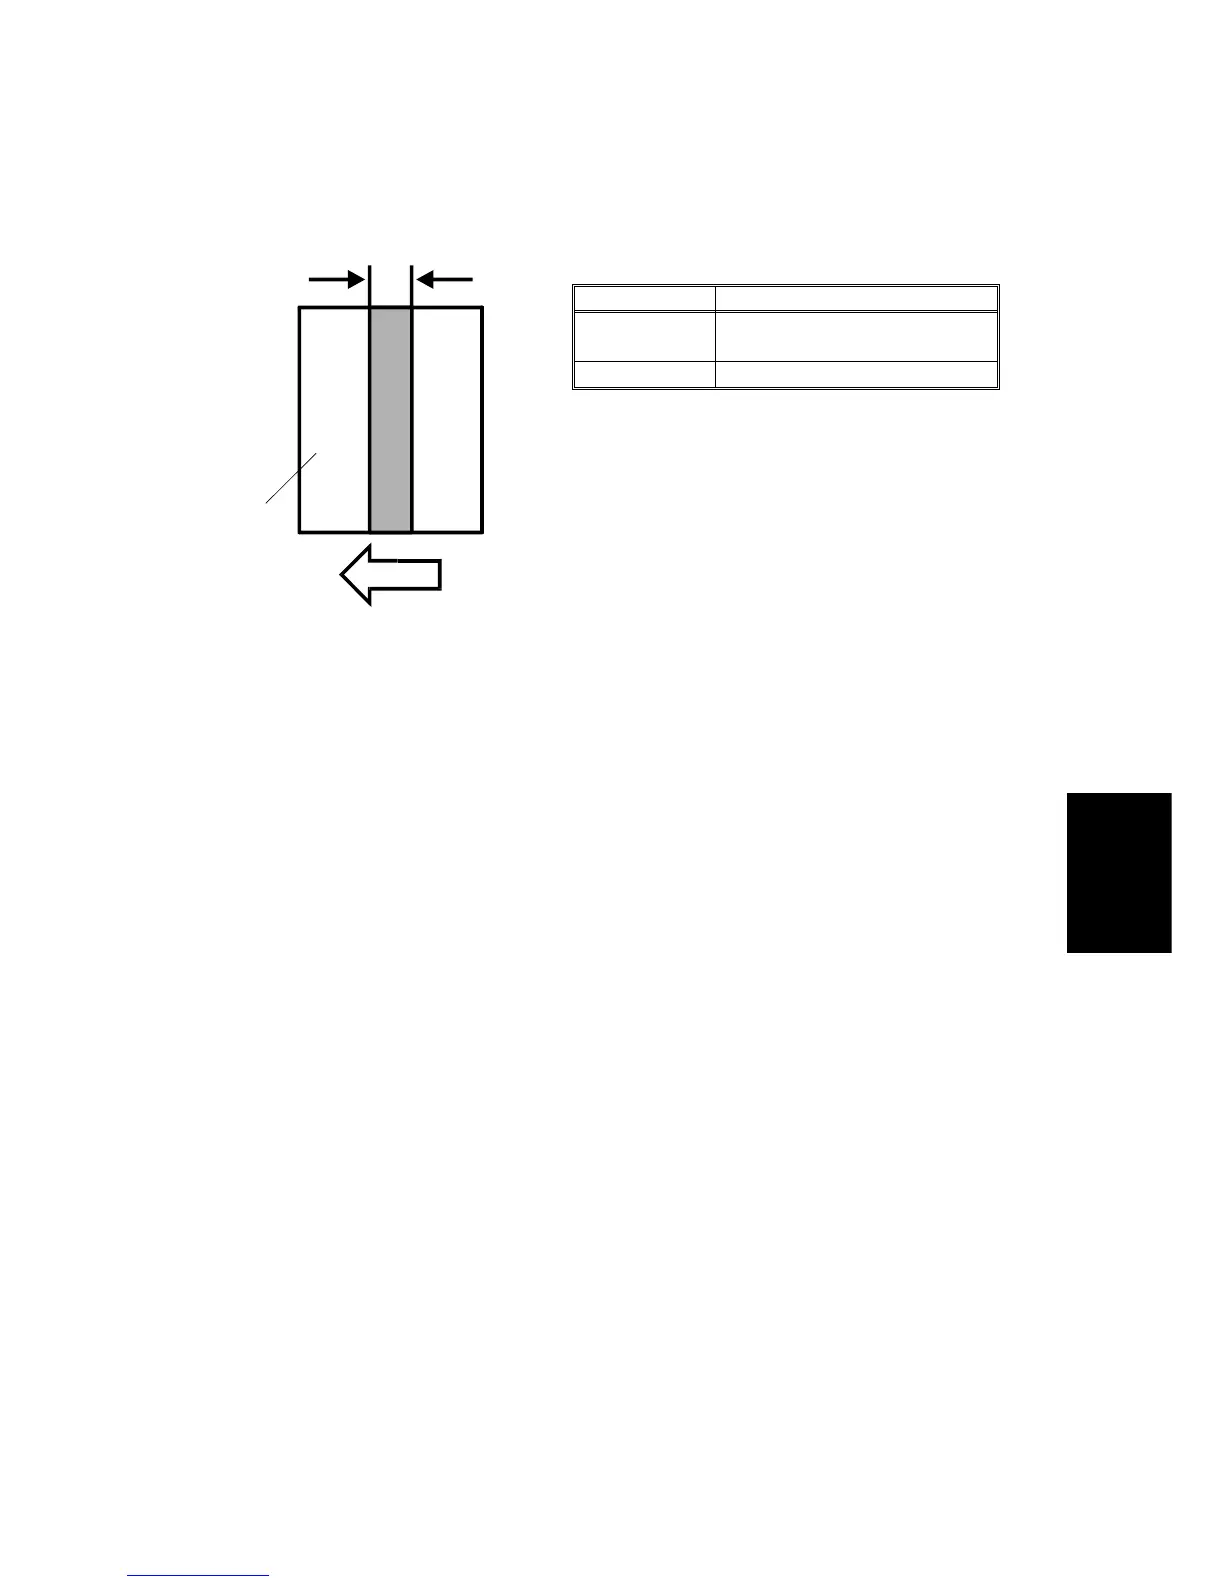
LOCATION STANDARD
Center
9.0
±
0.5 mm
(Confirmation reference)
Both Edges
9.5
±
0.5 mm
1. After warming up, turn off the main switch and pull out the fusing unit.
2. Pass an OHP sheet sideways [A] through the rollers to about the center
position.
3. Wait 30 seconds, then remove the OHP sheet.
4. Measure the width of the the center area and both edges of the nip band.
5. If out of standard, adjust the pressure by using the spring screws located
at both edges of the fusing unit. (Turning the screws clockwise will
increase the nip band width.)
Confirm that the nip band width is within specification.
[A]
Replacement
and
Adjustment
SM 5-25 A172/A199

 Loading...


