5. Note the pressure.
6. Wait approximately 5 minutes. Note the pressure again.
If the pressure change lies under 1 hPa, the sample gas/reference gas path is adequately tight.
This value is based on the tare volume of the measuring module 7 ml and the volume of the
pressure measuring device of 25 ml.
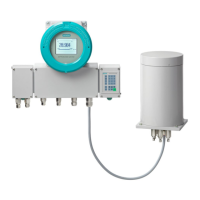
9.6.7 Checking CALOMAT 7 for leaks
Procedure
1. Connect a pressure measuring instrument (manometer) to the sample gas outlet.
Measuring range approx. 200hPa rel. to 1000hPa rel. with appropriate measured value
resolution (0.1hPa).
Absolute pressure gauges with correspondingly good resolution are also suitable.
2. Connect the sample gas inlet to a compressed air source via a shuto mechanism. The
shuto mechanism must demonstrate a leakage rate <10
-5
hPa*l/s.
3. Pressurize the analyzer module step-by-step with an overpressure of approx. 200hPa.
4. Close the shuto mechanism and wait for approximately 5 minutes until the sample gas that
owed in has reached the ambient temperature.
5. Note the pressure.
6. Wait approximately 5 minutes. Note the pressure again.
If the pressure change lies under 5hPa, the sample gas path is adequately tight.
This value is based on the tare volume of the measuring module 7 ml and the volume of the
pressure measuring device of 23 ml.
9.7 Requirements for startup
You have ensured that
• The device has at least one analyzer module,
• All required gas lines and facilities are connected to the device and are checked for leaks and
tightness with an overpressure,
• No gas has been introduced into the device yet.
Information on how to connect the gas lines correctly is available
• in section "Gas connections (Page91)" and
• in the device-specic operating instructions.
Commissioning
9.7Requirements for startup
Wall-mounted device
Operating Instructions, 07/2023, A5E31930403-AB 139
 Loading...