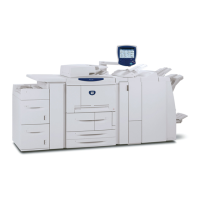
Product Overview
Xerox 4112/4127 Copier/Printer 1-11
System Administration Guide
Exiting the System Administrator mode
1. Press the Log In/Out button.
2. When the Logout screen appears, Press Yes.
Setting the IP address
In an environment with DHCP or BOOTP, configure the way to obtain the address. If the
address cannot be obtained automatically or manual configuration is preferred, configure the
IP address, subnet mask, and gateway address.
1. Enter the System Administrator Mode (Chapter 1 Entering the System Administrator mode
on page 1-10) if necessary.
2. Select System Settings and then select Connectivity & Network Setup.
3. Select Protocol Settings.
4. Select IPv4 - Address Resolution and select Change Settings.
5. Select one from DHCP, BOOTP, RARP, DHCP/Autonet or Static. If you select anything
other than Static, proceed to step 10.
Note
When using a DHCP server, also configure the WINS (Windows Internet Name Service)
server.
6. Select IPv4 - Get IP Address and select Change Settings.
7. Enter the IP address using the numeric keypad.
Notes
• Enter addresses in the format “xxx.xxx.xxx.xxx” where xxx should be a numeric value in
the range from 0 to 255. However, 224 or 225.xxx.xxx.xxx and 127.xxx.xxx.xxx cannot
be used.
• When you make an entry mistake, press the C (Clear) button and enter again.
• When you would like to move to the next value without entering all 3 digits, select
Next.
8. Select Save.
9. Configure IPv4 - Subnet Mask and IPv4 - Gateway Address as shown above.
Log In/Out
button
Downloaded From ManualsPrinter.com Manuals

 Loading...


