Service Parts Disassembly 8-99
Low-Voltage Power Supply (PL 12.1.10)
1. Remove the Imaging Unit (Routine Maintenance Item) and protect it from
exposure to light.
2. Remove the Top Main Cover (page 8-9).
3. Remove the Right and Left Side Covers (page 8-11).
4. Remove the Rear Cover (page 8-12).
Note
Reinstall the toner cartridges to seal the toner system and prevent spillage.
5. Remove 4 screws above the LVPS, securing the Toner Cartridge Holder
Assembly.
6. Lift the Toner Cartridge Holder off the aligning tabs and move out of the way.
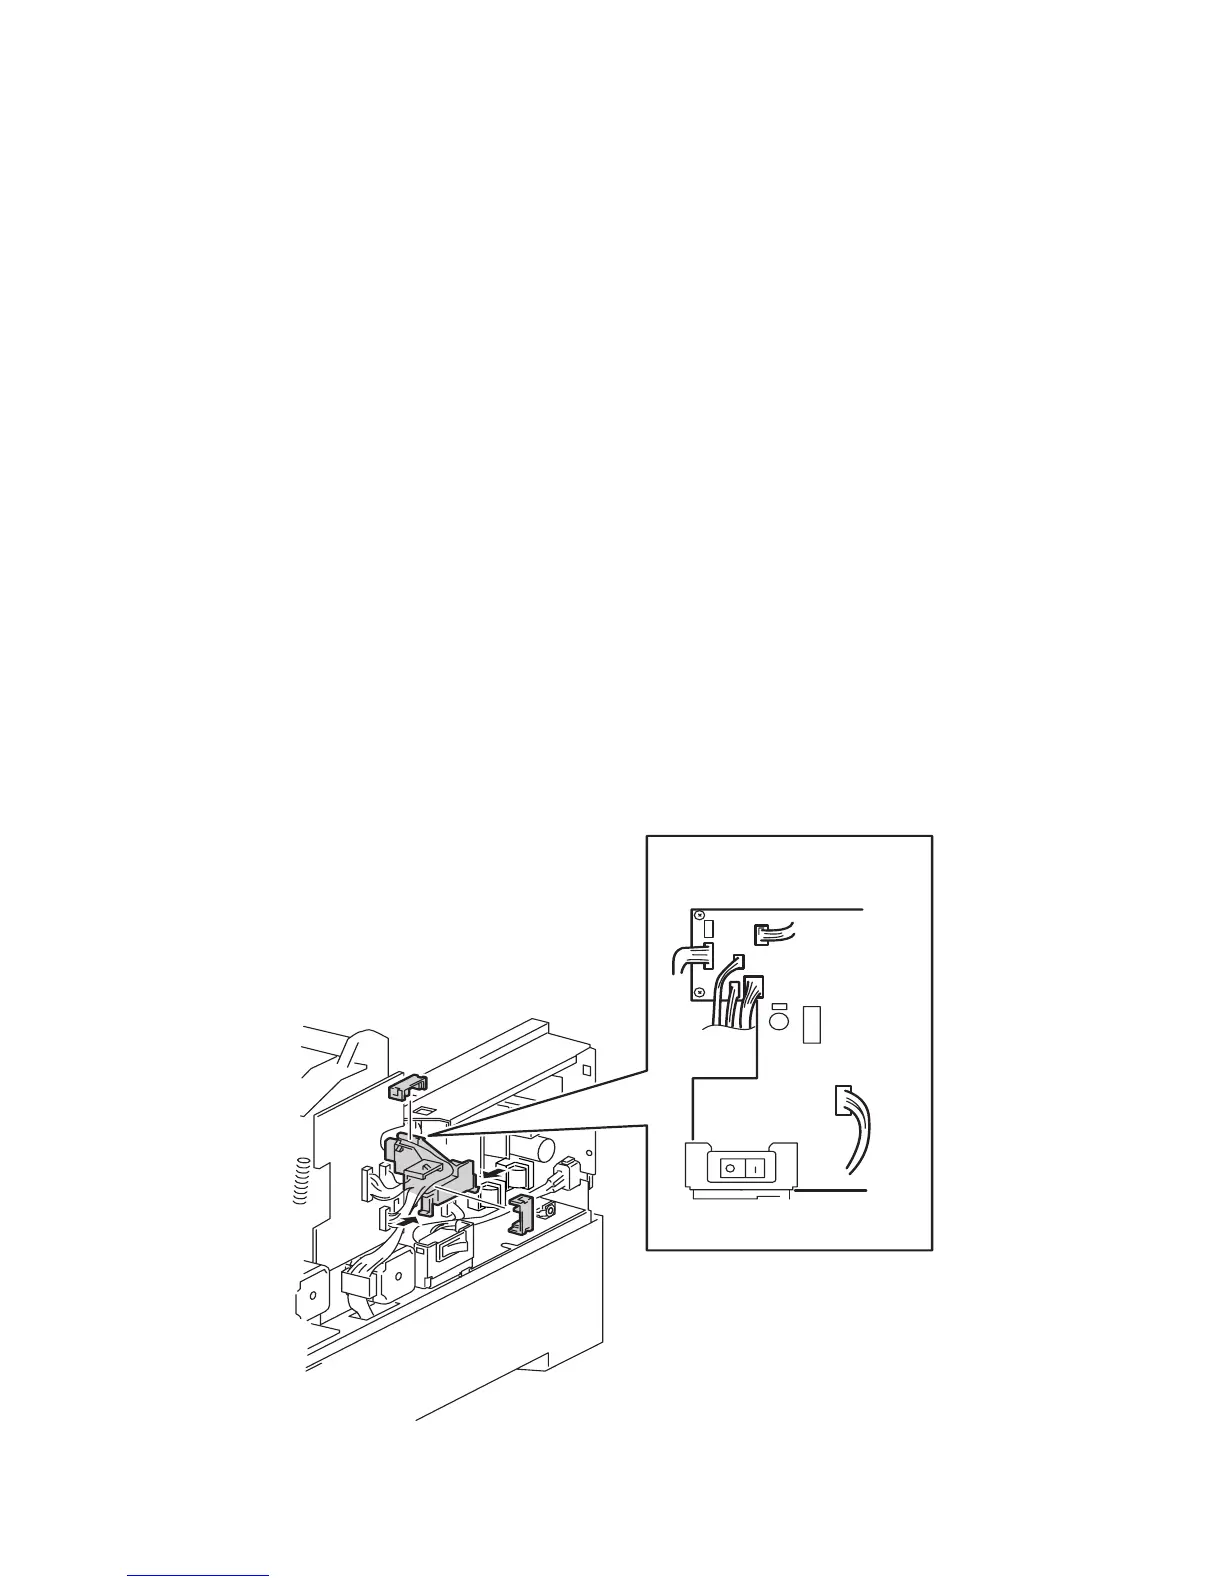
7. Disconnect P/J162, P/J163, P/J164, P/J165, P/J166, and P/J168 from the Low-
Voltage Power Supply Board.
Note
P/J167 and P/J168 are not used.
8. Remove the 3 screws securing the LVPS to the printer and remove the Low-
Voltage Power Supply.
9. Remove the Harness Assembly AC Switch (page 8-98).
6250-229
 Loading...