Service Parts Disassembly 8-131
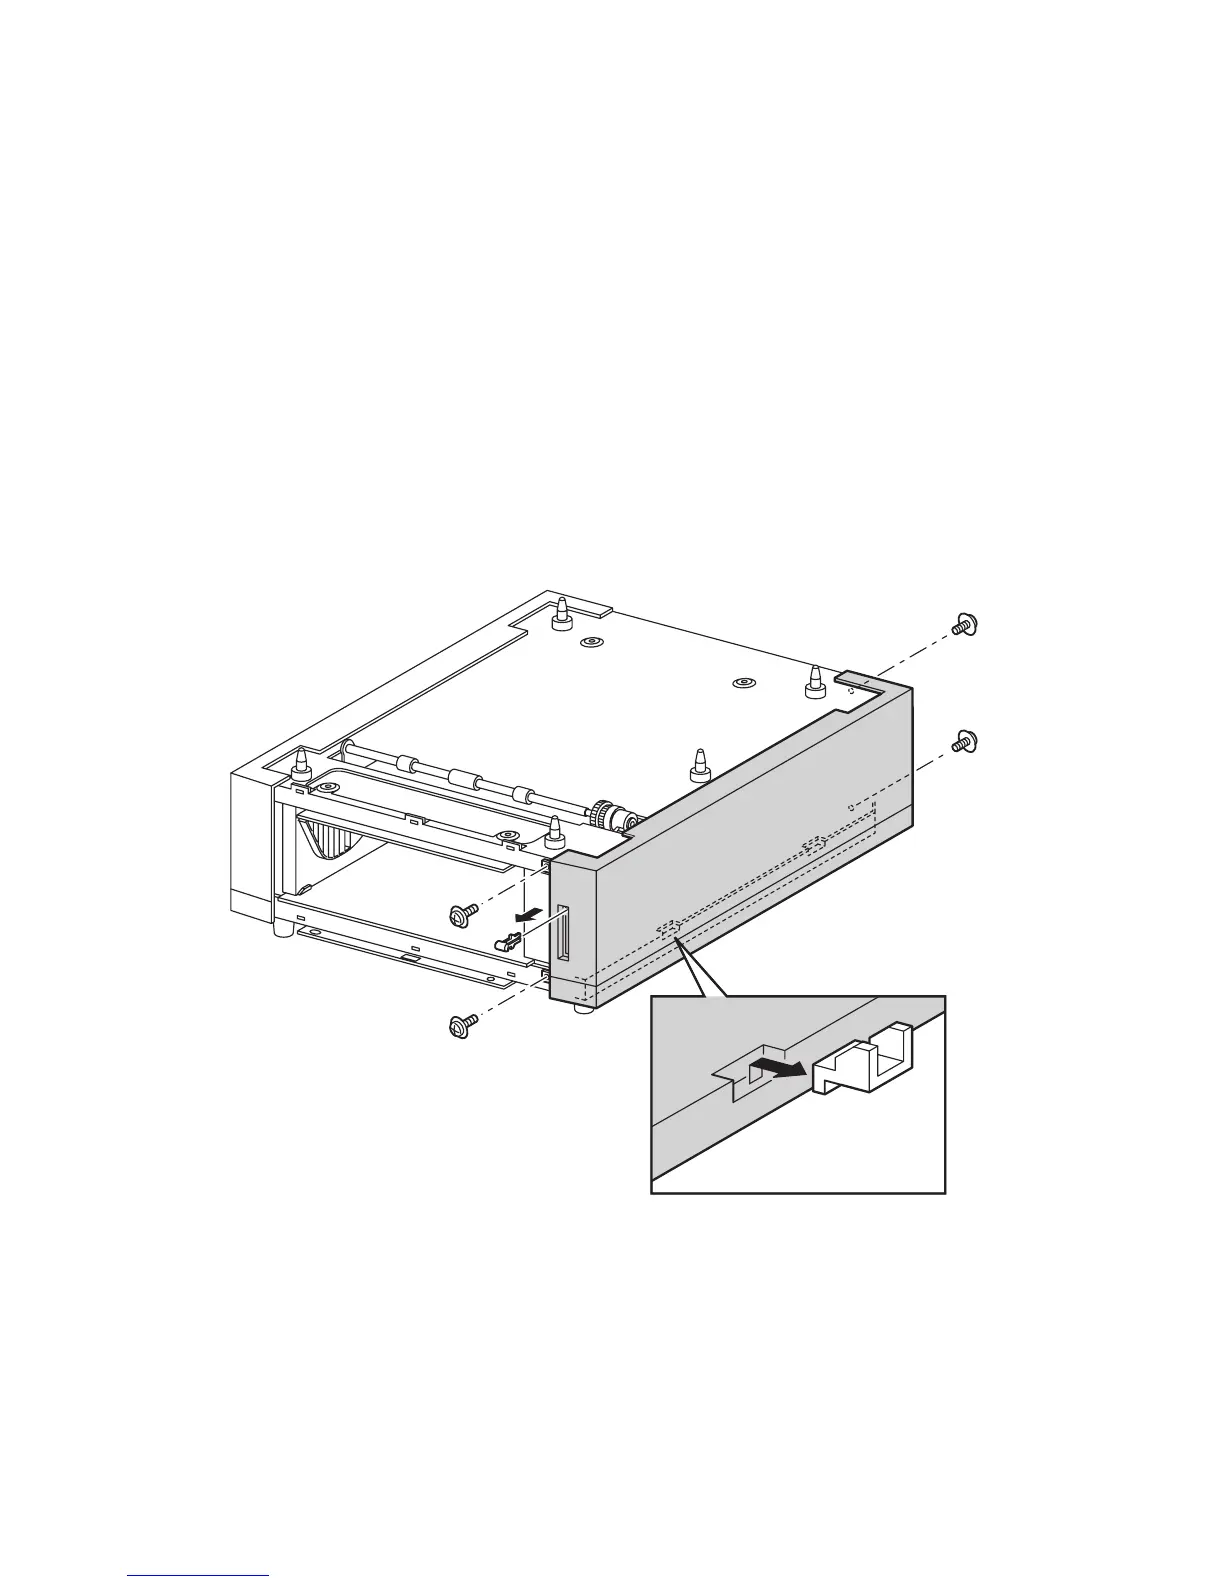
Cover, Right (PL15.2.2) and Cover, Left (PL15.2.1)
1. Remove Paper Tray 3.
2. Remove the Front Covers (page 8-130).
3. Remove the 4 screws securing the Cover Right and the 4 screws securing the
Cover Left.
4. Holding both ends of the cover, lift the cover and move left and right, flexing
slightly, to release the tabs from the holes in the Feeder frame.
5. Slide the cover toward the front to remove the Indicator Assembly.
Caution
Do not pull sideways on the cover as you may break the Indicator Mounting
Arm. The Indicator Assembly flag will pop off as the cover slides forward,
do not lose the flag.
6. Remove the Cover Right / Left.
Reassembly
Note
The Indicator Assembly has to be below the Low Paper Lever. Push the
indicator about halfway down before inserting the flag.
6250-410
 Loading...