STARTER CLUTCH AND GENERATOR (YP125R)
5-42
2. Check:
• Starter clutch idle gear
• Starter clutch gear
Burrs/chips/roughness/wear → Replace the
defective part(s).
3. Check:
• Starter clutch gear contact surfaces
Damage/pitting/wear → Replace the starter
clutch gear.
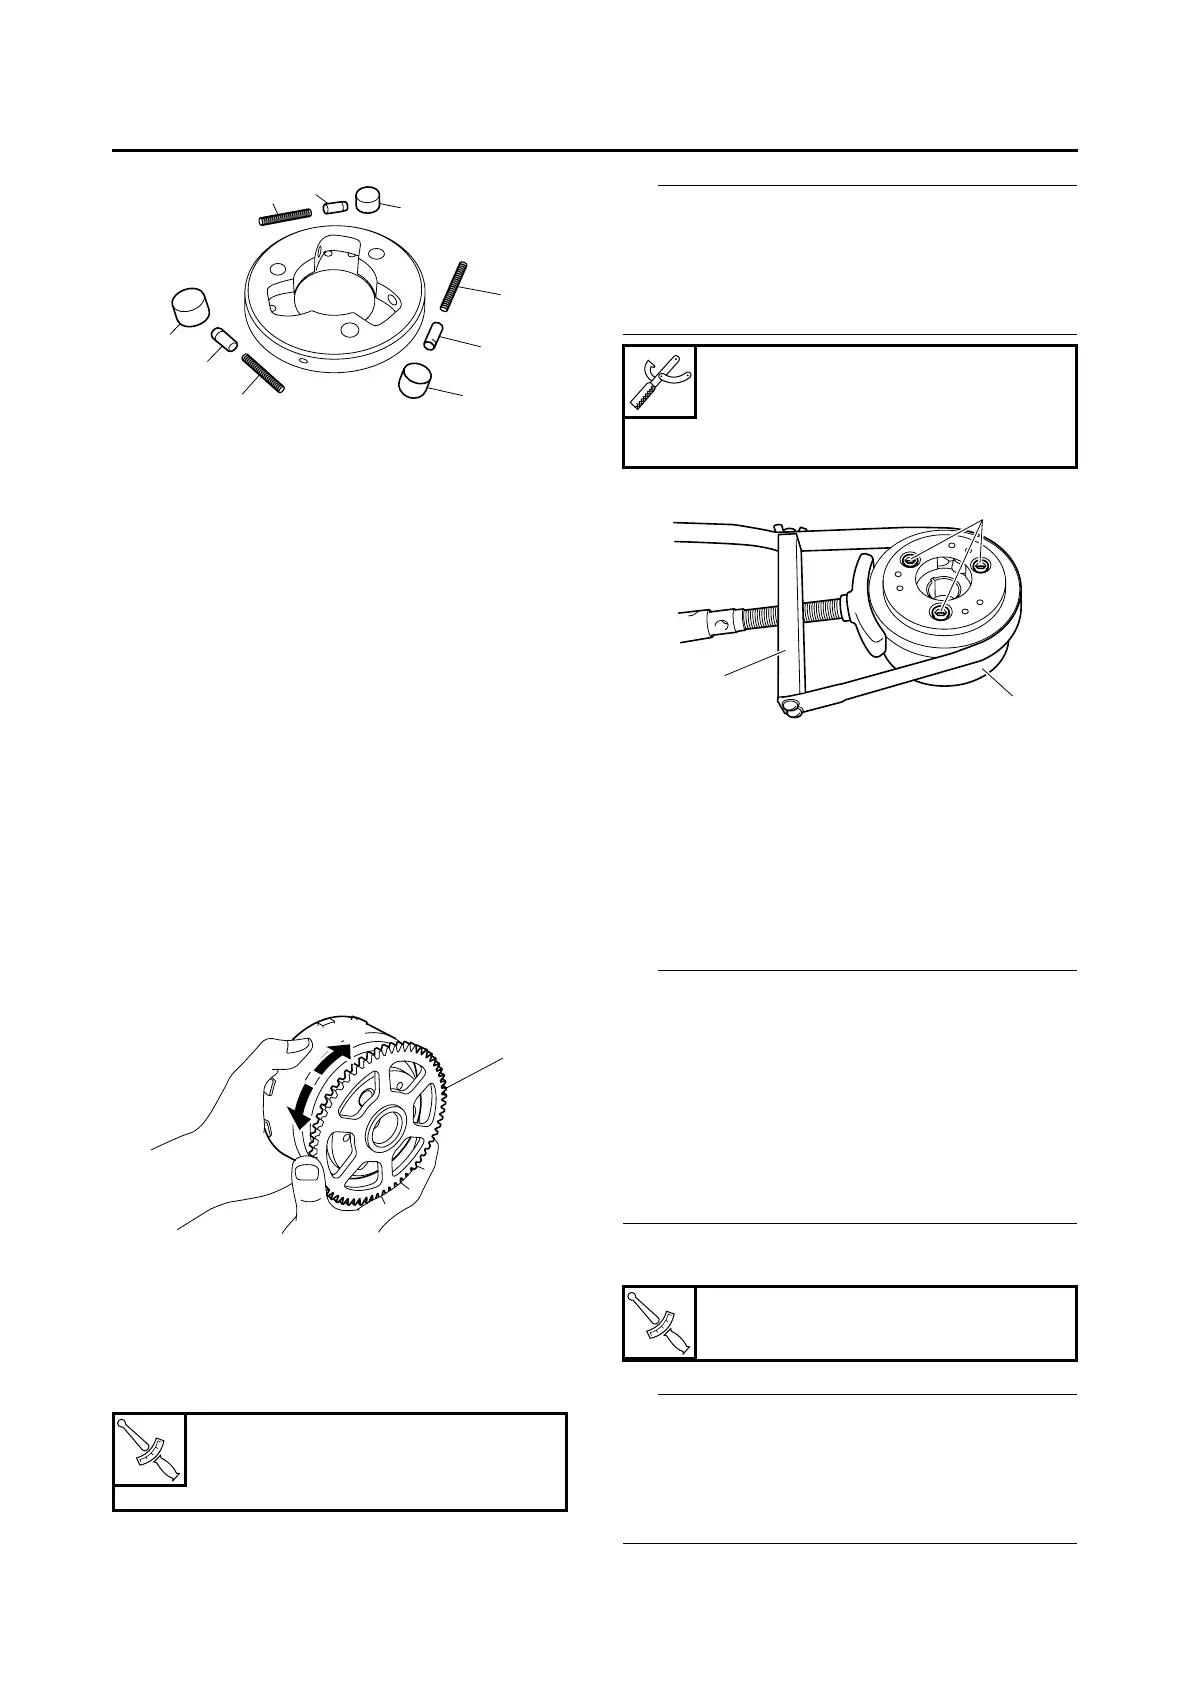
4. Check:
• Starter clutch operation
▼▼▼▼▼▼▼▼▼ ▼ ▼▼▼▼▼▼▼▼▼ ▼ ▼▼▼▼ ▼ ▼▼▼▼ ▼▼▼
a. Install the starter clutch gear “1” onto the
starter clutch and hold the generator rotor.
b. When turning the starter clutch gear clock-
wise “A”, the starter clutch and the starter
clutch gear should turn freely, otherwise the
starter clutch is faulty and must be replaced.
c. When turning the starter clutch gear counter-
clockwise “B”, it should engage, otherwise
the starter clutch is faulty and must be re-
placed.
▲▲▲▲▲▲▲▲▲ ▲ ▲▲▲▲▲▲▲▲▲ ▲ ▲▲▲▲ ▲ ▲▲▲▲ ▲▲▲
EAS37P1042
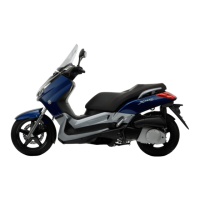
INSTALLING THE STARTER CLUTCH
1. Install:
• Starter clutch
• Starter clutch bolts “1”
IP
• While holding the generator rotor “2” with the
sheave holder “3”, tighten the starter clutch
bolts.
• Do not allow the sheave holder to touch the
projection on the generator rotor.
EAS37P1043
INSTALLING THE GENERATOR
1. Install:
• Starter clutch gear
• Woodruff key
• Generator rotor
• Washer
• Generator rotor nut
IP
• Clean the tapered portion of the crankshaft and
the generator rotor hub.
• When installing the generator rotor, make sure
the woodruff key is properly seated in the key-
way of the crankshaft.
• Lubricate the crankshaft end threads with en-
gine oil.
• Make sure that the blunt-edged corner of the
washer is facing outward.
2. Tighten:
• Generator rotor nut “1”
IP
• While holding the generator rotor “2” with the
sheave holder “3”, tighten the generator rotor
nut.
• Do not allow the sheave holder to touch the
projection on the generator rotor.
T
R
.
.
Starter clutch bolt
13 Nm (1.3 m·kgf, 9.4 ft·lbf)
LOCTITE®
1
1
3
2
3
2
3
2
1
1
A
B
Sheave holder
90890-01701
Primary clutch holder
YS-01880-A
T
R
.
.
Generator rotor nut
80 Nm (8.0 m·kgf, 58 ft·lbf)
1
3
2
 Loading...