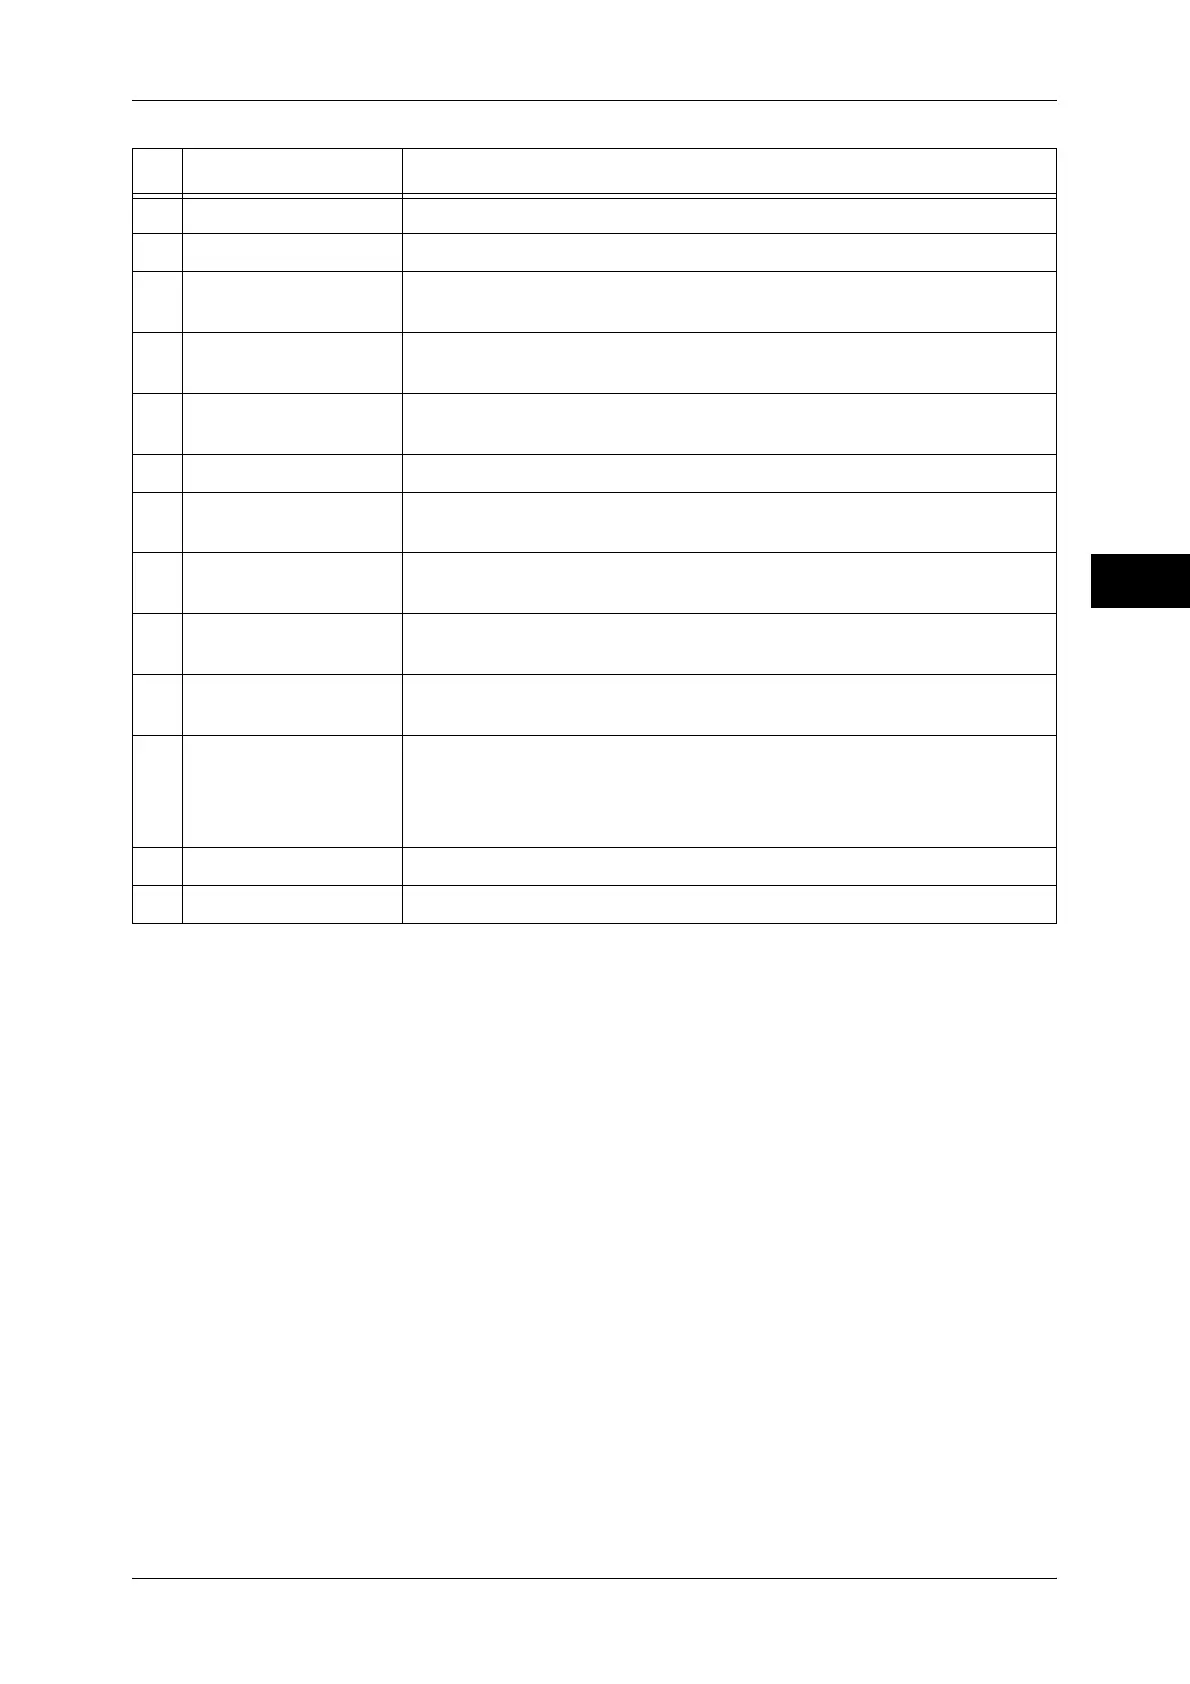
Machine Components
27
Product Overview
2
8 Toner cover Open this cover to replace the toner cartridge.
9 Tray 1, 2, 3, 4 Load paper here.
10 Locking casters Used for locking the wheels of the machine. Lock these casters after moving
the machine to its installation site.
11 Bottom left cover Open this cover to access the inside of the machine to remove jammed
paper.
12 Front cover for high
capacity tray unit
Open this cover to access the bottom left cover of the machine to remove
jammed paper.
13 Tray 6, 7 (optional) Load paper here.
14 Tray 5 (Bypass) Used for loading non-standard paper (thick-stock paper, and other special
media) that cannot be loaded in Trays 1 to 4, 6, 7.
15 Gigabit Ethernet Board
(optional)
Connected to a network cable.
16 10BASE-T / 100BASE-
TX connector
Connected to a network cable. This connector is not available when the
Gigabit Ethernet Board (optional) is installed.
17 USB 2.0 interface
connector
Connected to a USB cable.
18 Stylus pen Used for touching the touch screen on the control panel to configure
settings.
Note • You can directly touch the touch screen not only with the stylus pen but
also with a finger.
19 Stylus pen holder Stores the stylus pen.
20 Ground fault interrupter Automatically turns the machine off when a current leakage is detected.
No. Component Function
 Loading...