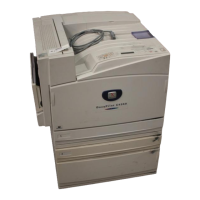
3.1 Main Components and Their Functions
33
Basic Operations
3
Control Panel
This section describes the control panel.
For the messages displayed on the LCD, refer to "3.1 LCD Indications" (P.34).
No. Name Description
1 Indicator Check the position of the cover or tray indicated by the error message.
2 <Toner Replace-
ment> indicator
This indicator goes on when the toner runs low. Have a new toner on
hand.
When the printer runs out of the toner, the <Error> indicator goes on and the
printer cannot print any longer.
3 <Ready> indicator When this indicator is lit, the printer can received data from the computer.
4 LCD Setting items, printer status, and messages are displayed here.
5 Up/down/left/right
buttons
These buttons are used to scroll through menus, setting items, and option
values. In this guide, they are indicated as the < >, < >, < >, and
< > buttons.
●
The < > and < > buttons can scroll faster when kept down. Also pressing
the < > and < > buttons at the same time displays a default value.
●
For using the media print feature, an optional Media Print kit is required.
●
When using the secure/sample print feature, an internal hard disk drive is
required.
6 <Menu> button Pressing this button allows you to handle menus.
7 <Eject/Set> button Pressing this button sets the value of a menu option. This button is also
used to print a report/list.
8 <Error> indicator This indicator goes on when an error occurs in this printer.
9 <Online> button Pressing this button switches the printer mode to offline. When the printer
is in the offline mode, the printer cannot receive data or print any data.
Pressing this button again switches the printer mode from offline to online
(the printer can receive data from the computer).
10 <Cancel Job> button Pressing this button cancels the print job.
 Loading...


