When Connecting to a Network Which Requires a Certificate
About the procedure from unpackaging the scanner to turning the power on, refer to Getting Started.
1 Turn on the scanner.
For details, refer to How to Turn the Power ON (page 55).
2 Install necessary software to the computer which is to be connected to the scanner.
For details about the software, refer to Installing Software (page 50).
Prepare the bundled Setup DVD-ROM.
HINT
When using PaperStream NX Manager, you do not need to install software from the bundled Setup DVD-
ROM. Install a necessary software by referring to the PaperStream NX Manager User's Guide.
a If an old version of the software is installed, uninstall it first.
For details, refer to Uninstalling the Software (page 309).
b Insert the bundled Setup DVD-ROM into the DVD drive.
The [fi Series Setup] window appears.
c Start the installation by following the instructions displayed in the screen.
It is recommended that you select [Installation (Recommended)].
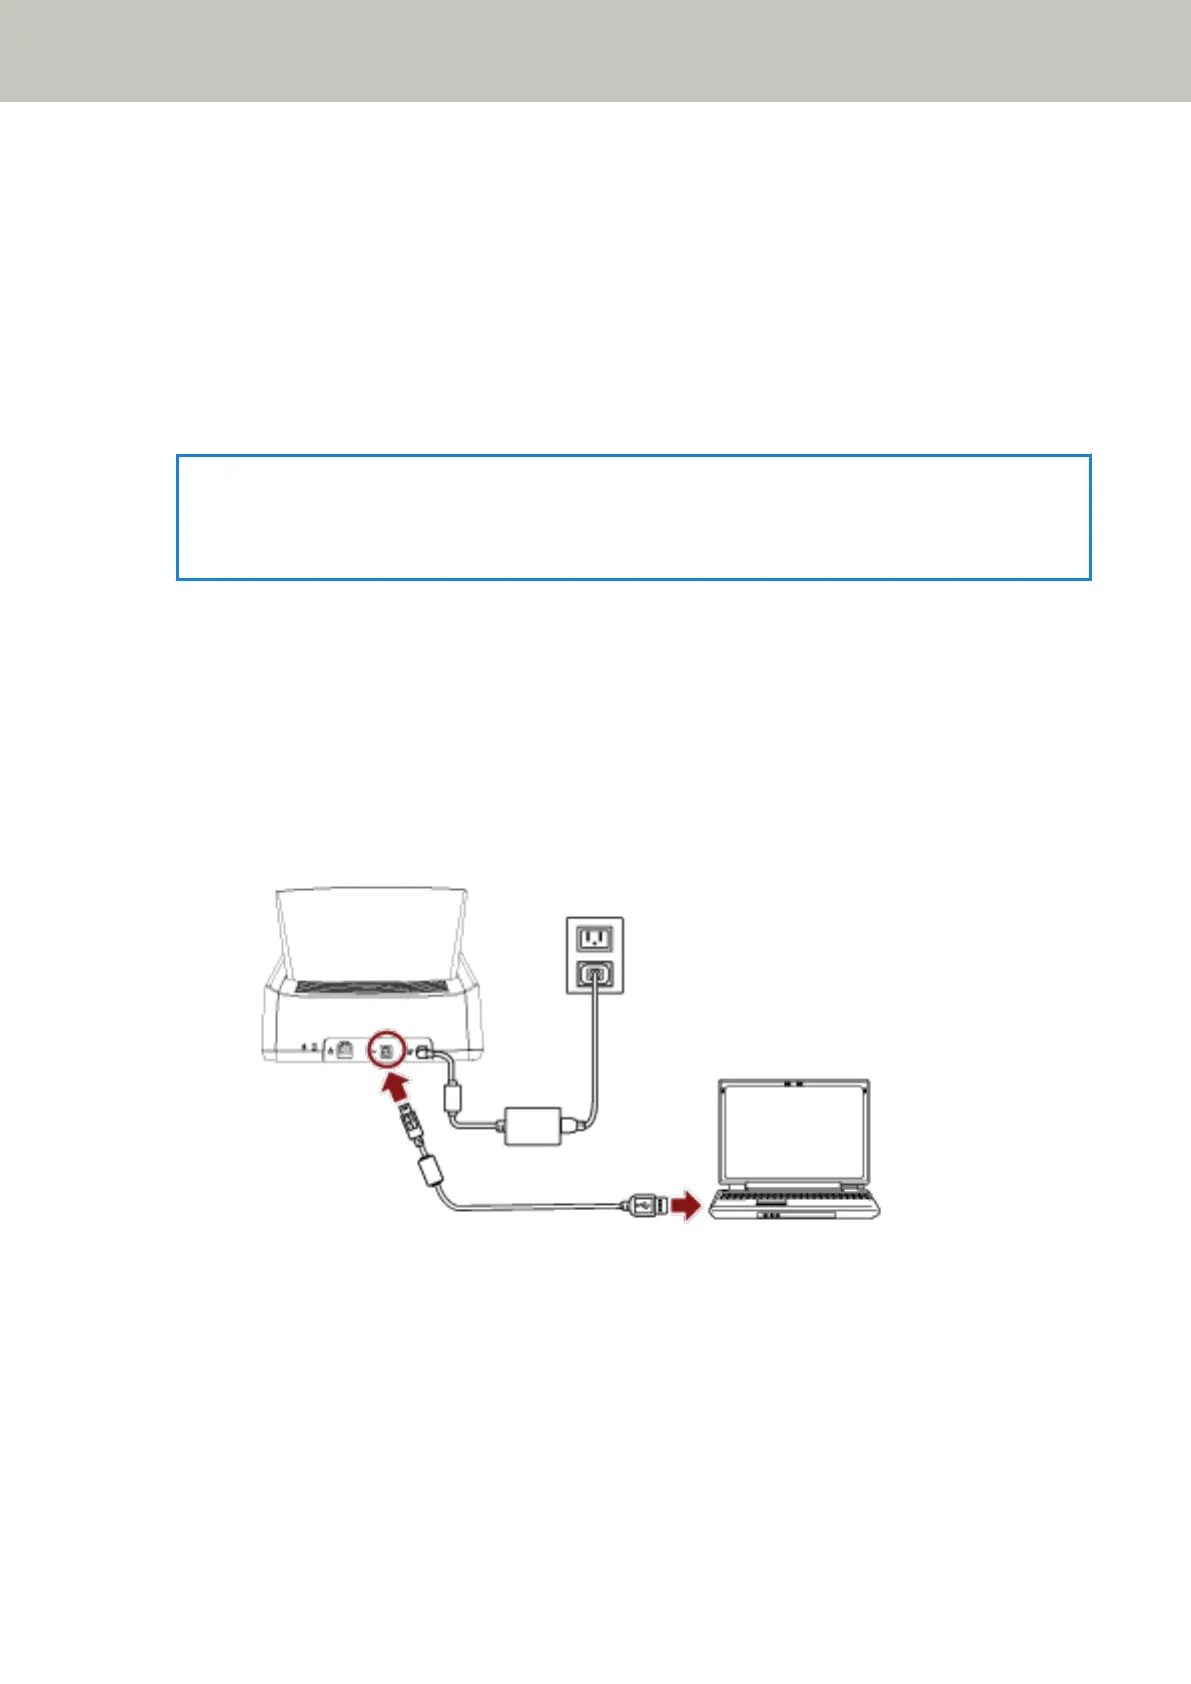
d Connect the scanner to the computer by using the bundled USB cable.
e Register a certificate with the scanner.
Use fi-7300NX Certificate Registration Tool to register a certificate with the scanner.
For details, refer to the fi-7300NX Certificate Registration Tool Help.
fi-7300NX Certificate Registration Tool can be started up in the following procedure:
● Windows Server 2008/Windows 7
Click [Start] menu → [All Programs] → [fi Series] → [fi-7300NX Certificate Registration Tool].
● Windows Server 2012
Scanner Setup
41
 Loading...