3 CONFIGURING THE DATA PROTOCOLS
Different protocols can be used with the various ports. The choice of protocol depends on the chosen model. Each
por
t can support only one protocol at a time. The range of available communication settings depend on which
protocol has been chosen.
Depending on the exact model, the following choices may be available:
● Courier over RS485
● Tunneled Courier over Ethernet
● MODBUS over RS485
● DNP3 over RS485
● DNP3 over Ethernet
● IEC 60870-5-103 over RS485
● IEC61850 over Ethernet
Note:
Not all protocols are available on all products
You configure most of the communication settings using the HMI. Depending on the model, you will also need to
use the settings applications softw
are to carry out some of the configuration, such as the IEC61850 configurator.
Detailed information on configuring the data protocols can be found in the communications chapter.
3.1 COURIER CONFIGURATION
To configure the device:
1.
Select the CONFIGURATION column and check that the Comms settings cell is set to Visible.
2. Select the COMMUNICATIONS column.
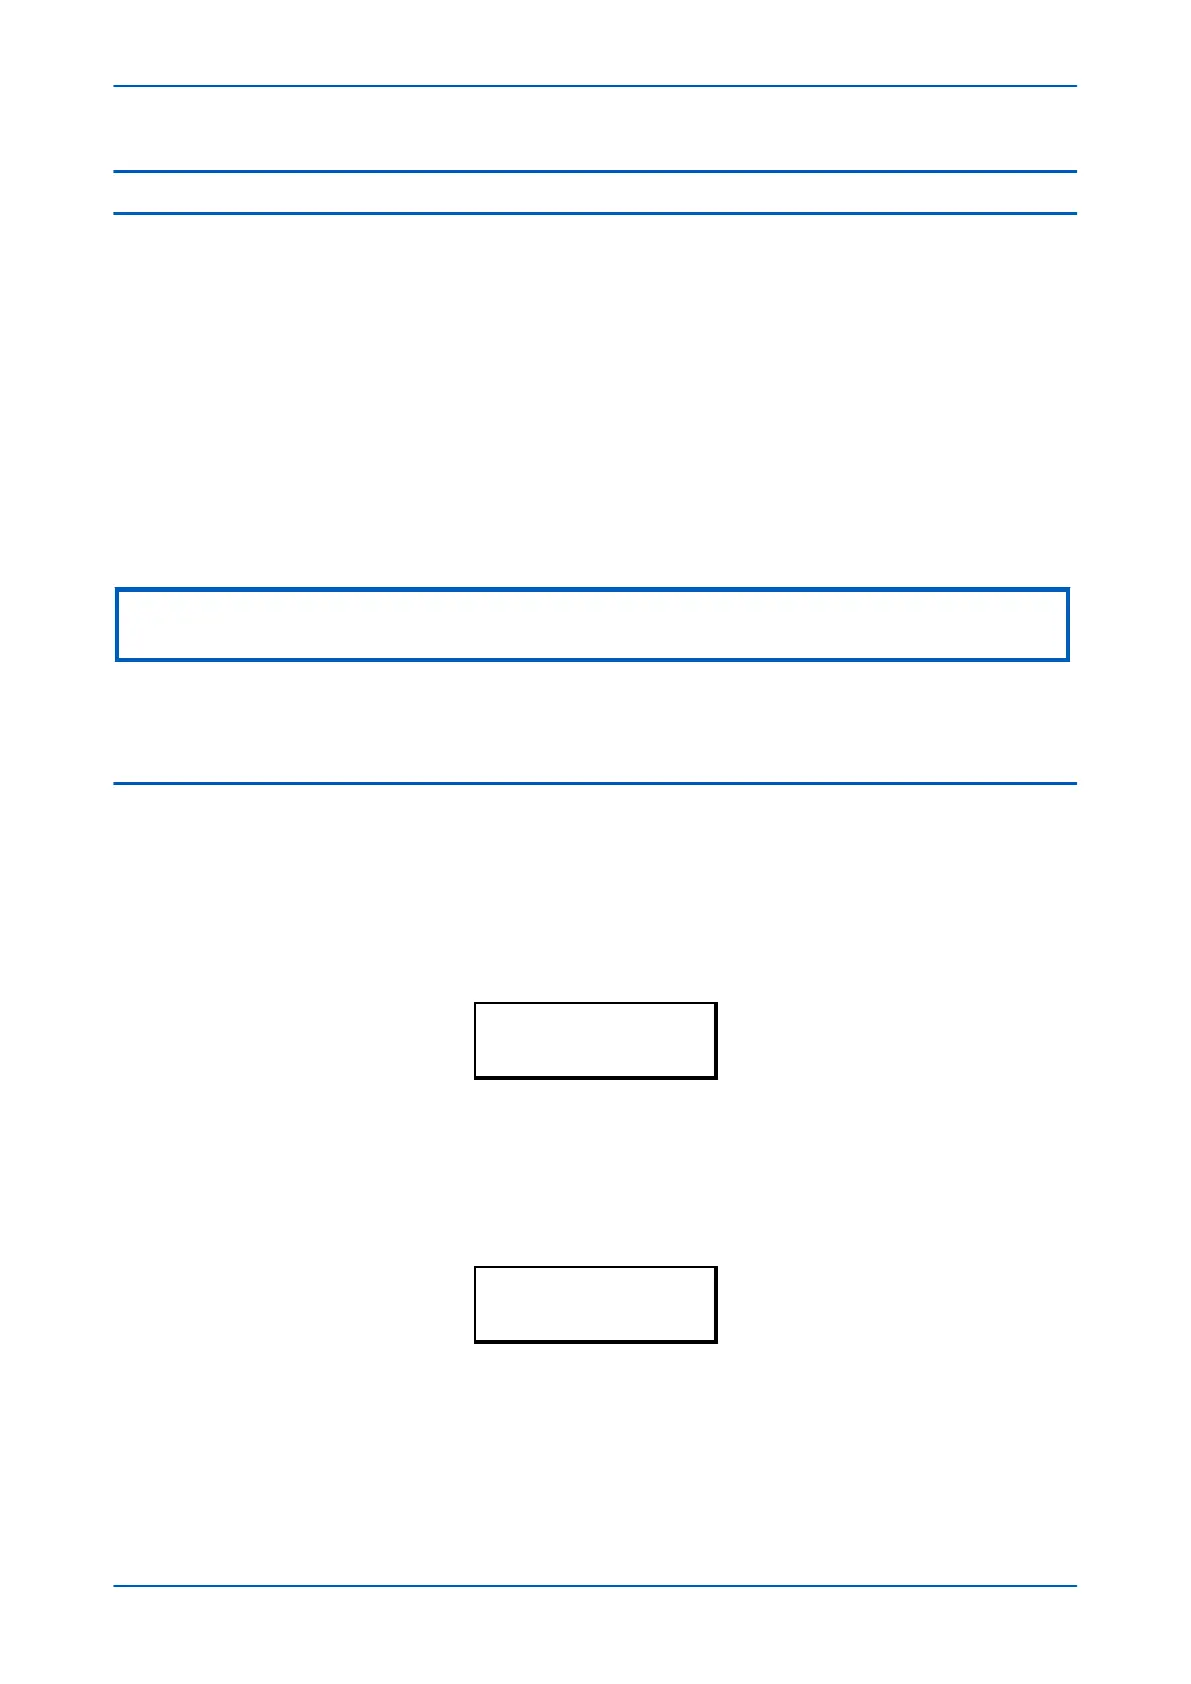
3. Move to the first cell down (RP1 protocol). This is a non-settable cell, which shows the chosen
communication protocol – in this case Courier.
COMMUNICATIONS
RP1 Protocol
Courier
4. Move down to the next cell (RP1 Addr
ess). This cell controls the address of the RP1 port on thje device. Up to
32 IEDs can be connected to one spur. It is therefore necessary for each IED to have a unique address so
that messages from the master control station are accepted by one IED only. Courier uses an integer
number between 1 and 254 for the Relay Address. It is set to 255 by default, which has to be changed. It is
important that no two IEDs share the same address.
COMMUNICATIONS
RP1 Address
100
5. Move down to the next cell (RP1 InactivTimer). This cell contr
ols the inactivity timer. The inactivity timer
controls how long the IED waits without receiving any messages on the rear port before revoking any
password access that was enabled and discarding any changes. For the rear port this can be set between 1
and 30 minutes.
Chapter 5 - Configuration P64x
88 P64x-TM-EN-1.3

 Loading...